To stop your toothbrush from not spinning, start by ensuring the batteries are fully charged or replace them if needed. Next, check that the brush head is attached securely and free of debris. Inspect the motor and gearbox for damage or buildup, and reset or recalibrate the device if possible. If problems persist, look for visible damage or broken parts inside. Keep these tips in mind—you’ll find more helpful solutions if you continue exploring.
Key Takeaways
- Ensure the batteries are fully charged, clean contacts, and confirm the power indicator shows a full charge.
- Check that the brush head is securely attached and free of debris or tangled hair.
- Inspect wiring and connections for damage, corrosion, or loose fittings inside the handle.
- Reset or recalibrate the device by powering off, removing the battery, then restarting after 30 seconds.
- Examine the motor and gearbox for wear, damage, or obstructions, and replace any faulty parts as needed.

Topoox 6 Pack DC 1.5-3V 15000RPM Mini Electric Motor for DIY Toys, Science Experiments
After strict testing, it can keep running for more than 3 hours with new 2×1.5V AA batteries. Helpful…
As an affiliate, we earn on qualifying purchases.
As an affiliate, we earn on qualifying purchases.
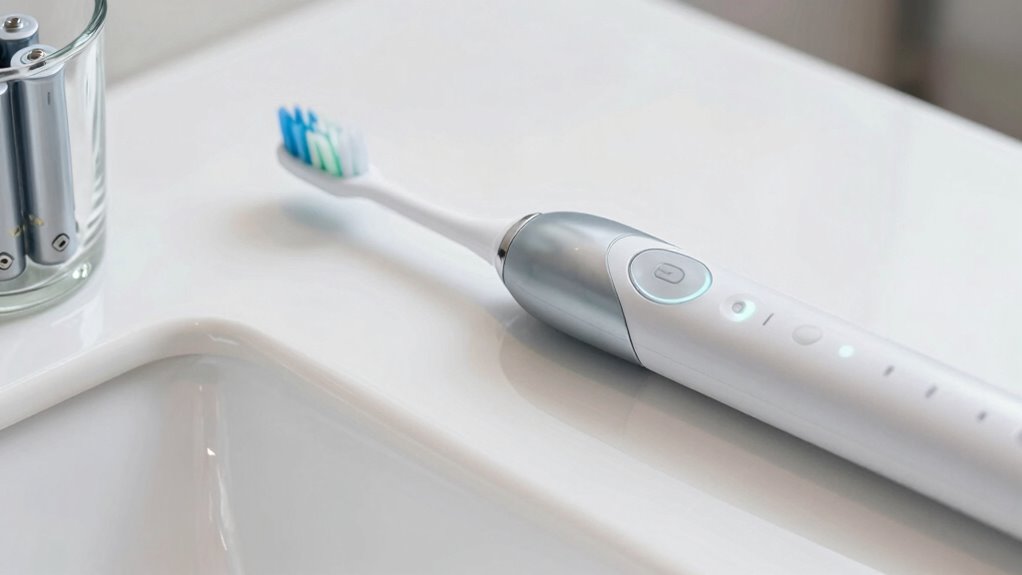
Why Isn’t My Toothbrush Brush Spinning?

If your electric toothbrush’s brush isn’t spinning, it can be frustrating. Often, the problem stems from battery issues or motor malfunction. If the batteries are dead or not making proper contact, the motor won’t receive enough power to turn the brush. Check if the batteries are properly installed or need replacing. Sometimes, corrosion or dirt on the battery terminals can cause poor contact, preventing the motor from functioning. Motor malfunction can also occur if the internal components are damaged or worn out, especially after extended use. In these cases, the motor may need repair or replacement. Troubleshooting these electrical issues can help you determine whether the problem is with the power source or the motor itself. Ensuring your toothbrush is battery-powered or has a reliable power connection can help prevent future issues. Additionally, understanding electrical component failure can aid in diagnosing more complex problems when simple checks don’t resolve the issue. Conducting a thorough inspection of the motor assembly can sometimes reveal hidden damage that isn’t immediately obvious.
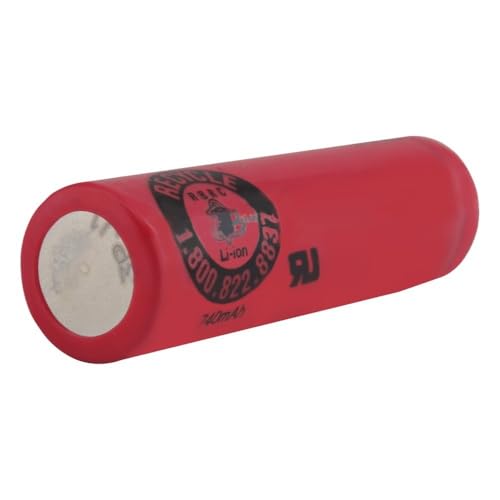
KEEPBATT 1PCS 3.6V 740mAh Replacement Battery for Braun Oral-B i06 i07 i08 and i09 toothbrushes
【Basic info】Battery size: 49*14*14mm(1.93*0.55*0.55inch). Weight: 15 grams each. NOTE: Please confirm whether the battery size and battery type…
As an affiliate, we earn on qualifying purchases.
As an affiliate, we earn on qualifying purchases.
Ensure Your Toothbrush Is Fully Charged or Has Fresh Batteries
A common reason your toothbrush’s brush isn’t spinning is that it simply doesn’t have enough power. Check the charging status or batteries first. If it’s battery-powered, ensure the batteries are fresh and installed correctly. For rechargeable models, verify it’s fully charged before use. Consider these tips:
- Confirm the charging indicator shows full charge
- Replace old or weak batteries with new ones
- Avoid low battery warnings by recharging regularly
- Clean charging contacts for a proper connection
- Test with fresh batteries if unsure about battery health
- Remember that projector image quality depends heavily on maintaining proper power sources, as insufficient power can impact device performance. Regular maintenance of the battery contacts can help prevent power issues. Additionally, inspecting the charging port for debris or corrosion can improve charging efficiency.
- Ensuring the power source is stable and reliable can prevent intermittent issues that cause the brush not to spin.
- Periodically checking the charging cable for damage can help ensure consistent power delivery and prevent operational issues.
A depleted power source prevents the brush from spinning properly. Keeping your toothbrush charged or using fresh batteries ensures maximum power, preventing the “not spinning” issue. Always check the charging status and battery health before troubleshooting further.

Ordilend for iPhone Cleaning Kit for Charging Port Cleaner, Cleaner Kit for AirPod Multi-Tool iPhone Cleaner Repair Lightning Cable for iPad Connector Airpod Speaker Compact Portable with Storage Case
CLEAN & REPAIR CHARGING PORT – Compatible with iPhone cleaning kit tool won't get stuck inside and is…
As an affiliate, we earn on qualifying purchases.
As an affiliate, we earn on qualifying purchases.
Reattach the Brush Head Correctly and Securely
Make sure you align the brush head properly on the handle to guarantee it connects correctly. Check that it’s securely attached and doesn’t wobble or come loose. Also, look for any obstructions or debris that might prevent it from spinning freely. Ensuring the brush has enough power output can also help it spin smoothly. Additionally, verifying the motor functionality can prevent ongoing issues with spinning. Regular maintenance and checking for performance issues can further extend the lifespan of your brush and ensure optimal operation. To maintain consistent spinning performance, consider routine inspections and proper cleaning of the brush components.
Correctly Align The Head
To make certain your brush head functions properly, you need to reattach it correctly and secure it firmly in place. Proper brush head alignment ensures the head positioning is accurate, preventing spinning issues. First, gently remove the brush head and check for any debris or obstructions. Then, reattach the head, making sure it clicks into place. Confirm the following:
- The brush head is aligned with the connection point
- The head positioning is centered
- It’s pushed in until you hear a click
- No gaps exist between the head and handle
- The attachment feels secure and stable
Ensuring correct brush head alignment prevents misfitting that can cause spinning problems. Take your time to verify the positioning so the brush operates smoothly and effectively, especially when considering Free Floating mechanisms that allow for flexible movement.
Ensure Secure Attachment
Ensuring your brush head is securely attached is essential for proper operation. A loose attachment can cause the brush not to spin, despite battery maintenance efforts. Double-check that the head clicks firmly into place, ensuring maximum attachment security. When properly attached, your device performs at its best, preventing frustration and ensuring a thorough clean. Keep in mind, a secure attachment isn’t just about convenience—it’s about maintaining battery efficiency and prolonging your brush’s lifespan. If your brush head feels loose, reattach it with a firm click. Also, regularly inspect the connection point for dirt or debris that might weaken the attachment. Here’s a quick emotional guide to attachment security:
| Frustration | Confidence | Satisfaction |
|---|---|---|
| Loose fit | Firm click | Clean smile |
| Worry | Secure grip | Fresh breath |
| Doubt | Reliable | Healthy gums |
| Disappointment | Trust | Bright smile |
Check For Obstructions
Sometimes, debris or buildup can obstruct the connection between the brush head and the handle, preventing it from spinning properly. Check for any obstructions around the connection point, especially where the bristle alignment might be affected. Make sure the brush head is attached correctly and securely. Inspect the handle ergonomics to ensure it’s not loose or misaligned. Look for tangled hair, dust, or debris that could block movement. Clear away any buildup with a soft cloth or brush. Verify that the brush head clicks into place properly, ensuring it’s not loose. Confirm that the bristle alignment is correct and not bent or damaged. Proper reattachment prevents obstructions and ensures smooth spinning. Keeping these elements in check helps your vacuum operate efficiently.

Tooth Polisher with 5 Brush Heads, Teeth Polishing Kit Electric Dental Polisher Plaque Remover Rechargeable Toothbrush LED Light Cleaning Kit for Home Use Whitening Tooth (9 Pastes, 4 Speed Modes)
Teeth Polishing Kit – Our dental cleaning tools includes 5 cleaning brush heads (polishing brush head, pointed brush…
As an affiliate, we earn on qualifying purchases.
As an affiliate, we earn on qualifying purchases.
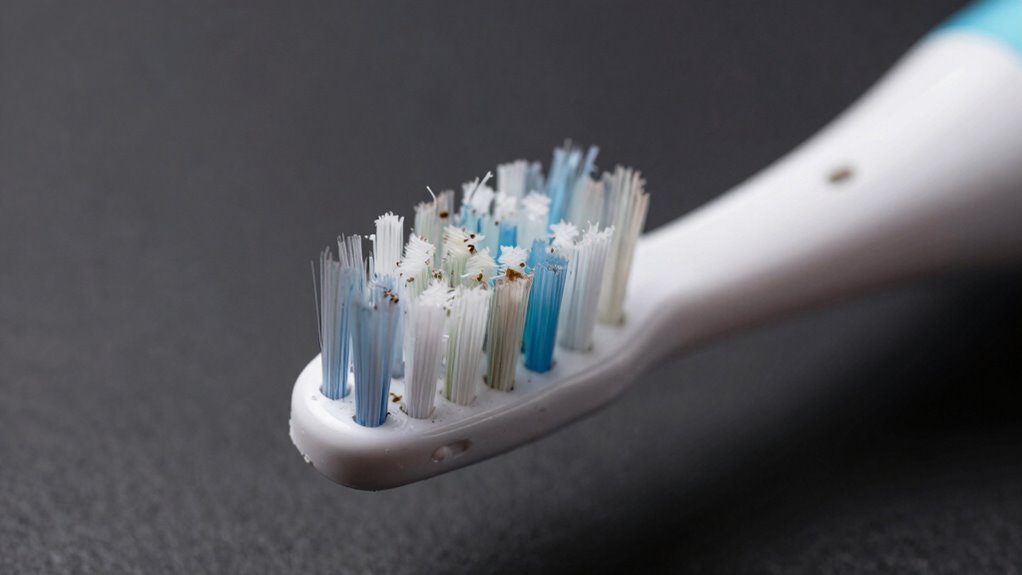
Check for Debris or Obstructions in the Brush Head and Mechanism

Debris and obstructions are common culprits when your brush stops spinning. Check the brush head thoroughly for trapped hair, dust, or debris that can hinder movement. Pay close attention to bristle alignment; bent or clogged bristles can interfere with rotation. Remove any tangled debris carefully to prevent damage. Also, inspect the motor gear for obstructions or buildup, as debris here can block the gear’s movement. Make sure the brush mechanism is free of obstructions that could prevent the brush from spinning smoothly. Clearing out debris ensures the brush head can rotate freely and helps maintain ideal cleaning performance. Regularly checking for obstructions not only fixes the immediate issue but also prolongs the lifespan of your vacuum’s brush system. Additionally, consulting your vacuum’s manual can provide specific guidance on cable failures or other maintenance tips. Ensuring the motor gear is properly lubricated can also prevent unnecessary wear and improve overall function. Incorporating regular maintenance routines can prevent brush motor issues from recurring, saving you time and effort. Checking the brush assembly periodically can help identify potential problems early before they lead to complete failure. Moreover, examining the bearing and axle components can reveal wear that might cause the brush to stop spinning.
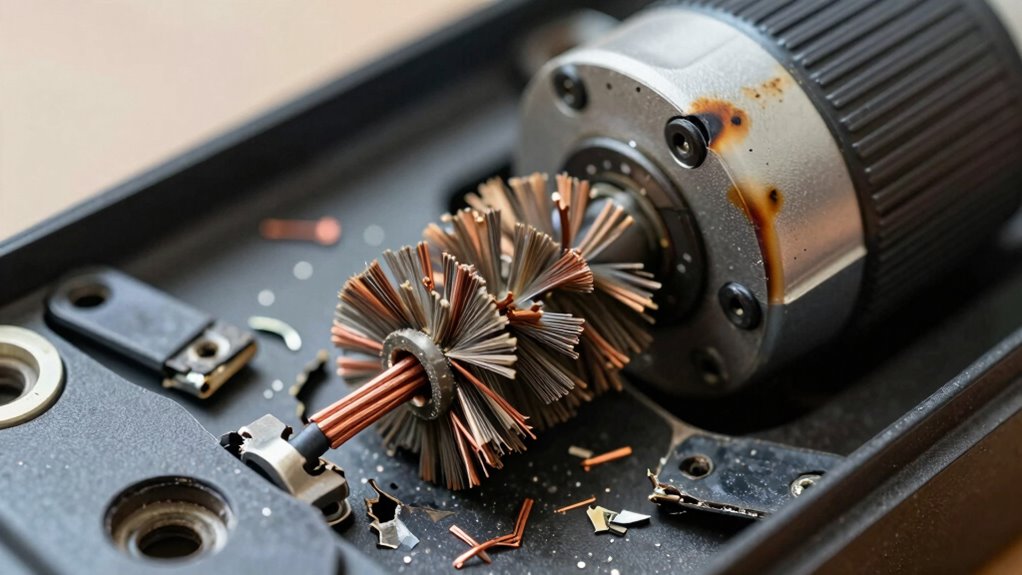
Inspect the Motor and Gearbox for Wear or Damage
Start by looking for any visible damage to the motor and gearbox, such as cracks or worn parts. Then, test the motor to see if it runs smoothly without unusual noises or vibrations. If you notice issues, it might be time to contemplate repairs or replacements. Additionally, inspecting home design/architecture details can help identify potential causes of mechanical failure and improve overall system performance. Checking for mechanical wear and tear can also provide insights into the longevity of the components and whether preventive maintenance is needed. Regularly monitoring creative and gaming gear components can help prevent unexpected failures and extend their lifespan. Incorporating preventive maintenance practices and understanding component durability can further enhance the durability of the system and reduce downtime.
Check for Visible Damage
To determine if the motor or gearbox is causing the brush not spinning issue, carefully examine them for visible signs of wear or damage. Look closely at the motor and gearbox housing for casing cracks, which can compromise their function. Check the brushes for bristle damage, such as broken or worn-out bristles that can hinder movement. Inspect the gear teeth for chips or deformation, indicating wear. Look for any oil leaks, which suggest seal damage or lubrication issues. Also, examine the wiring connections for fraying or corrosion. Regularly performing visual inspections can help catch issues early before they lead to complete failure. These visible damages can prevent proper operation and may require repair or replacement to restore functionality. Addressing these issues early saves time and prevents further damage to your device. Regular maintenance and understanding testing accuracy can help identify potential issues before they worsen.
Test Motor Function
If the brush isn’t spinning, it’s vital to test the motor and gearbox for signs of wear or damage. Begin with motor testing to verify the motor operates smoothly without unusual noises or resistance. Check for loose connections or corrosion that could interfere with power flow. Proper battery maintenance is essential—make sure your batteries are charged and in good condition, as weak batteries can cause insufficient power for motor function. Inspect the gearbox for worn gears or debris that might hinder movement. If you find any damage or excessive wear, replacing the affected parts can restore proper operation. Regular motor testing and good battery maintenance help prevent issues, guaranteeing your brush spins freely and functions efficiently. Additionally, understanding regional variations in equipment standards can help ensure your maintenance practices align with best practices for your area.
Clean and Verify the Battery Contacts and Connections
Since poor or loose battery contacts often cause the brush not to spin, it’s essential to clean and verify these connections first. Over time, battery corrosion can build up, hindering contact. To guarantee proper contact, you should:
Ensure clean, corrosion-free contacts for reliable brush operation.
- Remove the battery carefully from the compartment
- Inspect for corrosion or debris on the contacts
- Use a soft cloth or cotton swab dipped in vinegar or rubbing alcohol for contact cleaning
- Gently scrub away any buildup or corrosion
- Dry the contacts thoroughly before reinserting the battery
Reset or Recalibrate Your Electric Toothbrush

To fix your toothbrush, start by performing a power cycle reset—turn it off, wait a few seconds, and then turn it back on. Make sure all connections are secure and properly in place before proceeding. Follow the manufacturer’s calibration steps to guarantee your brush functions smoothly again.
Power Cycle Reset
Sometimes, your electric toothbrush may stop spinning due to a minor glitch that a simple reset can fix. Performing a power cycle reset can often restore proper function. To do this:
- Turn off your toothbrush completely
- Remove the battery or disconnect it from its power source
- Wait 30 seconds to allow internal components to reset
- Reconnect or reinsert the battery
- Turn the toothbrush back on and test the spin
This process helps with battery maintenance and clears minor software hiccups. If your toothbrush still doesn’t spin, it’s a good idea to troubleshoot as a user. Power cycling resets the electronics, often resolving the issue without further repairs. Remember, regular resets can prolong your toothbrush’s lifespan and keep it performing ideal.
Check Connection Properly
If your electric toothbrush still isn’t spinning properly, checking the connection between the brush head and the handle is a crucial step. Sometimes, battery issues or misaligned brush heads cause the problem. Confirm the brush head is securely attached and properly aligned to make good contact.
Here’s a quick checklist:
| Step | Action |
|---|---|
| Check battery status | Replace or recharge if needed |
| Confirm brush head fit | Make sure it clicks into place properly |
A loose or misaligned brush head can prevent spinning, and weak batteries may reduce power. If these seem fine, reattach the brush head firmly, ensuring proper alignment. This simple check can often resolve the issue without further troubleshooting.
Follow Calibration Steps
When your electric toothbrush still isn’t spinning properly after checking connections, resetting or recalibrating it often helps restore normal function. Start by ensuring the bristle alignment is correct, as misaligned bristles can interfere with movement. Check the charging status to confirm the device has enough power—sometimes low battery affects the motor. Follow these calibration steps:
- Remove the brush head and inspect for debris.
- Reattach the brush head firmly, ensuring proper bristle alignment.
- Fully charge the toothbrush before recalibration.
- Turn the device on and off as instructed in the manual.
- Test the spin to see if calibration corrected the issue.
Performing these steps resets the motor’s settings, often fixing the brush not spinning problem and restoring ideal performance.
Look for Visible Damage or Broken Parts Inside the Device
To identify visible issues, carefully open the device and inspect the internal components. Look for broken parts, loose wires, or signs of damage. Focus on the gear mechanisms and internal wiring, as these are common failure points. Damaged gears can prevent the brush from spinning, while frayed or disconnected wiring can disrupt power flow.
| Check for Damage | What to Look For |
|---|---|
| Gear damage | Cracks, missing teeth |
| Internal wiring | Frayed, disconnected, burnt wires |
| Broken or loose parts | Any detached components |
| Corrosion or rust | Especially around wiring and gears |
| Debris or buildup | Obstructing moving parts |
Addressing these issues can often resolve the spinning problem without replacing the entire device.
When to Replace Parts or Your Entire Toothbrush
Knowing when to replace parts or your entire toothbrush is essential to maintaining effective cleaning and avoiding ongoing issues. If your bristle maintenance becomes difficult or the handle ergonomics no longer feel comfortable, it’s time to consider replacements. Keep an eye on these signs:
- Bristles are frayed or splayed
- Handle feels loose or damaged
- Motor struggles to spin or stops unexpectedly
- Excessive wear on brush head or handle
- Battery life diminishes despite proper charging
Replacing worn-out parts like the brush head improves cleaning efficiency, while upgrading the entire toothbrush ensures better handle ergonomics and a fresh motor. Regularly evaluating these factors helps prevent issues like the brush not spinning and keeps your oral hygiene routine effective.
Tips to Prevent Your Brush From Stopping in the Future

Preventing your electric toothbrush from stopping unexpectedly begins with proper maintenance and careful usage. Regularly check your battery maintenance by ensuring it’s fully charged but not overcharged, which can extend its lifespan. Avoid letting the battery drain completely before recharging, as this can impact performance. When it’s not in use, follow storage tips like keeping the toothbrush in a cool, dry place away from moisture and extreme temperatures. Proper storage prevents internal components from corroding or malfunctioning. Also, clean the brush head and charger contacts regularly to ensure good electrical contact. These simple steps help maintain peak power and prevent interruptions during brushing, reducing the chances of your brush stopping mid-use. Staying attentive to battery health and storage conditions keeps your toothbrush operating smoothly.
Frequently Asked Questions
Can a Faulty Charger Cause My Toothbrush Not to Spin?
Yes, a faulty charger can cause your toothbrush not to spin. Charger malfunctions can prevent proper charging, leading to battery issues that stop the brush from functioning. If your charger isn’t working correctly, it might not supply enough power, resulting in insufficient battery charge. This lack of power can make the brush’s motor stop spinning. Check your charger for damage or try a different one to see if the problem resolves.
How Often Should I Replace the Brush Head?
Imagine your toothbrush’s bristles as tiny soldiers fighting plaque daily. To guarantee their strength, replace the brush head every three months. This brush replacement boosts your toothbrush’s longevity and keeps your smile bright. Worn-out bristles won’t clean effectively, so don’t wait until they look frayed. Regularly swapping out the brush head maintains peak cleaning power, making each brushing session a fresh, invigorating experience while protecting your dental health.
What Tools Do I Need to Open My Electric Toothbrush?
To open your electric toothbrush for repair or maintenance, you’ll need a small Phillips head screwdriver and sometimes a plastic pry tool. First, remove the brush head and locate the screws on the back or bottom of the handle. Carefully unscrew them to access the motor and internal parts. Using these tools guarantees proper electric toothbrush repair and helps you perform regular toothbrush maintenance without damaging the device.
Is It Safe to Repair My Toothbrush Myself?
You might think DIY fixes are simple, but repairing your electric toothbrush can be risky. While it’s tempting to fix it yourself, safety precautions are essential to avoid electric shocks or damage. If you’re confident and follow proper guidelines, it can be safe, but if you’re unsure, it’s better to seek professional help. Remember, safety always comes first—don’t compromise your well-being for a quick fix.
How Do I Prevent Water Damage to the Internal Components?
To prevent water damage to your toothbrush’s internal components, follow waterproofing tips like ensuring the seal is intact and avoiding submerging it fully in water. Keep the charging port dry and wipe off excess water after use. Regularly check for cracks or gaps where water could seep in. Proper internal component protection helps extend your toothbrush’s lifespan, so take these steps seriously for better durability and performance.
Conclusion
By following these simple checks, you can often fix your toothbrush’s spinning issue yourself, saving time and money. If your brush still won’t turn on after troubleshooting, consider that it might be time for a replacement rather than risking further damage. Remember, regular maintenance can extend your device’s lifespan, but don’t hesitate to consult a professional if problems persist—investing in quality care now prevents more costly repairs later.