
To avoid moldy trays and weak germination, start with high-quality microgreens seeds stored in a cool, dry spot. Always test a small batch first to check germination rates and buy from reputable suppliers that guarantee seed freshness and proper treatment. When planting, sterilize your soil, keep it evenly moist without overwatering, and provide good airflow. Staying vigilant for mold signs and managing moisture levels will help your microgreens thrive—continue for more tips to ensure success.
Key Takeaways
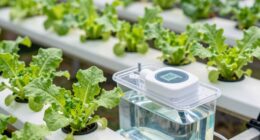
- Store seeds in a cool, dry place and use airtight containers to prevent moisture absorption.
- Perform germination tests on small batches before large-scale planting to ensure seed viability.
- Choose reputable suppliers offering fresh, properly stored, and non-GMO seeds with clear packaging.
- Maintain proper soil moisture, avoid overwatering, and keep trays well-ventilated to prevent mold growth.
- Regularly inspect trays for mold or weak seedlings, removing affected plants immediately to prevent spread.

PHAIN 4-Tier Seed Sprouting Kit with Drain Holes and Drain Tray, Upgrade Stackable Microgreens Fresh Organic Bean Seed Sprouter Tray Ripple Soil-Free Sprouter Tray for Beans Alfalfa Seeds
DESIGNED FOR NON-SLIP & DRAINAGE: Designed for fast and healthy seed germination, this seed germination tray combines a…
As an affiliate, we earn on qualifying purchases.
As an affiliate, we earn on qualifying purchases.
What Makes a High-Quality Microgreens Seed?

A high-quality microgreens seed is essential for healthy, flavorful, and nutritious microgreens. Proper seed storage is key—keep seeds in a cool, dry place to maintain their viability and prevent mold or deterioration. When selecting seeds, perform germination testing to guarantee they sprout reliably; this involves testing a small batch before planting extensively. Seeds with high germination rates lead to uniform growth and reduce waste. Look for seeds from reputable sources, and check packaging for freshness and storage instructions. Quality seeds are free from disease and pests, which helps prevent moldy trays and weak germination. Additionally, utilizing cleaning techniques for your growing environment can further enhance your microgreens’ success. By focusing on seed storage and germination testing, you’ll set a strong foundation for successful microgreens cultivation. Furthermore, understanding digital concepts can enhance your approach to researching and selecting the best seeds. Consider incorporating seasonal ingredients in your microgreens dishes to elevate their flavor and nutritional value.
PHAIN 4-Tier Seed Sprouting Kit with Drain Holes and Drain Tray, Upgrade Stackable Microgreens Fresh Organic Bean Seed Sprouter Tray Ripple Soil-Free Sprouter Tray for Beans Alfalfa Seeds
DESIGNED FOR NON-SLIP & DRAINAGE: Designed for fast and healthy seed germination, this seed germination tray combines a…
As an affiliate, we earn on qualifying purchases.
As an affiliate, we earn on qualifying purchases.
How to Choose Reputable Seed Suppliers and Varieties

Choosing the right seed supplier and varieties can make or break your microgreens grower experience. Reputable suppliers prioritize seed storage, ensuring seeds are kept dry, cool, and pest-free, which maintains seed quality. Look for suppliers that provide detailed information on seed treatment, as treated seeds often have better germination rates and are less prone to mold. Verify that they follow strict quality standards and offer certified, non-GMO options. Reputable sources also provide fresh seeds with clear packaging and expiration dates. By selecting trusted suppliers who focus on proper seed storage and treatment, you reduce risks of weak germination and mold issues. This foundation helps set you up for successful microgreens growth, saving you time and resources.

4-Tier Sprouts Growing Kit with Drain Hose & Ventilation Holes, Stackable Microgreens Growing Sprouting Trays Including Blackout Cover, Soil-Free Sprouter for Planting Broccoli Alfalfa Bean Seeds
2026 Upgraded Sprouts Growing Kit: The hydroponic microgreens growing kit trays feature enhanced hole design to securely hold…
As an affiliate, we earn on qualifying purchases.
As an affiliate, we earn on qualifying purchases.
Best Practices for Planting Microgreens and Tray Prep

Getting your trays ready and planting microgreens correctly sets the stage for healthy, vigorous growth. Begin by sterilizing your soil or growing medium to eliminate pathogens and prevent mold. Nutrient enrichment is key—mix in compost or organic amendments to provide essential nutrients for strong germination. Make certain the soil is evenly moistened but not waterlogged, as excess moisture can lead to mold. When spreading the seeds, do so evenly to promote uniform sprouting, and lightly press them into the soil surface for good seed-to-soil contact. Cover the tray with a humidity dome or plastic wrap to retain moisture during germination. Proper tray prep with sterilized soil and nutrient enrichment helps foster healthy roots and minimizes the risk of weak germination or mold issues. Additionally, smart design in your planting setup can enhance air circulation and light exposure, contributing to optimal growth conditions.
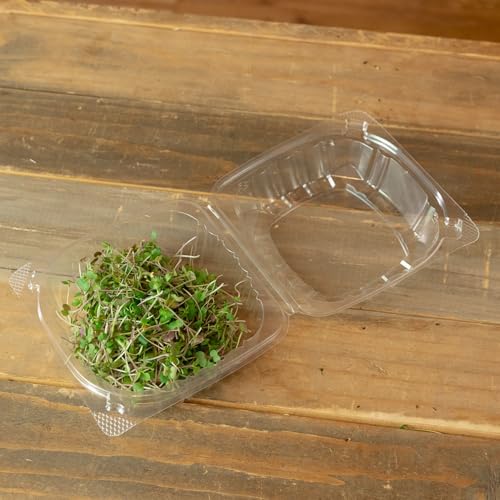
Mountain Valley Seed Company Microgreens Containers Small – 10 Count – BPA-Free Plastic Clamshells for Microgreens Packaging – Secure Snap-Lock Lids – Clear Design – For Home or Commercial Growers
🌱 BPA-free clear plastic clamshells for storing, packaging, and selling microgreens; ideal for both home use and professional…
As an affiliate, we earn on qualifying purchases.
As an affiliate, we earn on qualifying purchases.
Signs of Mold and Germination Issues in Microgreens

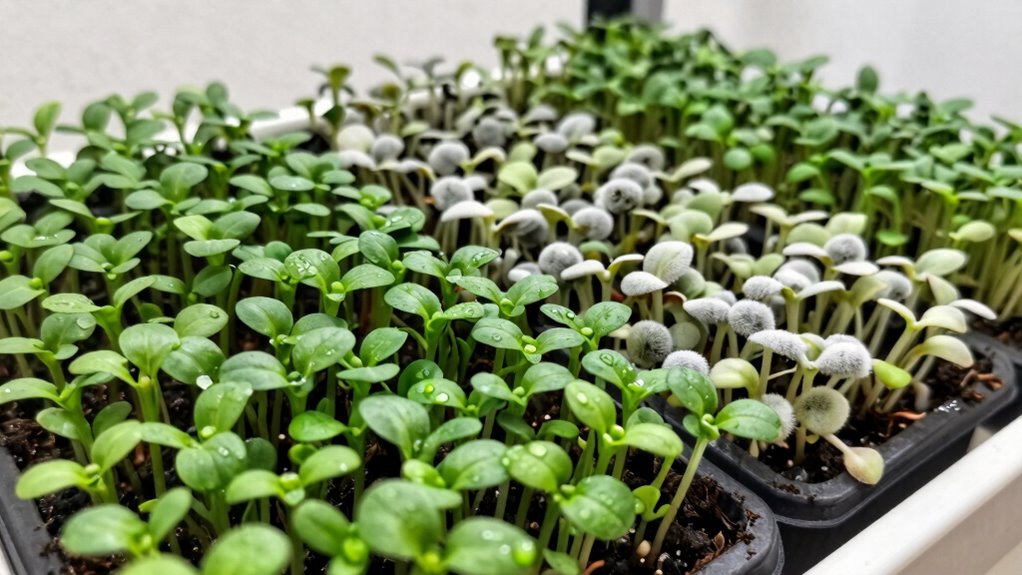
Monitoring your microgreens closely is essential because early signs of mold or germination issues can quickly compromise your crop. Mold identification often shows up as fuzzy, discolored patches—white, gray, or black—on the soil or seedlings. Germination troubleshooting involves spotting uneven sprouting or weak, spindly shoots, indicating poor seed quality or moisture problems. Watch for:
- Slimy or fuzzy growth on the tray surface
- Unusual discoloration or fuzzy patches (mold signs)
- Uneven or delayed germination
- Weak, pale, or leggy seedlings
Additionally, maintaining proper moisture levels is crucial to prevent mold growth and support healthy germination. Implementing accessibility features can also help ensure that kids engage with gardening effectively and safely. It’s important to note that regular cleaning of your gardening tools can also help reduce the risk of mold contamination. Proper LiFePO4 battery maintenance can also enhance your gardening experience by ensuring consistent power for your equipment. Furthermore, understanding indoor air quality can help create a healthier environment for your microgreens, minimizing mold spores and improving overall growth.
How to Prevent Mold and Keep Your Microgreens Healthy

To prevent mold and keep your microgreens healthy, maintaining proper airflow and avoiding excess moisture are vital. Make sure your growing area has good ventilation to reduce indoor humidity, which can foster mold growth. Proper indoor air quality is essential for creating a healthy environment for your microgreens. Additionally, using air fryer accessories can help you create an ideal setup for your microgreens by ensuring they have the right conditions for growth. Regularly incorporating high-protein breakfast options into your diet can also promote overall health, benefiting your gardening efforts. Monitor indoor humidity levels and aim for around 40-60% to prevent overly damp conditions. Essential oils for respiratory health can also improve indoor air quality. Proper seed storage is also essential; store seeds in a cool, dry place in airtight containers to keep them from absorbing moisture that could lead to mold during germination. When watering, avoid over-saturating the soil or trays, and consider using a spray bottle to keep moisture controlled. Regularly check your trays for signs of excess moisture or mold, and remove affected plants immediately. Consistent airflow, stable indoor humidity, and proper seed storage form the foundation of healthy microgreens. Additionally, consider researching microgreens best practices to enhance your growing techniques.
Frequently Asked Questions
How Long Do Microgreens Seeds Typically Last Before Losing Viability?
Microgreens seeds typically last 1 to 3 years before losing viability. To extend their shelf life, store seeds in a cool, dry, and dark place, using airtight containers for seed storage. Regular viability testing helps you determine if your seeds are still good—try germinating a few before planting extensively. Proper storage and testing guarantee you maximize seed freshness, leading to healthy, vigorous microgreens.
Are Organic Seeds Less Prone to Mold Than Non-Organic Seeds?
Organic seeds are generally less prone to mold because they often have fewer pesticide residues, which can promote mold growth. Organic certification guarantees the seeds are grown without synthetic chemicals, reducing potential contamination. You should still handle them properly—keep trays clean and avoid excess moisture—to prevent mold. Using organic seeds doesn’t guarantee mold resistance, but it does lower the risk compared to non-organic seeds, making your microgreens healthier and safer.
What Environmental Factors Most Affect Seed Germination Rates?
Did you know that over 70% of seed germination success depends on environmental factors? You should pay close attention to soil pH and light exposure. Seeds germinate best in a soil pH between 6.0 and 7.0. Also, make sure your microgreens receive adequate light—at least 12-16 hours daily—since poor light can weaken germination. Controlling these factors enhances germination rates and promotes healthy growth.
Can Seed Treatment Products Improve Germination and Reduce Mold?
Yes, seed treatment products can improve germination and reduce mold. Using seed coating with antifungal agents helps protect seeds from fungus, ensuring healthier sprouting. Fungus prevention through proper seed treatment minimizes mold growth, which can hinder germination. Applying these treatments before planting enhances seed vigor and increases your chances of successful microgreen cultivation. Just make sure to choose products suitable for microgreens and follow the instructions carefully for best results.
How Can I Test Seed Quality Before Planting?
Did you know that up to 20% of seeds can be unviable? To test seed quality, start with proper seed storage in a cool, dry place to maintain freshness. Then, perform germination testing by placing a few seeds on moist paper towels and observing sprouting within a few days. This quick method helps you identify healthy seeds, ensuring better germination rates when you plant your microgreens.
Conclusion
By selecting high-quality seeds from trusted suppliers and following best planting practices, you can markedly reduce mold and germination problems. It’s a common belief that mold only appears due to poor hygiene, but sometimes it’s just bad seed batches or overlooked moisture issues. Trust your instincts, stay vigilant, and treat your microgreens with care. With a little attention, you’ll enjoy healthy, vibrant microgreens that prove good seed quality truly makes all the difference.