To reset and re-map your robot vacuum, start by fully charging it and updating the firmware. Access the reset option via the control panel or app, then perform a factory reset. Afterward, place the vacuum on a flat, clutter-free surface and initiate re-mapping through the app or manual controls. Monitor the process carefully, ensuring it creates an accurate map. If issues arise or you want detailed instructions, continue exploring for essential tips and troubleshooting steps.
Key Takeaways
- Fully charge the vacuum, update its firmware, and clean sensors before resetting to ensure optimal performance.
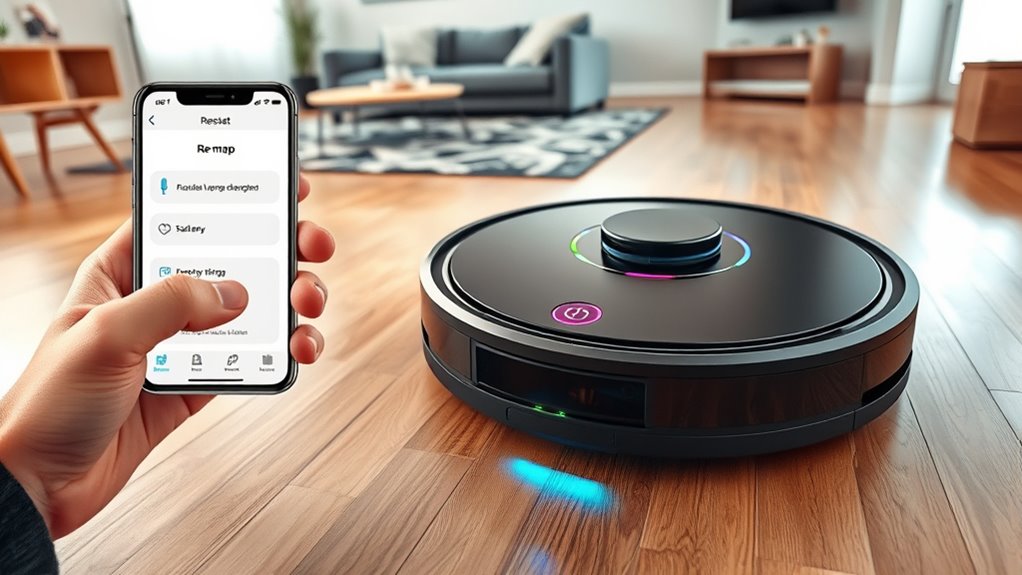
- Access reset options via the app or physical reset button, following manufacturer instructions.
- Perform a factory reset to erase old maps and settings, then reconnect to Wi-Fi and the app.
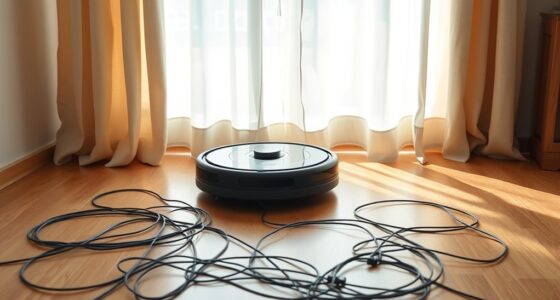
- Initiate re-mapping by placing the vacuum on a flat surface and starting a scan through the app or manual reset mode.
- Verify map accuracy post-re-mapping, clear obstacles, and save custom zones for efficient future cleaning cycles.
Understanding Why Resetting and Re-Mapping Are Important
Resetting and re-mapping your robot vacuum are essential steps to guarantee it functions efficiently. When you reset your device, you clear any glitches or outdated data that could impair performance. Re-mapping helps update the layout of your space, ensuring thorough cleaning. Proper re-mapping also supports maintaining battery health by optimizing navigation paths, preventing unnecessary energy drain. Additionally, re-mapping allows you to refine scheduling routines, so your vacuum cleans at the most convenient times without missing spots. If your vacuum isn’t performing well or seems to struggle with navigation, resetting and re-mapping are effective solutions. These processes keep your device running smoothly, extend its lifespan, and ensure your home stays clean with minimal effort on your part. Airless sprayers are designed to maximize paint coverage and reduce overspray, which can be beneficial for thorough cleaning of your vacuum’s sensors and brushes.
Preparing Your Robot Vacuum for Reset and Re-Mapping
Before you begin resetting and re-mapping your robot vacuum, it’s important to prepare your device properly. Start by ensuring your battery is fully charged or has enough power to complete the process, preventing interruptions. Check that your device’s software is up to date—software updates often include improvements for navigation and stability, which can make re-mapping smoother. Clean the sensors and brushes to remove dust and debris; this helps your vacuum accurately detect surroundings during re-mapping. Confirm that your Wi-Fi connection is stable if your device relies on app control. Additionally, understanding the role of automation technologies in enhancing device performance can help you optimize your vacuum’s functionality. Taking these steps minimizes potential issues and guarantees your robot vacuum is in excellent condition for a successful reset and re-mapping session.
Accessing the Reset Option on Your Device
To access the reset option on your robot vacuum, start by locating the control panel or the physical buttons on the device. Many models have a dedicated reset button or a combination of buttons you press simultaneously. Check your user manual if you’re unsure. Some vacuums also allow access through the app, where you can find a reset or troubleshooting option. Before resetting, confirm your device has completed recent software updates, as these can affect reset procedures. Additionally, performing a reset helps with battery calibration, confirming the battery gauge reads accurately. Once you’ve identified the reset method, press the appropriate buttons or navigate through the app. This step is essential for clearing previous mappings or preparing your vacuum for the next configuration. Regular maintenance and understanding how to reset your device can significantly improve its indoor air quality and operational efficiency.
Performing a Factory Reset Step-by-Step

Before you start, make sure your robot vacuum is charged and ready for the reset process. Next, access the reset settings on your device, usually through the app or control panel. If your vacuum supports smart home integration, ensure that it is connected properly before proceeding. Finally, confirm the factory reset when prompted to restore your vacuum to its original settings.
Prepare for Reset
Are you ready to reset your robot vacuum? Before you begin, guarantee your device is fully charged to avoid interruptions. Performing a battery calibration helps your vacuum accurately assess its power levels, which is essential before a reset. Check for any pending software updates—up-to-date firmware ensures compatibility and smooth operation after the reset. Disconnect the vacuum from any charging stations or docks to prevent accidental resets. Clear the cleaning area of obstacles and loose debris to avoid interference during the process. Confirm all settings are backed up if needed, as a factory reset will erase personalized preferences. Additionally, reviewing your Kia Tuning modifications can inspire ideas for aesthetic or performance upgrades once your device is reset. Once these steps are complete, you’re prepared to perform the reset confidently, knowing your device is ready for a fresh start.
Access Reset Settings
Accessing the reset settings on your robot vacuum typically involves maneuvering through its control interface or companion app. Start by opening the app or pressing the physical buttons, then navigate to the device settings. Look for options labeled “Reset,” “Factory Reset,” or similar. Before proceeding, verify your software is up to date, as updates often include fixes for reset procedures. Resetting can also help re‑calibrate the battery, improving performance. Some models require holding specific buttons for a few seconds or selecting reset options within the app. Carefully follow the on-screen prompts or button sequences to access the reset menu. Once there, you can initiate a factory reset, which will erase custom maps and settings, preparing your robot for re‑mapping or troubleshooting. Understanding firmware updates is essential, as they can influence the reset process and overall device functionality.
Confirm Factory Reset
Wondering how to confirm that your factory reset was successful? To verify, check if your robot vacuum has reverted to factory settings and requires device calibration again. Proper reset should clear personalized maps and settings. Use this quick checklist:
| Step | What to Look For | Result |
|---|---|---|
| Power On | Does it start with initial setup screen? | Yes, reset successful. |
| Factory Defaults | Are previous maps and schedules gone? | Yes, confirms factory settings reset. |
| Device Calibration | Does it need recalibration after reset? | Yes, recalibration is necessary. |
If these points align, your device reset worked. Now, you’re ready to reconfigure your vacuum’s settings and maps. Additionally, European cloud innovation emphasizes the importance of secure and energy-efficient solutions in modern device management.
Setting Up Your Robot Vacuum After Reset
After resetting your robot vacuum, you’ll need to set it up from scratch to guarantee it functions correctly. Begin by charging the device fully to optimize battery management, which helps prolong its lifespan and ensures reliable cleaning. Next, follow the manufacturer’s instructions to connect your vacuum to Wi-Fi and your app. As you start, the vacuum will likely begin a new mapping process; keep an eye on map accuracy, as this impacts cleaning efficiency. Make sure the area is clear of obstacles to allow the robot to create a precise map of your space. Confirm that the navigation settings are optimized for your home layout. Proper setup now will improve overall performance and make future re-mapping easier. Additionally, reviewing mapping accuracy can help identify and resolve potential navigation issues early on.
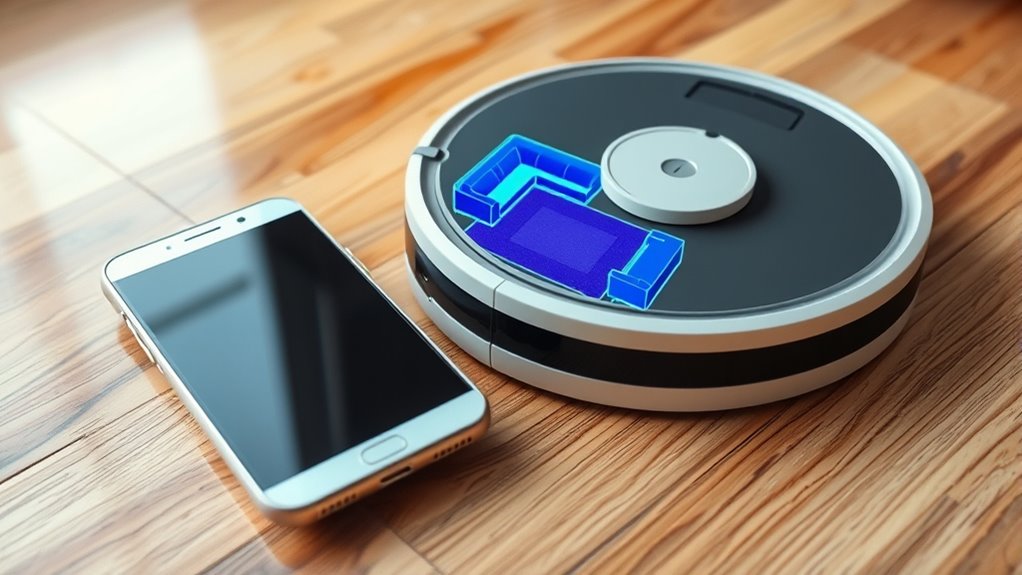
Initiating the Re-Mapping Process

To initiate the re-mapping process, start by ensuring your robot vacuum is on a flat surface with a clear path ahead. Proper placement helps improve mapping accuracy and sensor calibration. Once powered on, press the reset or re-map button, often located on the device or in the app. As it begins, you’ll notice the vacuum performing a series of movements to scan your space. Imagine it:
Place your robot vacuum on a flat, obstacle-free surface and press re-map to start scanning your space.
- Steering around furniture and obstacles
- Using sensors to detect walls and objects
- Building a new map from scratch
This initial phase is vital for accurate re-mapping. Keep the area clear of clutter and avoid moving the vacuum during this process. Your goal is to give your robot the best environment to recalibrate its sensors and generate an accurate map of your home. Additionally, understanding that sensor calibration enhances the device’s ability to detect obstacles and boundaries can help improve overall performance during re-mapping.
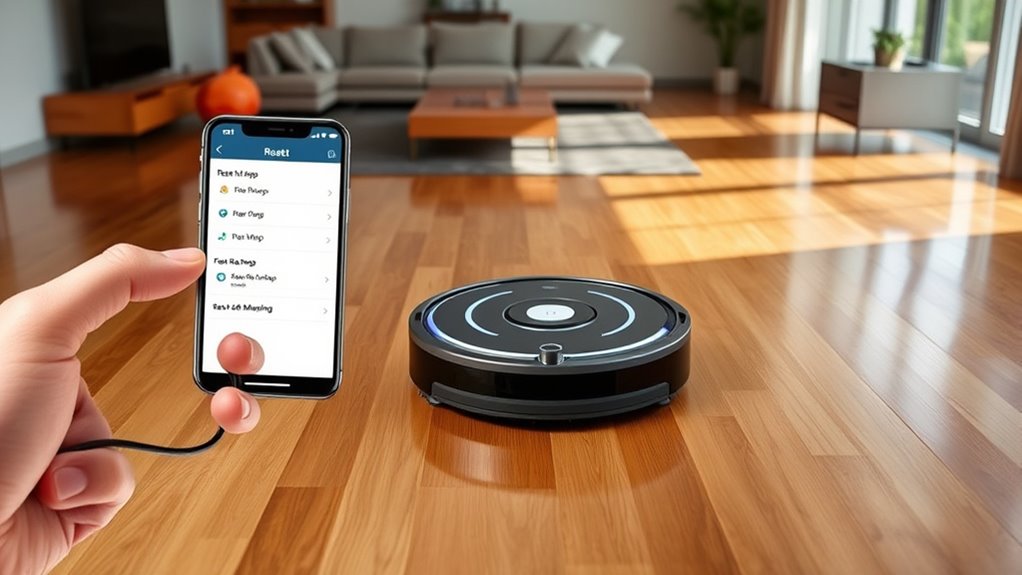
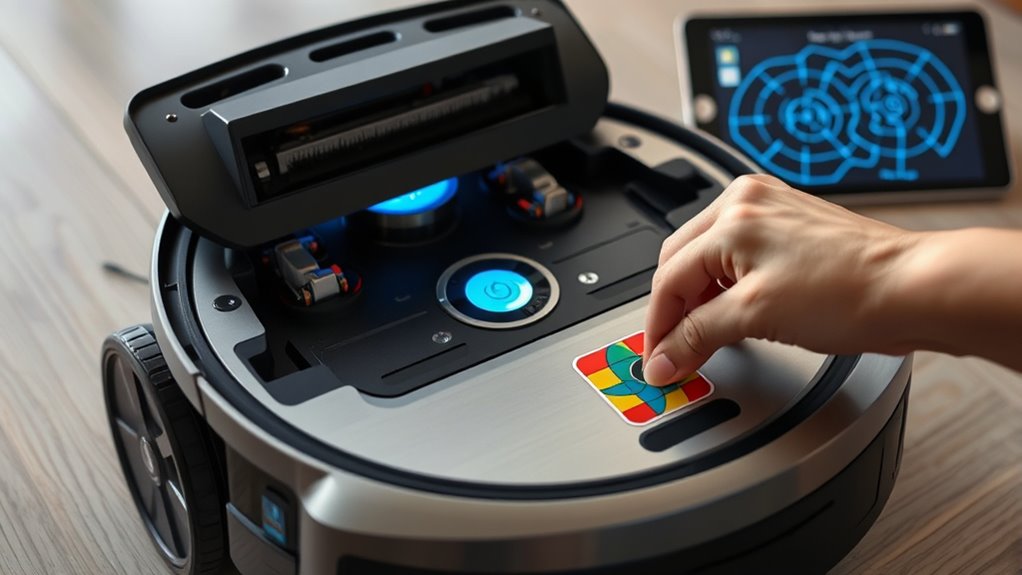
Using the App to Create a Custom Map
Using the app to create a custom map allows you to define specific areas for cleaning and set preferences that suit your home. With this feature, you can designate zones to prioritize or avoid, optimizing your vacuum’s efficiency. Regular software updates ensure your app functions smoothly and includes the latest mapping capabilities. As you customize, keep in mind battery maintenance; mapping can help conserve power by focusing on high-traffic areas. Once your map is set, you can save multiple layouts for different floors or rooms. This process gives you control over your cleaning routine, making it more effective and tailored to your needs. Consistently updating your app and maintaining the battery will keep your robot vacuum operating at peak performance.
Manual Re-Mapping Without an App
To manually re-map your robot vacuum without an app, you first need to access its reset mode, usually by pressing specific buttons or holding the power button. Once in reset mode, you’ll follow the re-mapping process outlined in your device’s manual, which often involves guiding the vacuum through a series of movements or commands. This method allows you to customize your map directly, without relying on an app or Wi-Fi connection. Understanding home automation features can help you better manage and troubleshoot your device.
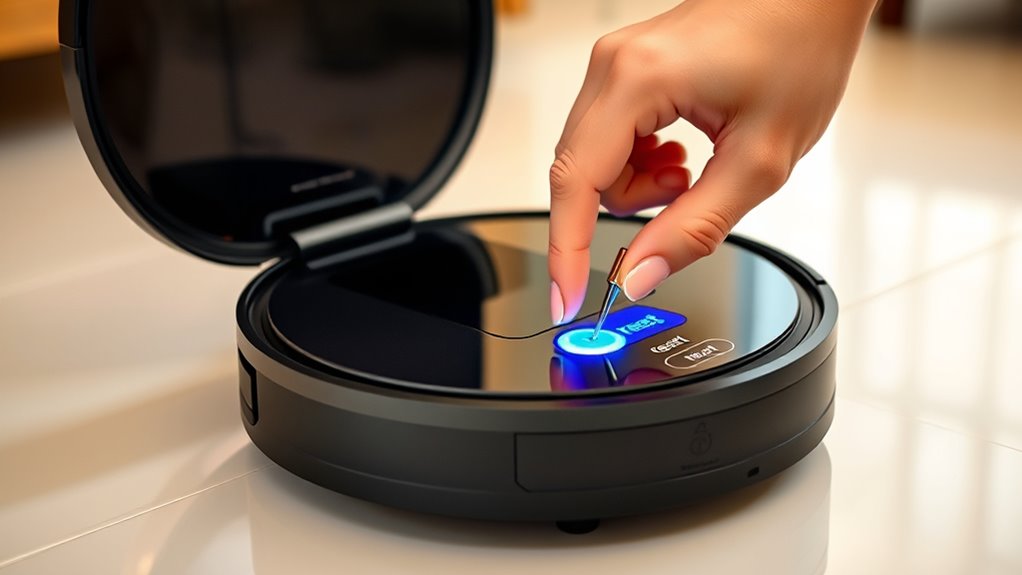
Accessing Reset Mode
Accessing reset mode manually often requires you to perform specific button presses or hold certain parts of your robot vacuum. This process helps improve map accuracy and obstacle detection by clearing previous data. To do this, you might:
- Press and hold the power button for 10 seconds until the lights flash.
- Simultaneously press the “home” and “spot clean” buttons.
- Remove the battery and reinsert it after a few seconds while holding a button.
- Understanding the system architecture of your robot can also assist in troubleshooting and re-mapping efforts.
These steps vary by model, so consult your user manual if needed. By entering reset mode, you prepare your robot for re-mapping without an app, allowing it to recalibrate its navigation system effectively. This manual approach is useful when troubleshooting map accuracy issues or obstacle detection problems.
Re-Mapping Process
Ever wondered how to re-map your robot vacuum without an app? To do this, you’ll need to manually guide your robot through your space. Start by placing it in a specific area and activating the reset or re-mapping mode, if available. As it moves, ensure it detects obstacles clearly; good obstacle detection improves mapping accuracy. Use the vacuum’s manual controls to direct it around different rooms, corners, and furniture. This process helps the robot learn your layout more precisely. Be patient, allowing the vacuum to revisit areas and refine its map. Confirm the new map by running a cleaning cycle. Manual re-mapping without an app relies heavily on obstacle detection to improve mapping accuracy, ensuring your robot navigates efficiently in subsequent cleanings. Additionally, Mazda Tuning techniques can inspire ways to optimize your robot’s navigation and performance.
Troubleshooting Common Reset and Re-Mapping Issues

When your robot vacuum struggles with resetting or re-mapping, pinpointing the issue can be tricky, but understanding common problems can help you troubleshoot effectively. Often, issues stem from outdated firmware, insufficient battery maintenance, or obstacles blocking sensors. For example, a low battery can cause incomplete maps or resets, while outdated firmware might prevent proper re-mapping. Additionally, clutter or dirt on sensors can confuse the device. To fix these problems, ensure you:
- Regularly perform firmware updates for your vacuum
- Keep the battery charged and well-maintained
- Clear debris from sensors and cleaning path
- Maintain clean HEPA filters to prevent sensor and air quality issues
Addressing these issues often resolves reset and re-mapping troubles, allowing your vacuum to function smoothly again.
Tips for Maintaining Accurate and Efficient Maps

Maintaining accurate and efficient maps requires regular attention to your robot vacuum’s cleaning environment and settings. Start by periodically clearing obstacles and rearranging furniture to prevent navigation errors. Use effective navigation strategies, such as updating the map after significant changes to your home, to keep the robot’s understanding current. Avoid clutter that can confuse sensors and disrupt mapping accuracy. Additionally, monitor your vacuum’s battery management; low batteries can cause incomplete mapping or missed spots. Charging the robot fully before cleaning sessions ensures it completes entire areas and refines the map. Regularly updating the firmware and performing reset procedures if needed also help maintain mapping precision. Being aware of sensor calibration and performing necessary adjustments can further enhance your robot’s navigation. With consistent care, your vacuum will navigate smarter, cleaning more efficiently with less need for re-mapping.
Frequently Asked Questions
Can I Reset My Robot Vacuum Without Losing All Saved Cleaning Data?
You can reset your robot vacuum without losing all your saved cleaning data by performing a soft reset or partial reset. This process often preserves your maps and settings while fixing issues caused by software updates or battery calibration problems. Just follow your model’s specific instructions, usually involving a button press or app command, to reset only the necessary software components without deleting your maps, ensuring your cleaning data stays intact.
How Often Should I Re-Map My Robot Vacuum for Optimal Performance?
You might think your robot vacuum’s mapping frequency is set in stone, but honestly, it’s worth re-mapping every few months. Over time, your home changes—new furniture, mess zones, cleaning zones—and the device needs fresh data to perform. Don’t wait until it’s lost or confused; re-map proactively to keep cleaning zones precise, ensuring your robot’s efficiency stays excellent and your home remains spotless.
Does Re-Mapping Affect the Vacuum’S Cleaning Schedule or Routines?
Re-mapping your robot vacuum can impact your cleaning schedule by affecting mapping consistency. When you re-map, the vacuum may need to adjust its routines to accommodate new layouts. This can temporarily disrupt your usual cleaning schedule until the device learns the updated environment. However, once re-mapping is complete, your vacuum should maintain efficient cleaning routines, ensuring consistent performance and keeping your home tidy.
Are There Specific Models That Require Different Reset Procedures?
Coincidentally, different robot vacuum models do require model-specific resets, especially after firmware updates or re-mapping. You might find that some brands, like iRobot or Roborock, have unique reset procedures, while others follow a more universal method. Always check your model’s manual or manufacturer’s website for precise instructions, ensuring you perform the correct reset process. This way, you keep your vacuum functioning smoothly and up-to-date.
Can I Re-Map My Robot Vacuum if It’S Malfunctioning or Unresponsive?
If your robot vacuum is malfunctioning or unresponsive due to mapping issues, you can often re-map it. First, verify your software is up-to-date, as updates fix bugs and improve performance. Then, reset the mapping data through the app or device controls. This process clears old maps and allows the vacuum to create a fresh map. Re-mapping helps restore functionality and ensures your vacuum navigates your space efficiently again.
Conclusion
So, after all that effort, you might think your robot vacuum’s mapping is perfect. But surprise—no matter how much you re-map, it still might miss a spot or two. Ironically, the more you try to control it, the more it reminds you who’s boss. Keep up with regular resets and maintenance, and your vacuum might just outsmart itself. After all, in the end, isn’t a little chaos part of the cleaning adventure?