To use voice assistants with your robot vacuum, first guarantee your vacuum supports compatibility with platforms like Alexa or Google Assistant. Connect your vacuum to its app, enable voice control features, and link it to your preferred voice assistant. Use clear commands like “start cleaning” or “return to dock” for easy control. Keep devices updated and secure to prevent issues. To discover detailed steps and tips, explore further guidance tailored for your setup.
Key Takeaways
- Verify your robot vacuum’s compatibility with voice assistants like Alexa, Google Assistant, or Siri before setup.
- Connect the vacuum to its app, enable voice control features, and link it to your preferred voice platform.
- Use clear, specific voice commands such as “start cleaning” or “return to dock” for optimal performance.
- Keep firmware and app updates current to ensure security, stability, and improved voice responsiveness.
- Troubleshoot connectivity issues by reducing interference, restarting devices, and ensuring a stable Wi-Fi connection.
Checking Compatibility of Your Robot Vacuum and Voice Assistant
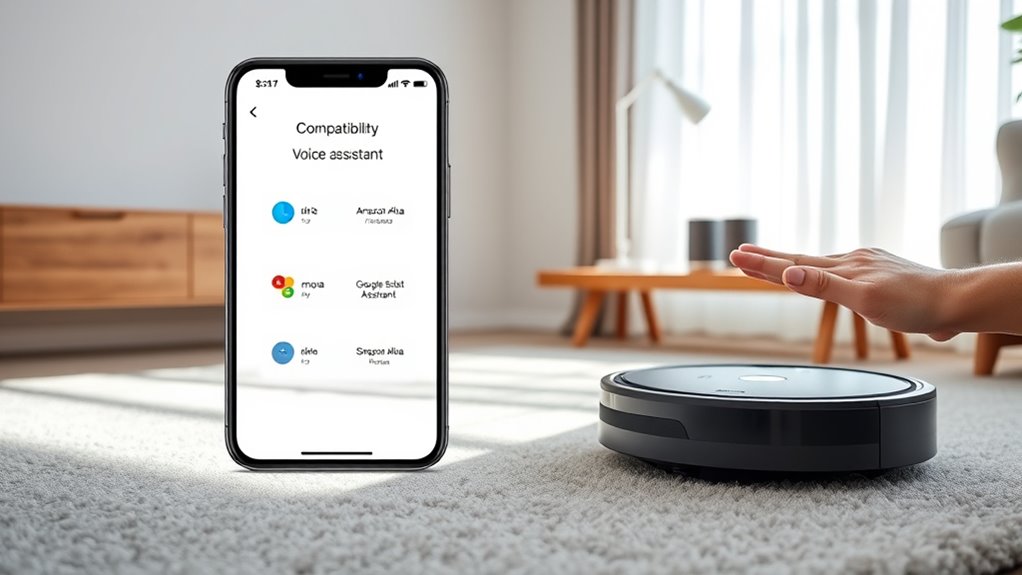
Before you try controlling your robot vacuum with a voice assistant, you need to make sure they’re compatible. Check the voice assistant compatibility first by reviewing your device’s specifications and the voice platform’s supported devices. Many robot vacuums list compatible voice assistants like Alexa, Google Assistant, or Siri on their packaging or websites. To avoid surprises, create a device integration checklist, including your vacuum’s model number, firmware version, and the voice assistant you plan to use. Confirm that your voice assistant app supports third-party device control and that your Wi-Fi network is stable. Ensuring compatibility upfront saves you time and frustration, making setup smoother once you’re ready to connect and control your vacuum with voice commands. Be aware of vetted information to ensure your setup aligns with current privacy policies and device specifications.
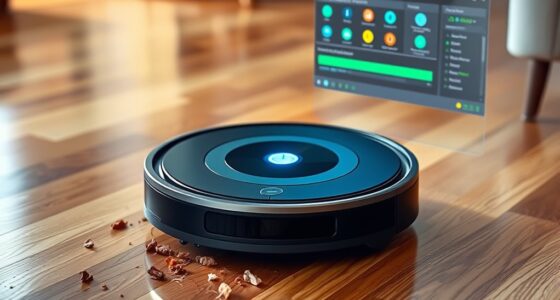
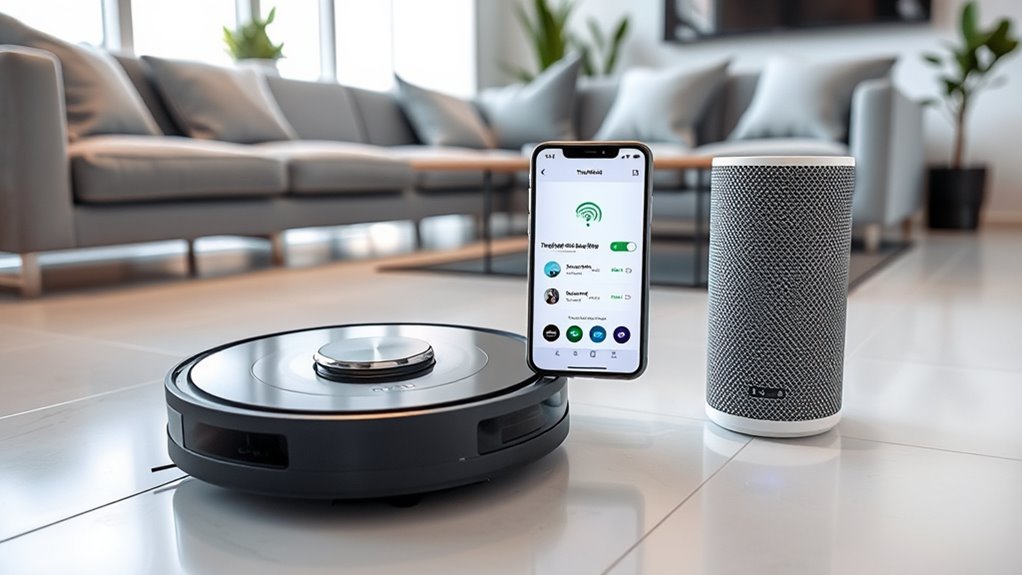
Setting Up Your Robot Vacuum for Voice Control
Once you’ve confirmed your robot vacuum and voice assistant are compatible, it’s time to set up the integration. Start by connecting your vacuum to its app and enabling voice control features. You’ll want to customize cleaning schedules to fit your routine and guarantee your vacuum runs efficiently. Proper battery maintenance is essential; keep the charging dock accessible and avoid letting the battery drain completely. Use the table below to understand key setup steps:
| Step | Action | Result |
|---|---|---|
| Connect to Wi-Fi | Follow app instructions for setup | Voice commands recognized |
| Enable Skills | Activate voice assistant skills in app | Voice control activated |
| Schedule Cleanings | Set preferred cleaning times | Automation saves effort |
| Check Battery | Ensure charging dock is accessible | Long-lasting operation |
This setup guarantees smooth voice control and ideal vacuum performance. Additionally, understanding contrast ratio can help you assess the clarity of your vacuum’s alerts and notifications, making it easier to monitor its operation.
Linking Your Robot Vacuum to Amazon Alexa

To link your robot vacuum to Amazon Alexa, start by opening the Alexa app on your smartphone and moving through the Skills & Games section. Search for your vacuum’s skill, then enable it and log in with your account details. Once connected, discover your device within the app. Keep in mind, voice privacy is important; review Alexa’s privacy settings to manage data sharing. After linking, check if your robot vacuum has any pending firmware updates, as these often improve compatibility and security. Firmware updates can enhance voice command responsiveness and ensure your device functions smoothly. Test the setup with a simple voice command like “Alexa, start cleaning,” to confirm everything works seamlessly. Linking your vacuum correctly helps maximize voice control while maintaining your privacy and device performance. Additionally, ensuring your device is efficiently coded can support better performance and security during voice interactions.
Connecting Your Robot Vacuum to Google Assistant
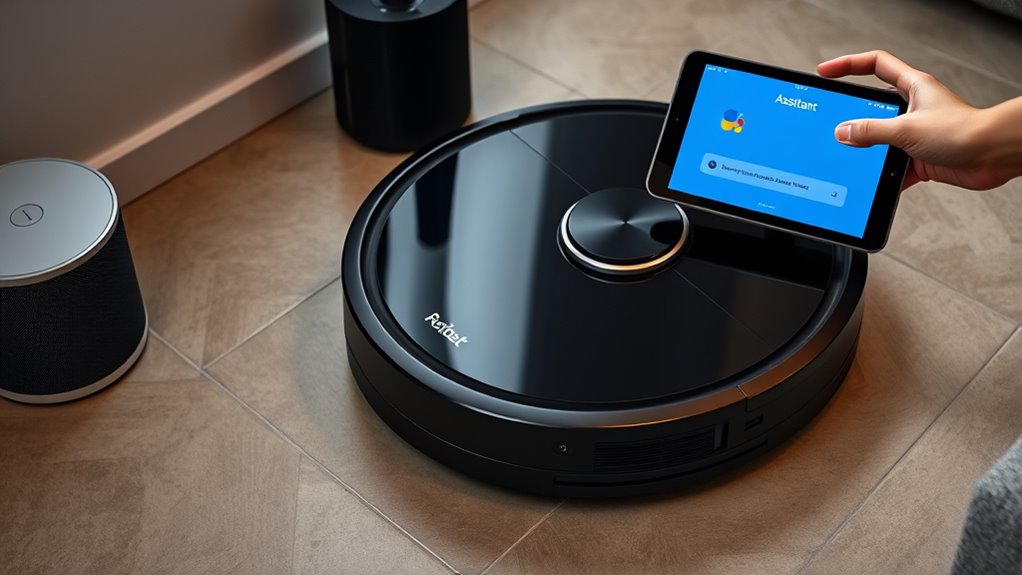
Connecting your robot vacuum to Google Assistant is straightforward and can enhance your smart home setup. First, verify your vacuum is compatible with Google Assistant and connected to your Wi-Fi network. Open the Google Home app, tap the “+” icon, and select “Set up device.” Choose “Works with Google” and find your vacuum brand from the list. Log in with your account credentials to link your device. Once connected, you can customize voice commands to fit your routine, making it easier to control your vacuum through simple phrases. This integration supports smart home automation, allowing your robot vacuum to work seamlessly with other devices. With your setup complete, you’re ready to enjoy hands-free cleaning control through personalized voice command customization.
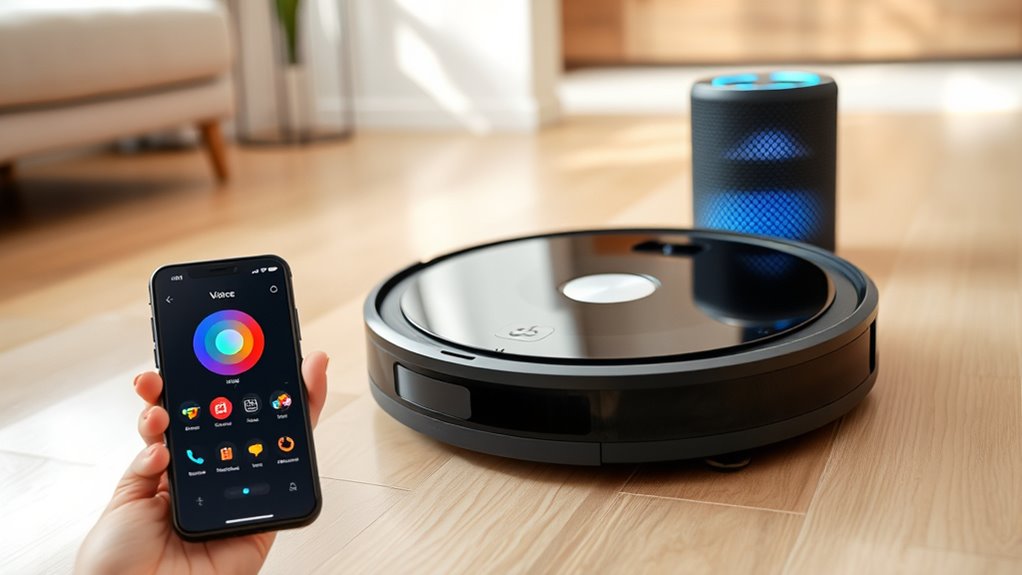
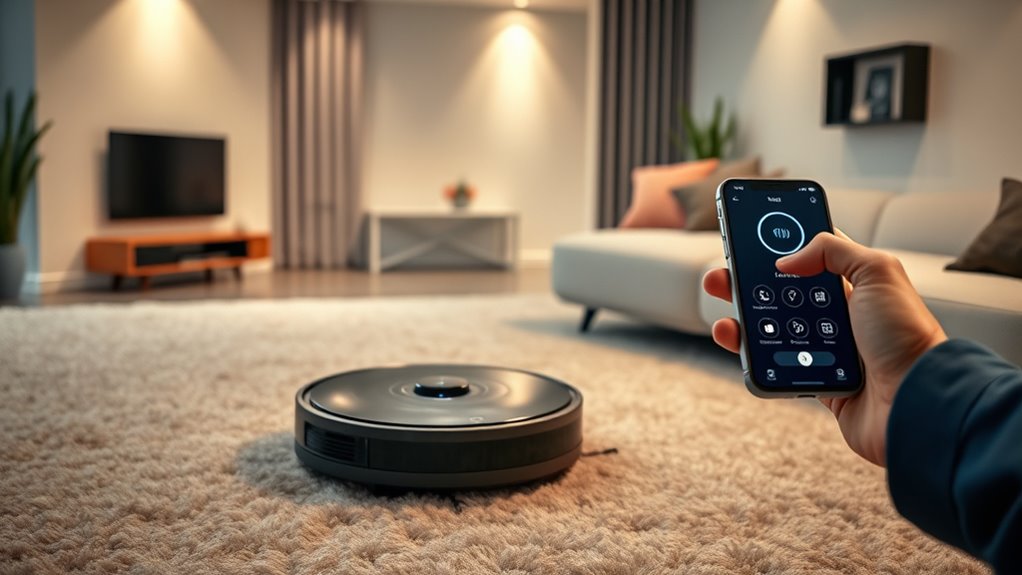
Using Voice Commands to Operate Your Robot Vacuum
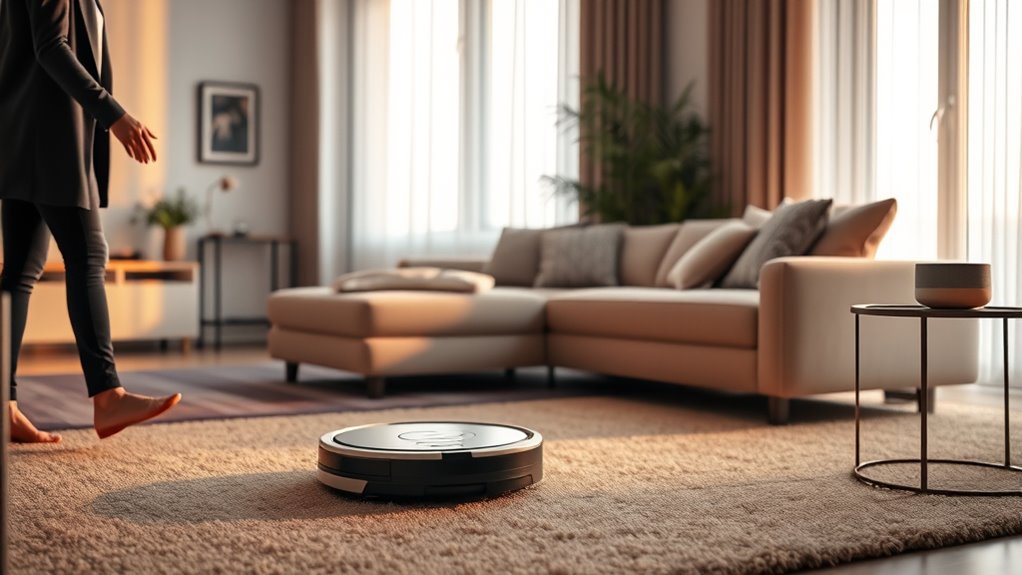
After linking your robot vacuum to Google Assistant, you can control it effortlessly with voice commands. Using clear voice command phrasing, you can tell your vacuum to start cleaning, pause, or return to its dock. Simple commands like “Hey Google, start the vacuum” or “Pause cleaning” work well. Be specific when needed to ensure accurate responses. Remember, privacy considerations are important—limit your voice commands to trusted environments, and review your device’s privacy settings to regulate data sharing. You can also customize commands or create routines for more convenient operation. With practice, operating your robot vacuum becomes intuitive and hands-free, making cleaning more efficient while maintaining your privacy and security. Refer to retail hours to plan your device setup during store visits.
Troubleshooting Common Connectivity Issues
When your robot vacuum struggles to maintain a stable connection, it’s often due to Wi-Fi interference or signal range issues. Wi-Fi interference from other devices, like cordless phones or microwaves, can disrupt your vacuum’s connection. To fix this, move your router closer or reduce interference sources. Also, make sure your robot vacuum has the latest firmware updates, as manufacturers release updates to improve connectivity and fix bugs. Regularly check for firmware updates through the app or manufacturer’s website. Restart your router and reconnect your vacuum if needed. Keep your Wi-Fi network secure and avoid overcrowding it with multiple devices. These steps can help you resolve common connectivity problems quickly, ensuring your voice commands work smoothly with your robot vacuum. Additionally, maintaining a strong Wi-Fi signal can significantly improve your device’s connection stability.
Customizing Voice Control Settings for Your Vacuum
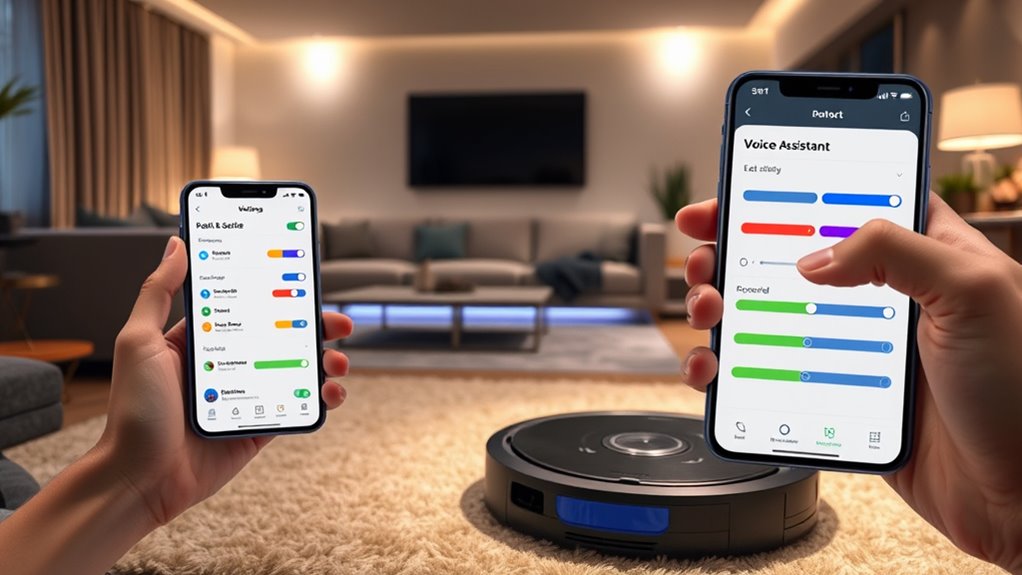
Once you’ve guaranteed your robot vacuum maintains a stable Wi-Fi connection, you can focus on tailoring its voice control settings to better suit your needs. Start with voice command customization by adjusting the wake words or specific phrases your device recognizes. This makes commands more natural and reduces misfires. Next, set up your voice profile to personalize responses and improve recognition accuracy. Most systems allow you to record a few voice samples, ensuring your commands are identified correctly. Customizing these settings helps streamline your interaction, making controlling the vacuum more intuitive. Take the time to explore the app or device settings to fine-tune your voice control experience, ensuring you get the most out of your smart home setup. Additionally, understanding angel numbers can inspire a positive mindset and confidence as you integrate new technology into your home.
Tips for Optimizing Your Smart Home Integration
To get the most out of your smart home setup, focus on integrating your voice-controlled robot vacuum seamlessly with other devices and platforms. This creates a cohesive experience and simplifies control. Be mindful of privacy concerns, especially when enabling third-party integrations; always review permissions and data sharing policies. Use trusted platforms and regularly update device firmware to guarantee security. Here’s a quick guide:
| Integration Tip | Benefit |
|---|---|
| Limit third-party apps | Protects privacy and reduces security risks |
| Regular firmware updates | Ensures smooth operation and security patches |
| Use dedicated voice profiles | Maintains privacy and personalized control |
| Centralized device management | Simplifies monitoring and troubleshooting |
Additionally, consider security best practices to further protect your smart home environment.
Frequently Asked Questions
Can I Control Multiple Robot Vacuums With One Voice Assistant?
Yes, you can control multiple robot vacuums with one voice assistant. For effective multi vacuum management, guarantee your vacuums are compatible with your voice command integration platform. Connect each robot to your voice assistant, then assign unique names or commands for each device. This setup lets you control individual vacuums or all at once, making cleaning more efficient. Just follow your system’s instructions for seamless multi vacuum management and voice command integration.
Are There Privacy Concerns When Using Voice Commands With My Robot Vacuum?
Think of your voice commands as keys to a vault. While they open convenience, they also pose privacy risks if not secured properly. Using voice assistants with your robot vacuum means transmitting voice data, which could be vulnerable to breaches. To protect your privacy, make sure your devices have robust voice data security measures and review privacy settings regularly. Stay vigilant, so your smart home remains a safe haven rather than a window into your life.
How Do I Update the Firmware for Voice Control Compatibility?
To guarantee your robot vacuum has the latest features and voice integration capabilities, you need to perform firmware updates. Check the manufacturer’s app or website for specific instructions, usually involving connecting your device to Wi-Fi and downloading the latest firmware. Keeping your firmware updated helps improve voice command responsiveness and compatibility with voice assistants. Regular updates also patch security vulnerabilities, giving you peace of mind while using voice control features.
Can I Schedule Cleaning Through Voice Commands Only?
Imagine commanding your robot vacuum like a conductor leading an orchestra—your voice becomes the baton. While voice command limitations exist, you can schedule cleanings through voice commands if your device supports it. Be aware of scheduling restrictions, which might require you to set routines in the app first. So, yes, you can orchestrate your cleaning routine with voice commands, but verify your model’s capabilities to guarantee smooth harmony.
Is It Possible to Disable Voice Control Temporarily?
Yes, you can temporarily disable voice control on your robot vacuum. Check your device’s privacy settings or voice command customization options to turn off voice recognition. This helps protect your privacy if you’re concerned about voice commands being active all the time. Usually, you can do this through the app or device settings, allowing you to control when voice commands are enabled or disabled for your convenience and peace of mind.
Conclusion
Now that you’ve set up your voice assistant with your robot vacuum, imagine effortlessly commanding it to sweep away dust with just a simple voice command. Picture your smart home humming in harmony, each device working seamlessly together. With your voice guiding your vacuum, cleaning becomes less of a chore and more of a breeze. Enjoy the convenience and feel the satisfaction of a spotless home, all at the tip of your tongue.