To optimize your device’s smart mapping, start by understanding its features like zone creation and boundary setting. Use your app to draw no-go and clean zones, focusing on high-traffic areas and sensitive spaces. Regularly update boundaries and schedule cleanings based on zone importance. Fine-tune obstacle detection and manage multiple maps if you have multi-floor spaces. Following these tips can improve efficiency and protect your space—keep exploring for more ways to maximize your device’s capabilities.
Key Takeaways
- Use the app to clearly draw and update no-go and clean zones based on your environment layout.
- Prioritize high-traffic areas for more frequent cleaning by adjusting zone settings.
- Regularly review and refine boundaries to prevent accidental entry and improve mapping accuracy.
- Organize maps by labeling different floors or areas for easier management and customization.
- Calibrate sensors and update firmware to ensure precise detection and optimal boundary management.
Understanding Your Mapping Device’s Capabilities

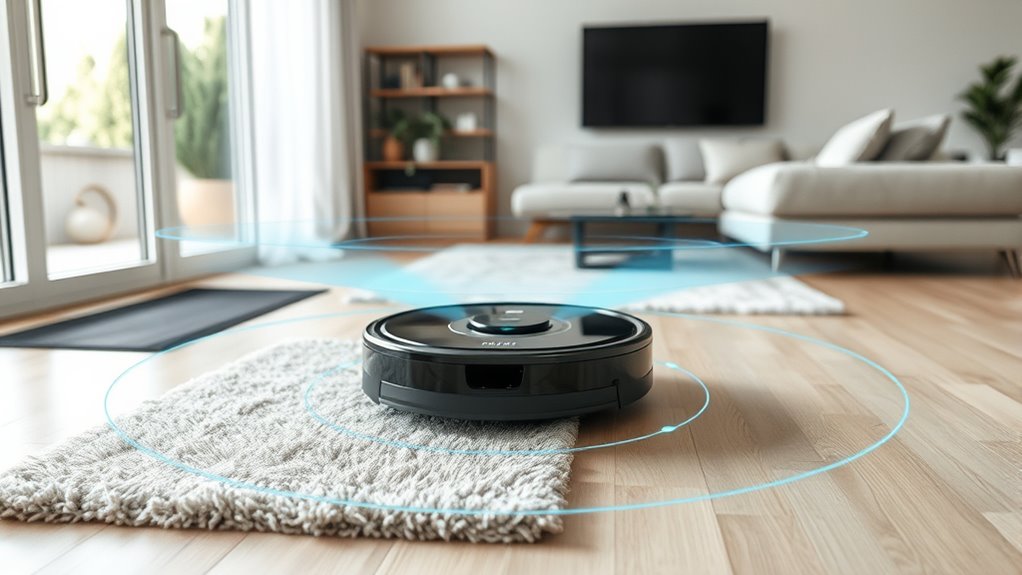
To make the most of your mapping device, you need to understand what it can do. Familiarize yourself with the device’s features, such as its ability to create detailed maps and identify obstacles. These mapping device features often include options for customizing clean zones and no-go areas. Equally important is the sensor accuracy, which determines how precisely your device detects walls, furniture, and other objects. High sensor accuracy means more reliable mapping and fewer missed spots or false detections. Take time to review the user manual or app settings to understand how these features work together. Knowing your device’s capabilities helps you optimize its performance, ensuring efficient cleaning and better control over your virtual boundaries. Additionally, understanding Special Occasions can provide context for scheduling cleaning routines around holidays or celebrations.
Setting Up Virtual Boundaries Effectively
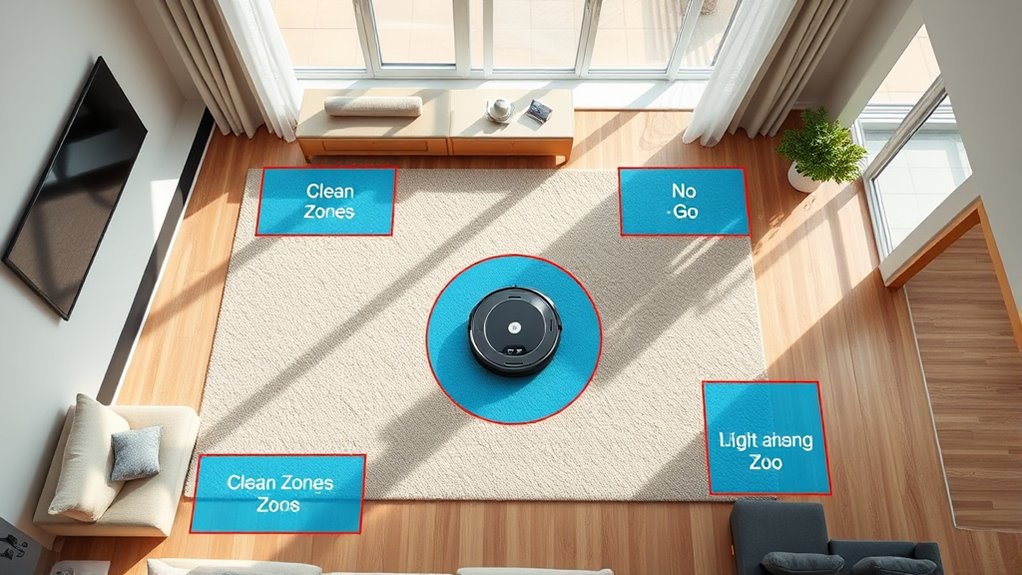
Setting up virtual boundaries effectively starts with clearly defining the areas you want your device to avoid or focus on. This process, known as boundary setup, ensures your device uses virtual fencing to create precise no-go zones and clean zones. To visualize, consider this layout:
| Living Room | Kitchen | Bedroom |
|---|---|---|
| No-Go Zone | Clean Zone | No-Go Zone |
| Entry Point | Restricted | Entry Point |
This table helps you map out where virtual fencing should be applied. Use your device’s app to draw boundaries around specific areas, ensuring it avoids sensitive zones or concentrates cleaning where needed. Proper boundary setup prevents accidental entry into restricted zones and optimizes your device’s efficiency. Understanding boundary setup can significantly improve your device’s performance and your overall experience.
Customizing Clean Zone Priorities
Once you’ve established your virtual boundaries, you can fine-tune how your device emphasizes different zones. This is where zone customization and priority settings come into play. By adjusting these settings, you tell your robot which areas demand more frequent cleaning and which can be cleaned less often. For example, high-traffic zones like the kitchen or entryway can be given top priority, ensuring they stay spotless. Conversely, less-used spaces can have lower priority, saving time and battery life. Most mapping apps allow you to easily set these preferences, giving you control over your cleaning schedule. Fine-tuning your zone priorities ensures a more efficient clean, focusing your device’s efforts on areas that need it most. Additionally, considering contrast ratio can help ensure your device’s sensors perform optimally in various lighting conditions, further enhancing overall efficiency.
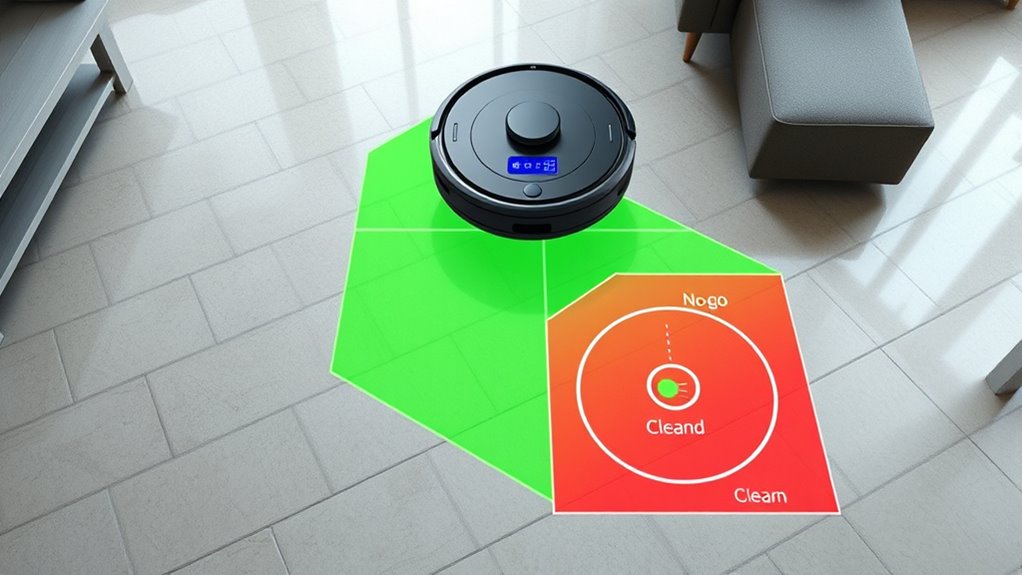
Utilizing No-Go and Restricted Areas

Setting no-go boundaries helps you prevent your device from entering unsafe or sensitive areas. Managing restricted zones allows you to safeguard delicate equipment or avoid obstacles. By clearly defining these zones, you ensure your mapping runs smoothly and safely. Additionally, using accurate boundary settings can help prevent the device from entering areas with spoiled lemon juice, which could pose safety concerns.
Defining No-Go Boundaries
To guarantee your smart mapping system operates safely and efficiently, it’s essential to define no-go boundaries clearly. Proper boundary marking ensures your robot understands where it should not venture. Focus on zone delineation to prevent accidents and protect sensitive areas. Here’s how to set effective no-go boundaries:
- Use precise boundary marking tools to draw clear lines around restricted zones.
- Adjust the no-go zone size to match the area’s importance and complexity.
- Regularly review and update boundaries as your space changes.
- Confirm that boundaries are visible and correctly aligned with actual obstacles.
- Incorporate clear zone delineation techniques to improve boundary accuracy and system reliability.
Managing Restricted Zones
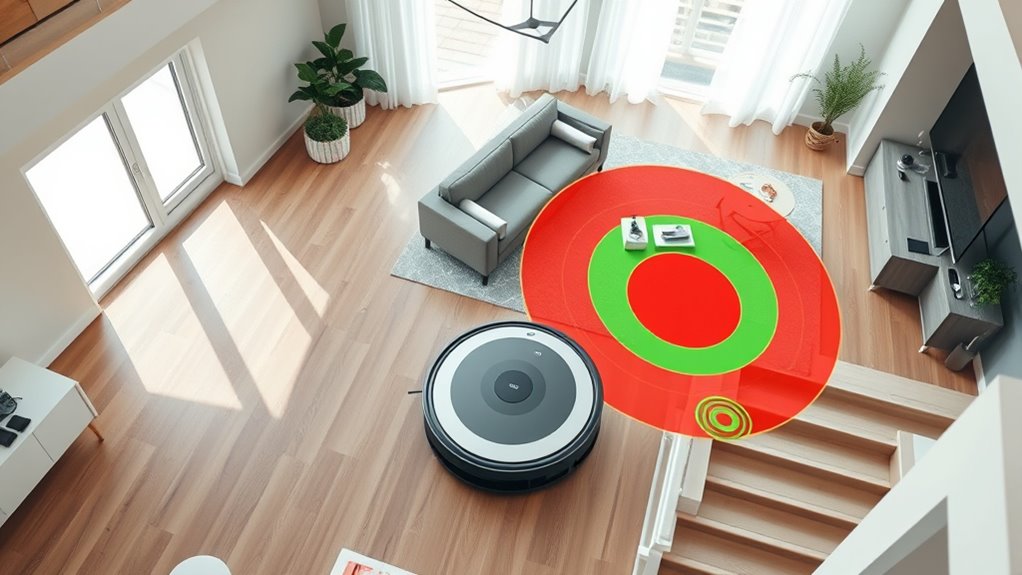
Managing restricted zones effectively involves utilizing both no-go areas and other designated boundaries to prevent your robot from entering unsafe or sensitive spaces. You can set virtual boundaries to create zone customization, ensuring the robot avoids specific areas. These virtual boundaries act as invisible walls, guiding your device around fragile furniture or cluttered zones. By clearly defining restricted zones, you reduce the risk of accidents and protect delicate items. Regularly update and adjust these boundaries as your space changes to maintain ideal coverage. No-go areas help you control where the robot can and cannot go, giving you peace of mind. Proper management of restricted zones ensures efficient cleaning while safeguarding your home’s most sensitive or hazardous areas.
Adjusting Cleaning Schedules for Different Zones
You should set cleaning times based on how often each zone gets used, ensuring high-traffic areas are cleaned more frequently. Prioritizing these zones keeps them spotless and prevents dirt buildup. Adjusting schedules this way makes your cleaning routine more efficient and effective. Considering cleaning and maintenance tips for longevity can help prolong the cleanliness and safety of your environment.
Zone-specific Timing Strategies
Adjusting cleaning schedules based on each zone’s specific needs can substantially improve efficiency and effectiveness. By focusing on zone timing, you optimize your robot’s performance and conserve energy. To do this:
- Assess the activity levels in each zone and set cleaning times during low-traffic periods.
- Schedule more frequent cleanings for high-use areas to maintain hygiene.
- Avoid overlapping schedules that could cause unnecessary downtime or conflicts.
- Adjust schedules seasonally or as usage patterns change for ongoing schedule optimization.
- Consult your retail hours to better plan for cleaning during low-traffic periods when stores are less busy.
This approach ensures your robot cleans when it’s needed most, reducing wasted effort. Fine-tuning zone timing helps you maximize coverage, minimize disruptions, and keep your space consistently tidy. Proper schedule optimization makes your smart mapping system truly effective.
Prioritize High-Traffic Areas
Have you considered prioritizing high-traffic areas when scheduling your robot’s cleaning sessions? Traffic patterns reveal where dirt and debris accumulate most, so adjusting your schedule accordingly ensures these zones stay cleaner longer. Use visual cues like worn carpets, frequent footprints, or visible dirt to identify these busy spots. By increasing cleaning frequency in high-traffic zones, you prevent messes from building up and maintain a fresher environment. Setting your robot to focus on these areas during peak times maximizes efficiency while reducing cleaning in less-used spaces. This targeted approach helps optimize your robot’s performance, saves battery life, and keeps your home consistently spotless where it matters most. Recognizing narcissistic traits in your environment can also help you better understand underlying dynamics and improve your management strategies. Prioritizing high-traffic zones is a smart way to make the most of your mapping and cleaning efforts.
Fine-Tuning Obstacle Detection Settings

Fine-tuning obstacle detection settings is essential to guarantee your mapping device accurately identifies and avoids obstacles in various environments. Proper sensor calibration ensures obstacle recognition remains precise, reducing false alarms or missed objects. To optimize your settings:
Fine-tune obstacle detection for precise, reliable mapping in all environments.
- Regularly calibrate sensors to maintain accuracy in different lighting and surface conditions.
- Adjust obstacle detection sensitivity to balance between catching small objects and avoiding false positives.
- Test obstacle recognition in various scenarios to identify gaps or inaccuracies.
- Fine-tune the device’s response speed so it reacts promptly without unnecessary stops.
- Understanding angel numbers can provide insights into the timing of significant changes or updates in your device’s performance settings.
Managing Multiple Maps and Floors
Managing multiple maps and floors allows your device to navigate complex environments efficiently. With proper map layering, you can organize different areas or floors into separate layers, making multi-floor navigation smoother. When you add new maps, verify they’re labeled correctly for easy identification. Switching between maps lets your device adapt quickly to multi-floor spaces like homes with basements or multi-story offices. Use the app’s map management features to assign each map or layer to specific areas, reducing confusion during cleaning. This setup helps prevent the robot from attempting to clean outside designated zones. Ensuring your maps include detailed floor plans improves navigation accuracy and coverage. By managing multiple maps effectively, you optimize navigation, save time, and ensure thorough coverage across all floors and environments. Proper map layering and multi-floor navigation are key to seamless operation.
Saving and Editing Your Maps for Future Use
Saving your maps allows you to quickly access and reuse accurate layouts for future cleaning sessions, conserving time and effort. Properly saving and editing maps enhances your map customization and zone management. To do this effectively:
- Review your map for accuracy and make necessary adjustments to ensure precise zone delineation.
- Edit no-go areas to block off sensitive or off-limits zones, improving zone management.
- Save your map with a clear, descriptive name for easy identification later.
- Update saved maps after any significant changes or new room additions to maintain accuracy.
- Keep track of recurring angel numbers in your routines to better understand their significance and improve your recognition of these signs.
Troubleshooting Common Mapping and Zone Issues

When your map displays errors or zones aren’t aligning properly, troubleshooting becomes essential to guarantee your cleaning runs smoothly. First, check the device’s sensors and verify they’re clean and unobstructed, as poor sensor performance can impact mapping accuracy. If zones aren’t fitting correctly, review your zone customization settings; sometimes, simple adjustments can resolve misalignments. Re-run the mapping process if necessary, and verify your robot is in a stable environment without frequent interruptions. Updating your firmware can also fix bugs that cause mapping issues. Keep in mind that consistent calibration helps maintain mapping accuracy over time. Additionally, implementing a growth mindset can help you approach troubleshooting with a problem-solving attitude. By troubleshooting these common issues, you’ll improve zone precision and ensure your robot cleans exactly where you want it, avoiding missed spots or unnecessary overlaps.
Frequently Asked Questions
How Do I Update My Mapping Device’s Firmware?
To update your mapping device’s firmware, start by checking for firmware updates through the device’s app or settings menu. Make certain your device is connected to Wi-Fi. Follow the prompts to download and install the latest firmware updates. If your device supports map sharing, you can also share updated maps with others. Keeping your firmware current guarantees your device runs smoothly and has the latest features for ideal mapping and navigation.
Can I Share Maps With Multiple Devices?
Ever wondered if you can share maps across multiple devices? Yes, you can! By setting sharing permissions, you permit different devices to access your maps. Device synchronization ensures they stay updated, making your cleaning routine seamless. Just check that all devices are compatible and connected to the same account or network. This way, sharing maps becomes easy, efficient, and keeps your smart home synchronized effortlessly.
What Should I Do if My Zones Aren’t Aligning Correctly?
If your zones aren’t aligning correctly, start with a zone adjustment to refine their placement. You should also perform mapping calibration to make certain your robot maps your space accurately. Move your robot to different areas during calibration, and recheck the zones afterward. These steps help improve zone accuracy, ensuring your clean zones and no-go areas work as intended, giving you a more effective and personalized cleaning experience.
How Can I Reset My Map to Start Fresh?
Ever thought about starting fresh with your map? To do a map reset, first access your robot’s settings or app. Look for the option to reset the map, which clears existing zones and no-go areas. This allows you to set a new cleaning schedule tailored to your space perfectly. Keep in mind, a map reset helps if your zones aren’t aligning correctly or if you want to optimize cleaning efficiency.
Is There a Way to Prioritize Cleaning Areas Temporarily?
Yes, you can temporarily prioritize cleaning areas by using zone scheduling. This feature allows you to set specific zones as high-priority for a designated period, ensuring the robot focuses on those areas first. Simply access your app, select the zones you want to prioritize, and choose the temporary prioritization option. This way, you control cleaning focus without permanently changing your map or zones.
Conclusion
By mastering these smart mapping tips, you’ll have your cleaning robot working like a well-oiled machine—no need for a Swiss Army knife. Think of your device as your trusty sidekick, steering your home with ease. Whether you’re setting up no-go zones or customizing clean areas, you’re in control. So, go ahead, optimize your space and enjoy a spotless home. After all, with these tips, you’re the boss—no TARDIS required!