
To calibrate your robot vacuum’s smart map, start by clearing clutter and ensuring the environment is tidy and unobstructed. Then, power on your device and access the map settings through the app, confirming firmware is updated. Follow on-screen prompts to reset sensors and initiate the calibration process. Monitor the progress, make necessary adjustments, and save the updated map. For detailed steps to optimize your device’s mapping accuracy, keep exploring the full guide.
Key Takeaways
- Prepare the environment by clearing obstacles, clutter, and ensuring sensors are clean for accurate mapping.
- Access calibration settings via the robot’s app, navigating to map or sensor configuration options.
- Reset sensors and existing map data before initiating calibration for precise updates.
- Follow on-screen prompts or instructions to perform calibration and verify map accuracy during the process.
- Save and confirm the updated map, then test the robot’s navigation to ensure proper alignment.
Prepare Your Robot Vacuum and Home Environment
Before calibrating your robot vacuum’s smart map, you should prepare both the device and your home environment. Proper sensor placement is essential, so verify sensors are clean and unobstructed to improve detection accuracy. Check that furniture arrangement supports smooth navigation—move or rearrange large items that could block the robot’s path or confuse its sensors. Clear clutter from the floors, especially around corners and tight spaces, to prevent misreads. Make sure the environment isn’t overly chaotic, as sudden changes can affect the calibration process. Additionally, understanding the sensor technology used in your robot can help you better optimize its setup. By organizing your furniture and ensuring sensors are properly positioned and clean, you set a solid foundation for accurate mapping. This preparation helps your robot create a thorough and precise smart map, making future cleaning sessions more efficient.
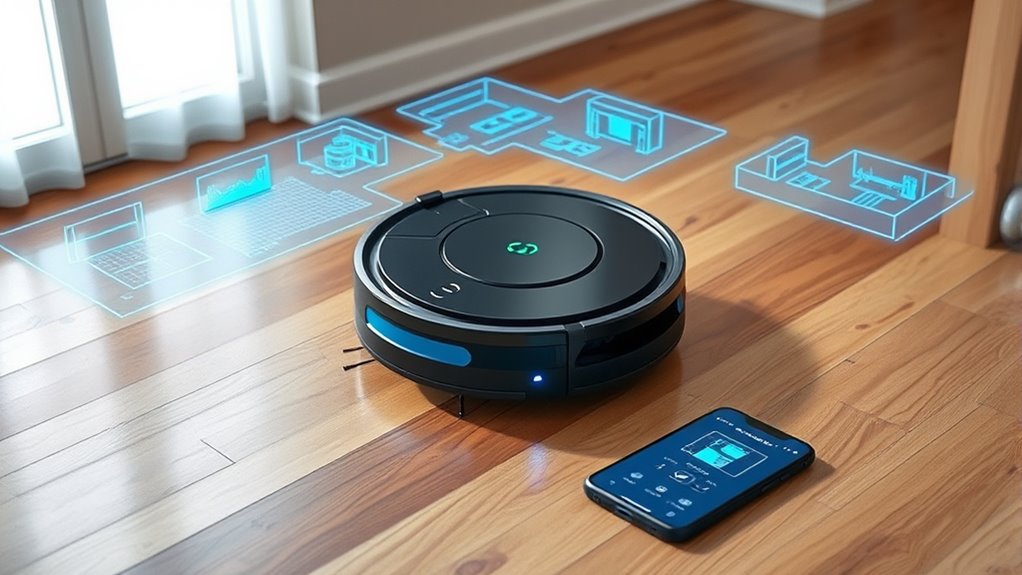
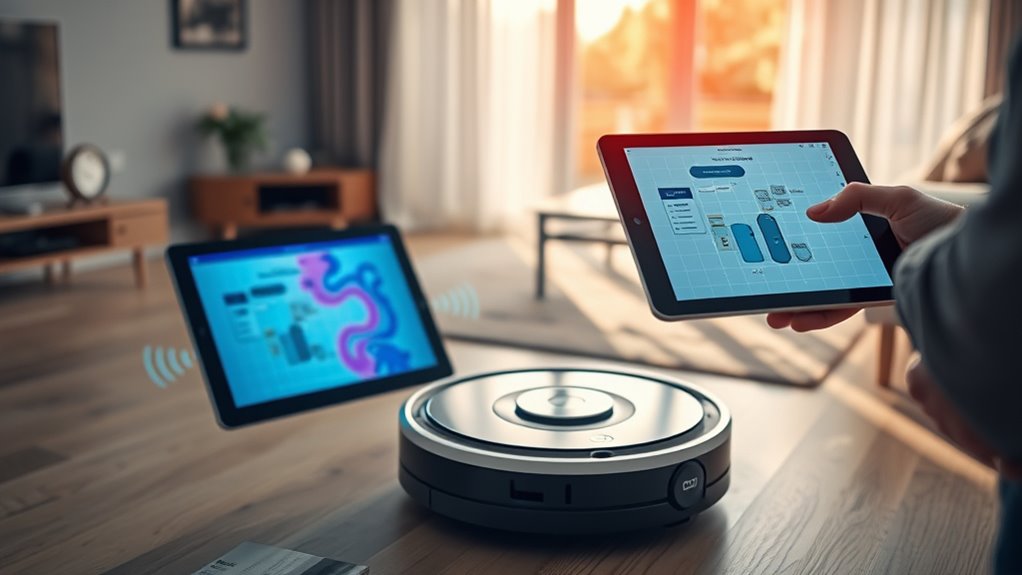
Access the Smart Map Settings on Your Device
To access the smart map settings on your device, start by powering on your robot vacuum and opening the companion app on your smartphone or tablet. Ensure your device has a strong Wi-Fi connection to maintain app connectivity. Once the app is open, navigate to the map or settings menu, where you’ll find options related to mapping accuracy. You might see a dedicated section labeled “Smart Map” or “Mapping Settings.” Tap on this to view or adjust your map preferences. Proper access to these settings allows you to fine-tune how your robot creates and updates its map, which is vital for effective navigation. Confirm your device is connected properly to avoid syncing issues, ensuring you can easily calibrate and improve your robot vacuum’s smart mapping performance. For those interested in optimizing their device, considering Kia Tuning techniques can provide insights on enhancing overall performance and efficiency.
Clear Obstructions and Optimize Floor Layout

Clearing obstructions and optimizing your floor layout can substantially improve your robot vacuum’s mapping accuracy. Obstacle detection works best when pathways are clear, allowing the robot to accurately interpret the environment. Remove clutter, cords, and small objects that can confuse its sensors. Consider rearranging furniture to create distinct zones, which enhances floor segmentation, helping the vacuum differentiate between rooms and obstacles. A tidy space reduces the chances of misinterpretation during mapping, leading to more precise navigation and cleaning. Regularly check for any new obstructions that might interfere with obstacle detection. Additionally, understanding the importance of sensor accuracy can help you better maintain your robot’s performance. By maintaining an organized floor plan, you enable your robot to create a more accurate and reliable smart map, ultimately improving cleaning efficiency and reducing the need for recalibration.
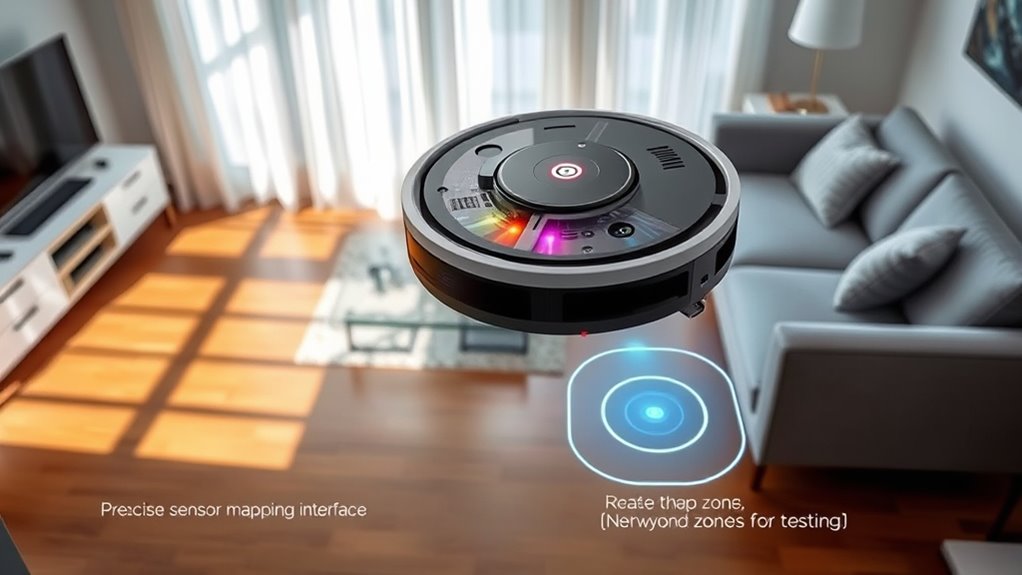
Initiate the Calibration Process
Start by preparing your cleaning area to guarantee accurate calibration. Next, power off your robot to access its calibration settings safely. Once you’re there, follow the instructions to initiate the calibration process. Ensure your environment is free of obstacles, as a clear space helps the robot map your home more effectively.
Prepare Cleaning Area
Before initiating the calibration process, make certain the cleaning area is free of obstacles and clutter. Clear away any cleaning obstacles like cords, small objects, and loose rugs that could interfere with the robot’s sensors. Proper floor preparation guarantees the vacuum can accurately map your space without confusion. Sweep or vacuum the area to remove dust and debris that might obscure sensors or cause navigation issues. Remove fragile items or anything that might fall over during calibration. Ensure that floor surfaces are even and free of loose items. Doing this creates an ideal environment for calibration, allowing your robot to detect walls, furniture, and boundaries precisely. A tidy, obstacle-free space helps your vacuum develop a reliable, accurate smart map for efficient cleaning. Additionally, verifying that the sensor calibration settings are up to date ensures optimal performance during the mapping process.
Power Off Robot
To begin the calibration process, you need to power off your robot vacuum. First, press the power button to turn it off, making sure it’s not actively cleaning. If your vacuum has a power switch, toggle it to the off position. This step is essential to prevent any movement during calibration. Next, allow the residual battery to drain naturally or manually disconnect the charging dock if possible. Removing power sources ensures the robot is completely off and won’t accidentally activate. Powering off the robot before calibration helps reset its sensors and map data, providing a clean slate for accurate mapping adjustments later. Additionally, turning off the robot reduces electronic interference that could affect sensor calibration. Once powered down, you’re ready to proceed with the next steps in the calibration process.
Access Calibration Settings
Wondering how to access the calibration settings on your robot vacuum? First, open the app and navigate to the device controls. Look for the “Calibration” or “Sensor Settings” option. Some models require firmware updates before calibration—so verify your vacuum’s firmware is current. To initiate sensor calibration, select the relevant menu, and follow on-screen prompts. Regular calibration can help address AI vulnerabilities that may affect sensor accuracy and overall performance. Here’s a quick overview:
| Step | Action |
|---|---|
| 1 | Open the app and select your robot vacuum |
| 2 | Tap on “Settings” or “Device Options” |
| 3 | Choose “Sensor Calibration” or similar |
| 4 | Follow prompts to complete calibration |
Updating firmware ensures calibration accuracy, so keep your device up to date before starting.
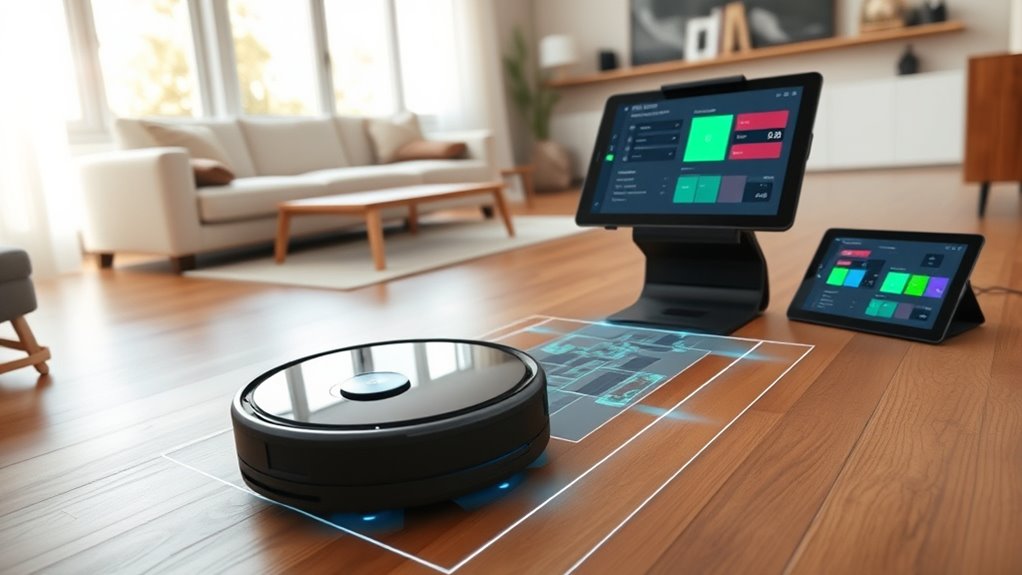
Monitor the Mapping Progress and Make Adjustments
As your robot vacuum begins mapping your space, regularly monitoring its progress allows you to catch and correct issues early. Keep an eye on the map as it develops, ensuring all areas are accurately represented. If you notice gaps or overlapping zones, it’s time for mapping adjustments. Check for obstacles or missed spots that could skew the map. Watch for areas where the vacuum hesitates or struggles, indicating potential calibration issues. By actively tracking progress monitoring, you can identify inaccuracies early and make necessary changes. This proactive approach helps improve overall mapping precision. Additionally, understanding the mapping process can help you better interpret the map and troubleshoot specific problems.
Save and Confirm the Updated Map
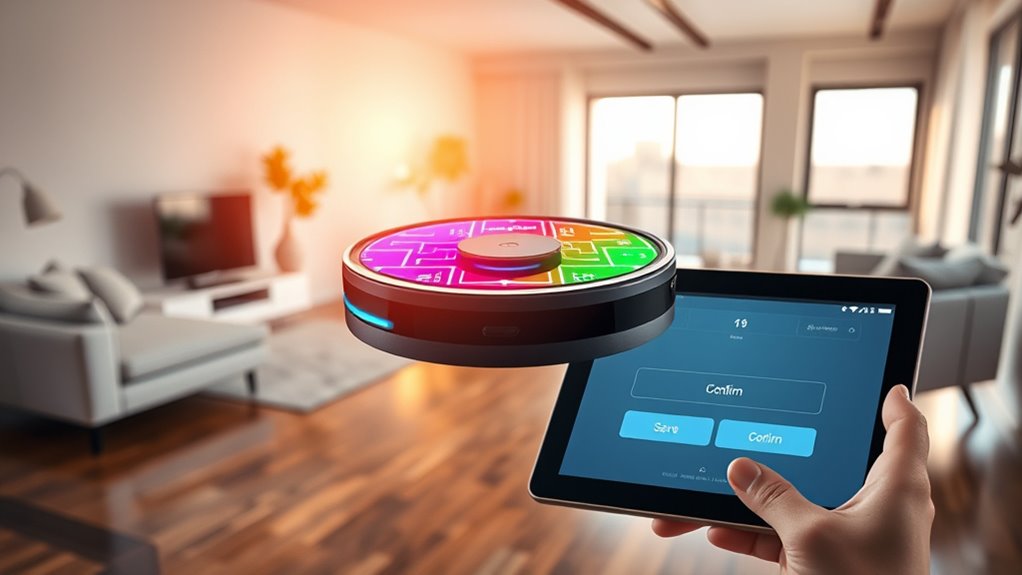
Once you’ve finished updating your map, it’s time to save the new data. Make certain to verify the map’s accuracy before confirming the save to avoid errors. Double-check your settings to ensure everything is stored correctly. Confirming the map integrity helps prevent potential issues during your cleaning sessions.
Store New Map Data
After updating the map, you need to save the new data to make certain the robot vacuum recognizes the changes. Proper data storage ensures your device maintains high mapping accuracy, reflecting your home’s current layout. To store the map successfully, imagine:
- A clear confirmation message appearing on your app screen.
- A progress bar indicating the saving process.
- The robot briefly pausing before moving to the next cleaning cycle.
- Your app displaying a “Map Saved” notification with a checkmark.
- Ensuring your device’s firmware is up to date can help prevent software issues that might interfere with the saving process.
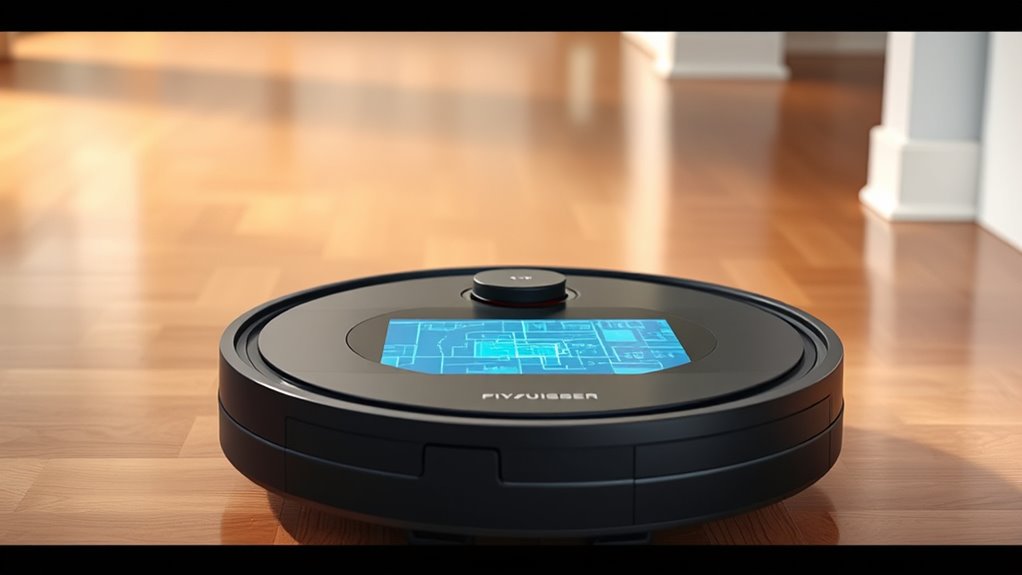
Verify Map Accuracy
To guarantee your robot vacuum’s map accurately reflects your home, you should verify the updated map’s details after saving. Begin by inspecting the map on your app to ensure all rooms and obstacles are correctly identified. Check that sensor calibration was effective, and the map aligns with your actual layout. Look for any discrepancies, such as missing rooms or misplaced furniture, which could indicate calibration issues. If you notice inaccuracies, revisit the calibration process or rerun the mapping function. Proper map verification helps confirm that the robot understands your space correctly, leading to more efficient cleaning. Additionally, understanding how AI algorithms process spatial data can improve your troubleshooting efforts. Taking this step ensures the map is reliable and ready for optimized cleaning routines, reducing the need for future adjustments.
Confirm Save Settings
Have you saved the updated map after verifying its accuracy? Confirming save settings is vital for maintaining mapping accuracy. When you press save, you’re locking in the data confirmation that guarantees your robot’s smart map reflects the true layout. Picture the process as sealing a blueprint, securing all adjustments you’ve made. Visualize your robot’s interface displaying a confirmation message, signaling that the map is now ready to guide cleaning. Imagine the map stored securely, ready for future reference, with all updated zones correctly aligned. This step ensures your robot can navigate efficiently, avoiding missed spots or obstacles. Double-check that you’ve completed the save process, so your mapping accuracy remains intact, and your robot is primed for peak cleaning performance. Necessary cookies are essential for site functionality and should be enabled to ensure proper operation.
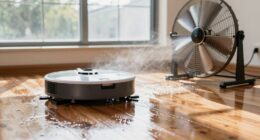
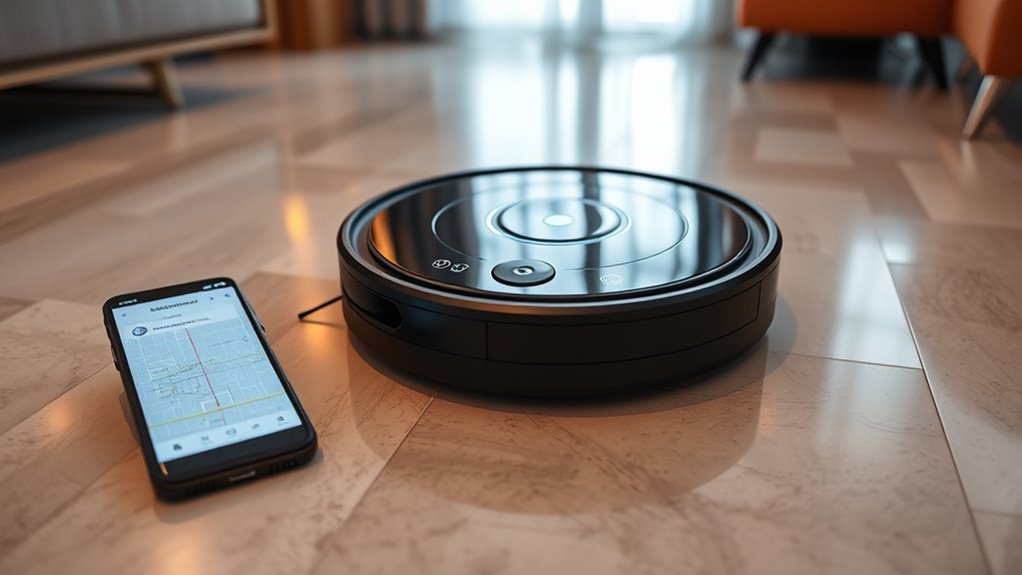
Perform a Test Clean to Ensure Accurate Mapping
Performing a test clean is a crucial step to verify that your robot vacuum’s smart map is accurate. During this clean, observe how the vacuum navigates your space and whether it detects obstacles correctly. Check the app afterward to see if the mapping aligns with your room’s layout. If the map shows discrepancies, it may indicate sensor misalignment, which can impair mapping accuracy. Confirm sensors are clean and positioned properly for peak performance. A successful test clean confirms that your robot is accurately interpreting its environment, reducing missed spots and collisions. Adjust sensor placement if needed, then rerun the test to improve mapping precision. Regular testing helps maintain the reliability of your smart map, ensuring thorough cleaning and efficient navigation. Additionally, staying informed about automation in business can provide insights into how technological advances can optimize your device’s performance.
Frequently Asked Questions
How Often Should I Calibrate My Robot Vacuum’S Smart Map?
You should consider calibrating your robot vacuum’s smart map based on its mapping frequency and your home’s changes. Generally, a calibration schedule of once every few months works well, but if you rearrange furniture or notice it struggles to clean certain areas, recalibrate sooner. Regular calibration helps maintain ideal navigation. Keep an eye on performance, and adjust your calibration schedule accordingly to guarantee your vacuum stays efficient and accurate.
Can I Calibrate the Map Manually Without the App?
You can often perform manual adjustments to your robot vacuum’s smart map without using the app, but it depends on the model. Some vacuums offer app alternatives like physical buttons or control panels for calibration. Check your device’s manual to see if manual adjustment is possible and how to do it. Keep in mind, though, that most calibration features are primarily designed to be managed through the app for accuracy.
What Should I Do if the Map Is Still Inaccurate After Calibration?
If your map remains inaccurate after calibration, you should perform a map adjustment. First, check your robot’s sensors for dust or debris and clean them carefully to fix sensor troubleshooting issues. Make sure your furniture and obstacles are properly recognized, and rerun the mapping process if needed. Sometimes, manually adjusting the map in the app can help improve accuracy, but verify your sensors are functioning correctly for the best results.
Does Calibration Affect the Vacuum’S Cleaning Efficiency?
Think of calibration as tuning a finely crafted instrument—your robot vacuum’s cleaning efficiency improves when mapping accuracy is sharp. When you adjust sensors, it’s like sharpening a blade, helping the vacuum better understand your space. Proper calibration guarantees the sensor adjustment enhances the smart map, making cleaning more thorough. So, yes, calibration directly impacts cleaning efficiency by refining the robot’s ability to navigate and clean effectively.
Are There Specific Floor Types That Require Special Calibration Steps?
Some floor types, like thick carpets or uneven surfaces, need special calibration steps to guarantee your robot vacuum cleans effectively. You might need to adjust the height or sensitivity settings during calibration for these floors. Always check your vacuum’s manual for specific instructions related to different floor types. Proper calibration helps your robot navigate and clean efficiently, regardless of whether you have hardwood, tile, or carpeted floors.
Conclusion
By preparing your space, accessing the settings, clearing obstructions, initiating calibration, monitoring progress, and performing tests, you guarantee your robot’s map is accurate and reliable. When you follow these steps carefully, you improve navigation, optimize cleaning, and enjoy a smarter home. Consistently maintaining and updating the map keeps your robot operating at its best. With patience and attention, you’ll enjoy a cleaner home, a smarter device, and peace of mind every time you press start.