Setting up a simple leak-proofing system can save your floors by stopping small leaks before they cause serious damage. Install water sensors near appliances, under sinks, and along vulnerable pipes to detect leaks early. Connect these sensors to automatic shutoff valves that cut water flow when needed. Regular maintenance and proper placement guarantee reliable protection, saving you money and stress. Keep going to discover more effective tips for safeguarding your floors from water damage.
Key Takeaways
- Install water sensors near vulnerable fixtures to detect leaks early and prevent floor damage.
- Use durable waterproof barriers under appliances to contain leaks and protect flooring.
- Regularly inspect plumbing and moisture barriers for wear to maintain leak-proof integrity.
- Incorporate automatic shutoff valves that activate upon leak detection to prevent flooding.
- Perform routine maintenance on pipes and sensors to ensure system reliability and long-term floor protection.
Why Water Leaks Can Ruin Your Floors and Cost You Big
Water leaks might seem minor at first, but they can quickly cause serious damage to your floors. When you neglect plumbing maintenance, small leaks can turn into costly problems, damaging your flooring and creating mold issues. Water seeping into floors weakens the structure and promotes rot, leading to expensive repairs. Plus, leaks waste water, making it harder to conserve resources and increase utility bills. Addressing leaks early helps prevent extensive damage and saves money in the long run. Regular plumbing maintenance not only keeps your system running smoothly but also helps you spot leaks before they escalate. Using detection devices can help identify hidden leaks before they cause significant harm. Being proactive about leak detection can significantly reduce repair costs and prevent property damage. By focusing on water conservation and timely repairs, you protect your floors, preserve your property’s value, and contribute to environmental sustainability. Implementing Proper tools and techniques for leak detection is essential for effective repair and prevention.
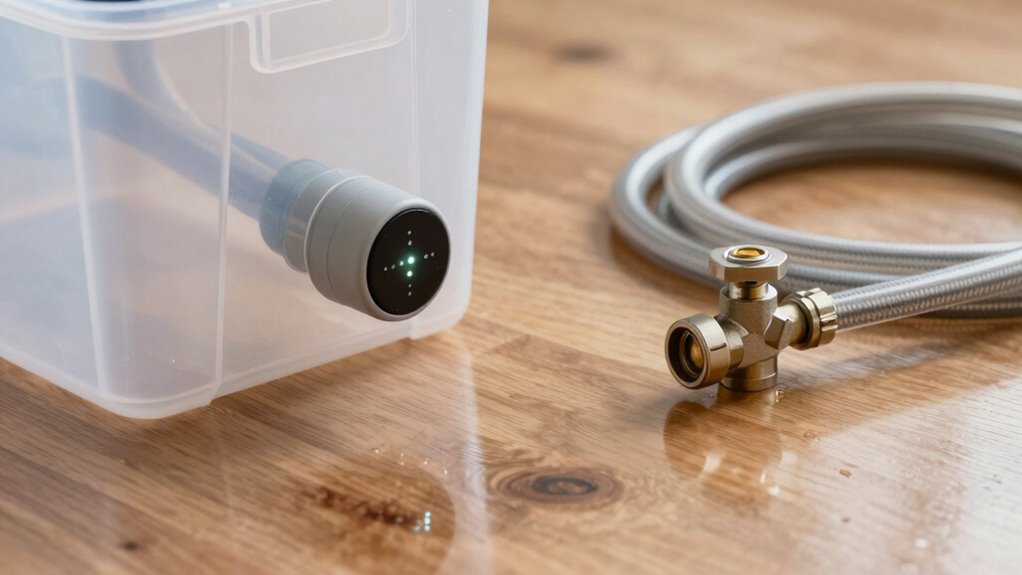
Essential Components of a Leak-Proofing System
A reliable leak-proofing system relies on several key components working together to detect and prevent leaks before they cause damage. Plumbing fixtures, like sinks, toilets, and appliances, are common leak sources, so ensuring they’re properly installed and maintained is essential. Water sensors are critical components that monitor for unexpected moisture or leaks and trigger alerts when issues are detected. These sensors can be placed near plumbing fixtures, under sinks, or along vulnerable pipes. Together, plumbing fixtures and water sensors form the backbone of an effective leak-proofing setup. They enable early detection and swift action, minimizing water damage and costly repairs. Incorporating proper installation techniques ensures the longevity and effectiveness of your leak prevention system. By integrating these components, you create a proactive system that safeguards your floors and property.
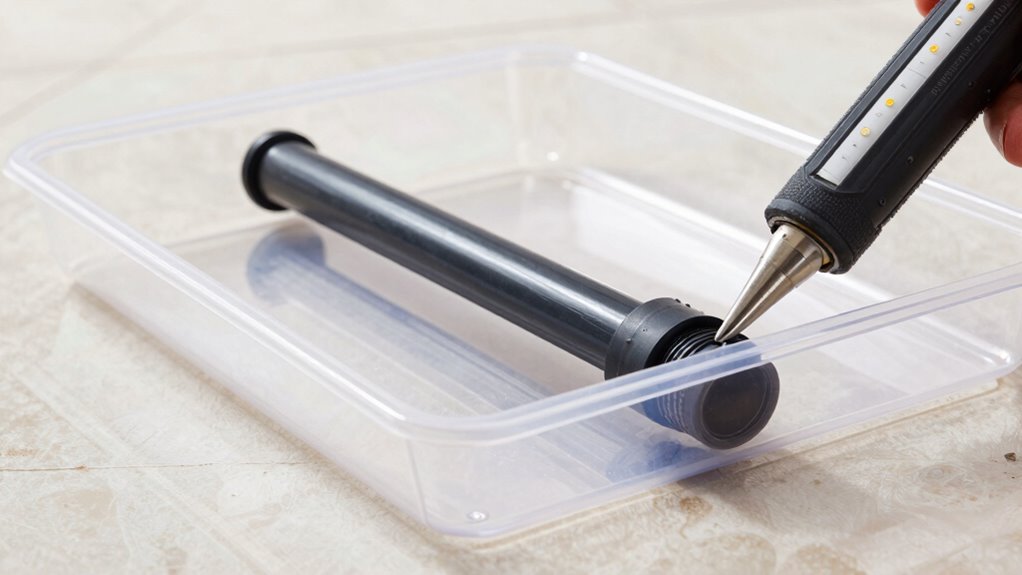
How to Choose the Right Leak Detection Devices
Choosing the right leak detection devices starts with understanding the different options available and how they fit your specific needs. Focus on sensor placement to guarantee accurate detection in high-risk areas. Look for devices that are easy to calibrate, so you can maintain their precision over time. Consider whether you want wired or wireless systems based on your setup. Additionally, understanding the importance of reliable detection systems can significantly impact the effectiveness of your leak prevention strategy. Being aware of sensor sensitivity ensures you select devices capable of detecting even minor leaks early. To maximize effectiveness, evaluate the maintenance requirements of each system to ensure long-term reliability. Moreover, selecting systems with advanced alarm features can provide quicker alerts and reduce potential damage. Proper sensor placement is crucial for comprehensive coverage and early leak detection. Here are three key points to guide your decision:
- Sensor Placement: Position sensors near appliances and pipes prone to leaks for ideal coverage.
- Device Calibration: Choose devices that allow simple calibration to keep detection precise.
- Type of Detection: Decide between moisture sensors, flow sensors, or combination systems based on your environment.
Proper selection ensures reliable detection and helps prevent costly water damage.
Setting Up a Floor Protection Barrier Under Appliances and Pipes
When setting up a floor protection barrier under appliances and pipes, choose durable materials that can withstand moisture and wear. Make sure to place the barrier properly, covering all vulnerable areas to prevent leaks from damaging your floors. Correct placement and sturdy materials are key to ensuring long-lasting leak-proof protection. Additionally, selecting materials with low comedogenic ratings can help prevent skin-related issues if the barrier comes into contact with your skin. Using soundproofing materials can also minimize noise transmission from appliances and pipes, enhancing your home’s overall quietness. Incorporating eco-friendly detergents in cleaning routines can further maintain your flooring’s integrity by reducing chemical exposure and residue buildup. Being mindful of heat buildup and ensuring proper wiring can also help prevent fire hazards associated with leaks or electrical issues.
Choosing Durable Materials
Selecting durable materials is essential to guarantee your floor protection barrier withstands the weight and potential leaks from appliances and pipes. When choosing materials, focus on their material selection and durability testing to ensure longevity. Opt for options like heavy-duty plastic sheeting, waterproof membranes, or rubber mats, which resist tearing and moisture. To help you decide, here are some top choices:
- Heavy-duty polyethylene or PVC sheeting for toughness and waterproofing
- Rubber mats with reinforced edges for added durability
- Industrial-grade waterproof membranes tested for leak resistance. Additionally, reviewing durability testing results can provide confidence in your material choice’s long-term performance. Incorporating proper installation techniques can further enhance the effectiveness of your floor protection barrier. Always verify the durability testing results before purchasing to ensure the materials can handle the weight and moisture exposure, preventing costly repairs and protecting your floors effectively. Choosing reliable materials is crucial for ensuring your setup remains leak-proof over time. Incorporating sustainable textile care practices, such as selecting environmentally friendly materials or those designed for durability, can further enhance the longevity and eco-friendliness of your floor protection setup. Using appropriate maintenance methods can also help extend the lifespan of these protective materials over time.
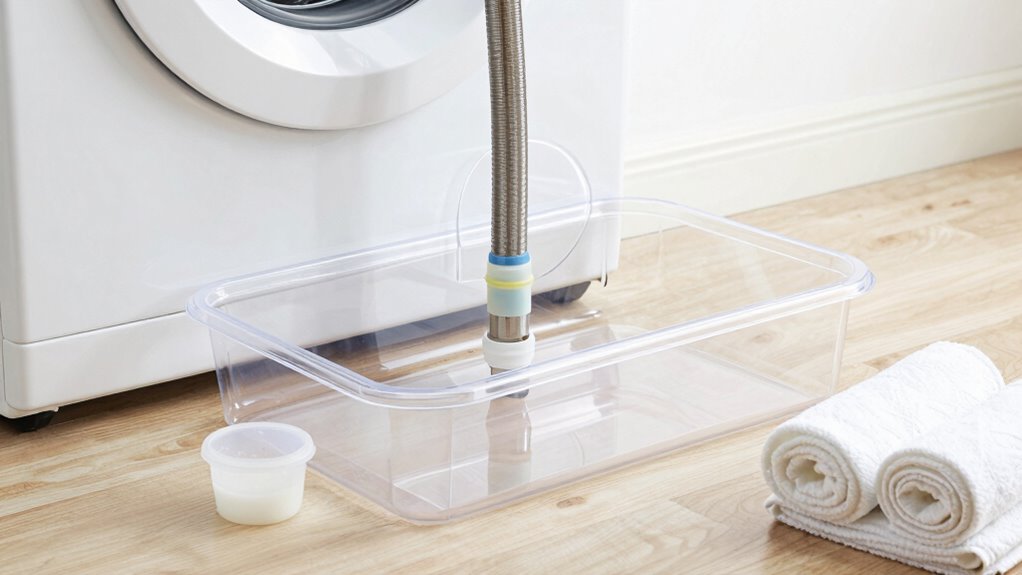
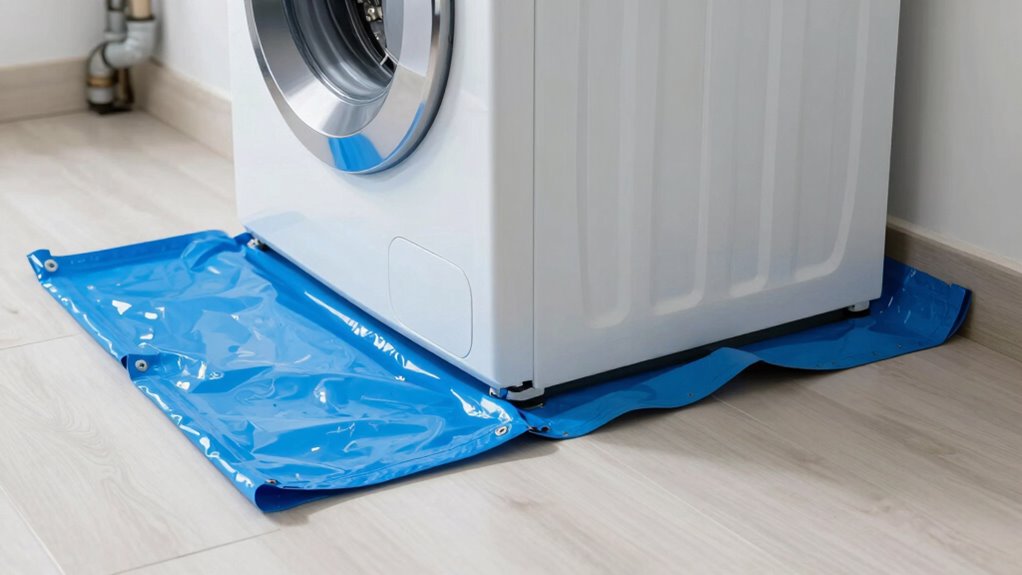
Proper Barrier Placement
Proper placement of your floor protection barrier is essential to effectively prevent water damage beneath appliances and pipes. Start by ensuring the barrier covers the entire area where leaks or drips could occur. When setting up moisture barriers, position them beneath appliances like washing machines or under sinks, extending a few inches beyond the edges. Make sure the barrier is flat and secure to avoid shifting. Proper barrier placement involves overlapping sheets if using multiple layers, creating a continuous shield against leaks. Avoid gaps or loose edges that could allow water to seep through. Using durable moisture barriers helps maintain a reliable defense, protecting your floors from water damage and making leak detection easier. Correct placement is key to a leak-proof, long-lasting setup. Additionally, inspecting the cabling and connections regularly can prevent potential failures that lead to leaks. Regularly checking for signs of wear or deterioration in the moisture barriers can further enhance your leak-proofing strategy. Being aware of water flow patterns ensures you can position barriers effectively to catch leaks early, and understanding home plumbing systems can help identify potential leak sources before they become problems. Staying informed about new leak detection technologies can also improve your overall water damage prevention efforts.
Installing Automatic Shutoff Valves to Prevent Water Damage
Installing automatic shutoff valves helps you respond quickly to leaks, protecting your home from water damage. These valves detect issues and shut off the flow without your intervention, offering peace of mind. Understanding how they work, along with installation and maintenance tips, guarantees you get the most out of these smart devices.
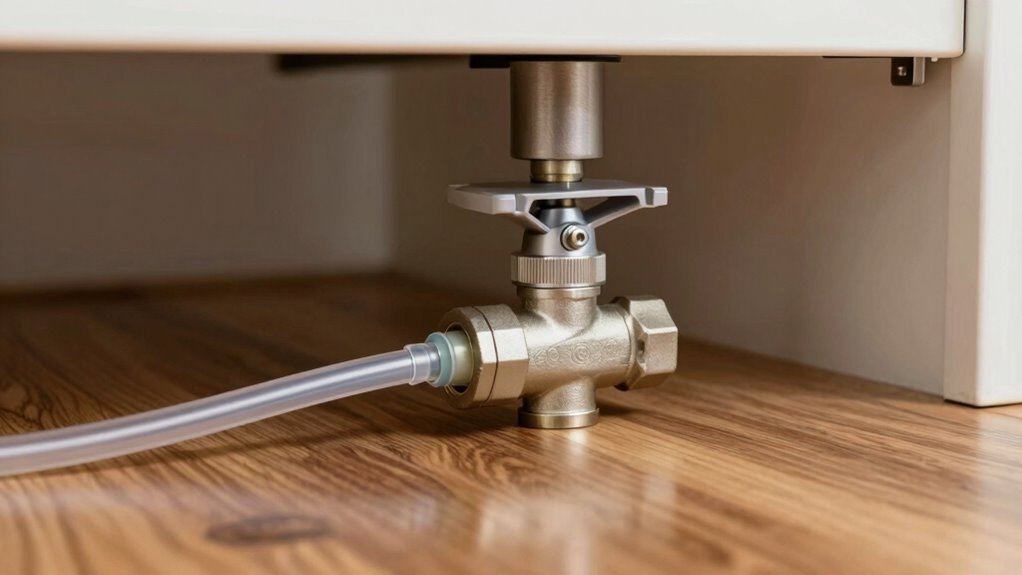
How Shutoff Valves Work
Automatic shutoff valves are designed to detect leaks or abnormal water flow and respond instantly to prevent damage. When water flow exceeds preset limits, the valve operation activates the shutoff mechanisms, stopping water supply immediately. This quick response minimizes potential flooding and damage. Here’s how they work:
- Sensors identify leaks or pressure changes, triggering the valve operation.
- The shutoff mechanisms then close the valve, halting water flow.
- Some valves reset automatically once the issue is resolved, ready to act again if needed.
Understanding these components helps you see how automatic shutoff valves protect your property. They rely on precise valve operation and effective shutoff mechanisms to respond swiftly and ensure your floors stay dry and damage-free.
Benefits of Automatic Control
Automatic shutoff valves offer significant benefits by quickly responding to leaks and preventing water damage. When a leak occurs, these valves automatically shut off the water supply, saving you from costly repairs and water wastage. This automatic control promotes water conservation by reducing unnecessary water flow, especially during unnoticed leaks or plumbing failures. Additionally, installing these valves minimizes the need for constant plumbing maintenance, as they help prevent small leaks from escalating into major problems. With automatic shutoff valves, you gain peace of mind, knowing your home is protected even when you’re away. They streamline leak management, guarantee efficient water use, and help maintain the integrity of your plumbing system—all essential for long-term home preservation.
Installation and Maintenance Tips
To guarantee your shutoff valves function effectively, proper installation is essential. First, ensure the pipes are well-insulated with pipe insulation to prevent freezing and potential leaks. Second, install the automatic shutoff valve in a location that’s accessible for maintenance and inspection. Finally, consider applying water resistant paint around the valve area to protect against moisture damage and corrosion. Regular maintenance includes checking for leaks, testing the valve’s response, and replacing worn components promptly. Keep the area clean and dry, and inspect pipe insulation periodically for damage. Proper installation and upkeep help ensure your automatic shutoff system works reliably when needed, reducing water damage risks and protecting your floors.
Tips for Maintaining and Monitoring Your Leak Prevention System

Regularly maintaining and monitoring your leak prevention system is essential to guarantee it functions effectively when needed. Start by checking sensor placement to ensure sensors are positioned correctly in high-risk areas like under sinks or near appliances. Proper sensor placement helps detect leaks early and prevents water damage. Establish a consistent maintenance schedule, such as monthly inspections, to test sensors and confirm they’re working properly. Clean sensors gently to remove dust or debris that could impair detection. Also, verify that the shutoff valve operates smoothly and responds to sensor triggers. Keeping these components in good condition assure your system stays reliable. By staying proactive with sensor placement and routine maintenance, you’ll ensure your leak prevention system provides maximum protection, giving you peace of mind.
Troubleshooting Common Leak Detection and Shutoff Problems

When your leak detection or shutoff system isn’t responding properly, troubleshooting quickly can prevent water damage and costly repairs. First, check your pipe insulation; if it’s damaged or missing, it can cause false alarms or sensor issues. Second, inspect the valve troubleshooting procedures—ensure the valve isn’t stuck or blocked, and verify it opens and closes smoothly. Third, test the system’s power supply and connections; faulty wiring can prevent sensors from activating or shutoff valves from functioning. If these steps don’t resolve the issue, consider resetting the system or replacing faulty components. Regular maintenance and prompt troubleshooting keep your leak-proofing setup reliable, protecting your floors and avoiding unnecessary damage.
Benefits of a DIY Leak-Proofing System Compared to Professional Solutions
Choosing a DIY leak-proofing system offers several advantages over professional solutions, primarily in cost and convenience. When you handle it yourself, you save on installation fees and can adjust the setup as needed, ensuring better plumbing efficiency. This approach also promotes water conservation, as early leak detection minimizes water waste and prevents costly damage. With a DIY system, you have immediate control, allowing you to monitor and respond to leaks quickly. Plus, you avoid scheduling delays and can maintain your floors without waiting for professionals. Overall, a DIY leak-proofing setup empowers you to protect your home efficiently, saving money and water while giving you peace of mind. It’s a practical, cost-effective way to safeguard your floors from water damage.
How Setting Up a Leak-Proofing System Saves Time, Money, and Stress
Setting up a leak-proofing system streamlines your home maintenance by saving you valuable time, money, and stress. With smart sensors and water alarms in place, you can detect leaks early before they cause extensive damage. Here’s how it helps:
Implementing a leak-proof system saves time, money, and stress by detecting leaks early and preventing damage.
- Early Detection: Smart sensors alert you immediately to leaks, preventing costly water damage.
- Reduced Repair Costs: Catching leaks early minimizes repairs and water bills.
- Peace of Mind: Water alarms provide constant reassurance, reducing worry when you’re away.
Frequently Asked Questions
Can Leak-Proofing Systems Be Installed in Rental Properties?
Yes, you can install leak-proofing systems in rental properties, but you need to think about rental restrictions and tenant responsibilities. Always check with your landlord or property manager first, as some rentals have rules against modifications. If permitted, choose damage-proof solutions that are easy to remove. This way, you protect your floors without risking your security deposit or violating lease agreements.
How Often Should Leak Detection Devices Be Tested or Replaced?
You should test your leak detection devices at least once a year, though it’s tempting to forget until disaster strikes. Regular sensor maintenance keeps devices functioning properly, ensuring they’re not just durable but reliable. Don’t wait for a leak to remind you of their importance—stay ahead by checking and replacing sensors as recommended. After all, a little proactive care can save you from costly water damage, proving durability is only part of the solution.
Are There Eco-Friendly Leak-Proofing Options Available?
Yes, eco-friendly leak-proofing options are available. You can choose products made from eco-friendly materials like biodegradable options, which reduce environmental impact. These solutions often include biodegradable sealants or environmentally safe sensors that work effectively without harming the planet. By opting for sustainable materials, you help protect the environment while maintaining your home’s leak prevention system. Always look for certifications or labels indicating eco-friendliness to guarantee you’re making an environmentally responsible choice.
What Is the Typical Lifespan of a Leak Protection Setup?
A leak protection setup typically lasts around 5 to 10 years with proper maintenance. To extend its lifespan, you should follow regular maintenance schedules and consider system upgrades when needed. Keep an eye on wear and tear, and don’t hesitate to refresh or replace components to guarantee ongoing protection. Staying proactive helps prevent costly damage, giving you peace of mind and safeguarding your floors for years to come.
Can Leak-Proofing Systems Detect Slow or Intermittent Leaks?
Yes, leak-proofing systems with smart sensors can detect slow or intermittent leaks. These sensors monitor water flow continuously, so when they notice irregularities or tiny leaks, they trigger an alert. This early detection helps you respond quickly, preventing water damage and costly repairs. By keeping an eye on water flow patterns, your system provides peace of mind and guarantees your floors stay protected from even the most subtle leaks.
Conclusion
By setting up this simple leak-proofing system, you’ll stop water damage before it even starts, saving your floors from destruction and your wallet from a financial nightmare. It’s like having a superhero guarding your home 24/7, catching leaks before they turn into disasters. With just a little effort, you’ll protect your space, avoid costly repairs, and enjoy peace of mind knowing your floors are safe from water’s sneaky tricks. Don’t wait—your home’s safety depends on it!