Your Mop‑Vac is streaking because you might be using dirty or worn pads, which spread dirt instead of lifting it, and if you don’t rinse or maintain them properly, residue builds up. Hard water and harsh cleaning solutions can also leave deposits that cause streaks. Using too much water or products can damage the finish and make floors look worse. Keep your equipment clean and use the right solutions, and you’ll see better results. Learn more to perfect your technique.
Key Takeaways
- Residue buildup from dirt, soap, or cleaning solutions can cause streaks.
- Using dirty or worn mop pads spreads debris instead of cleaning effectively.
- Hard water deposits leave mineral streaks and dull the floor’s shine.
- Excessive water or harsh chemicals damages floors and creates streaks.
- Poor technique, like over-wetting or improper rinsing, contributes to streaking issues.
Why Do Floors Streak After Mopping?
Ever wonder why your floors sometimes end up with streaks after mopping? It often comes down to mop maintenance and how it interacts with your floor finishes. If your mop isn’t cleaned properly, leftover dirt and residue can spread and cause uneven streaks. Using a dirty mop on delicate or glossy floor finishes can also leave behind marks or smudges. Additionally, if you use too much water or harsh cleaning solutions, you might damage the protective layer on your floors, making streaks more noticeable. Regularly maintaining your mop ensures it’s free of debris and buildup. Choosing the right cleaning products compatible with your floor finishes helps keep your floors shiny and streak-free. Proper mop care and understanding your floor’s coating are key to achieving a spotless, streak-free shine.
How Does Residue Build Up and Cause Streaks?
Residue builds up on your mop and floors over time when dirt, soap scum, and cleaning products aren’t thoroughly rinsed away. This buildup creates a thin film that prevents your mop from picking up new dirt effectively. As you continue mopping, mineral deposits from hard water and leftover cleaning agents accumulate, worsening streaking. These deposits can harden and cling to your floors, forming a barrier that reflects light differently and causes streaks. The more residue and mineral deposits you leave behind, the more visible streaks become. Over time, this buildup hampers your mop’s ability to clean properly, leaving your floors looking dull and streaky. Regular rinsing and proper maintenance are essential to prevent these deposits from causing further streaking. Understanding cleaning residue buildup** and its impact can also help you better interpret cleaning advice and tips. Additionally, using appropriate cleaning tools can significantly reduce the likelihood of streaks caused by residue. Employing correct mopping technique** ensures you minimize residue accumulation and achieve a streak-free shine.
Does Water Quality Affect How Clean Your Floors Get?
The quality of your water directly impacts how effectively you can clean your floors. High water mineral content, such as calcium and magnesium, can leave residues that cause streaks and dullness. Hard water makes it harder for cleaning solutions to work properly, reducing their ability to lift dirt and grime. Additionally, the pH balance of your water matters; water that’s too alkaline or acidic can interfere with cleaning agents, decreasing their effectiveness. When water isn’t properly balanced, it can leave spots or streaks even after mopping. Using softened water or adjusting your cleaning solutions based on your water’s mineral content and pH level can substantially improve your floor’s cleanliness. Proper water quality ensures your floors look spotless and streak-free. Water chemistry plays a crucial role in cleaning performance and overall results. Adjusting for water mineral content and considering piercing materials can help prevent streaks and enhance cleaning efficiency. Being aware of water treatment options can also help optimize your cleaning routine and achieve better results. Additionally, understanding water softening techniques can further reduce mineral buildup and improve cleaning outcomes.
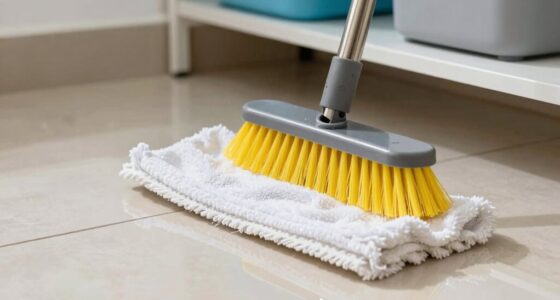
Can Dirty or Worn Pads Make Your Floors Look Messy?
Dirty or worn pads can substantially contribute to a messy-looking floor because they spread dirt instead of removing it. When you don’t clean your pads regularly or replace worn ones, dirt and debris build up, making your cleaning less effective. This buildup can create a dirt transfer effect that makes floors appear more soiled than they actually are. Proper pad maintenance is crucial to prevent dirt from being redistributed during cleaning. This reduces cleaning frequency and causes dirt to smear across the floor, especially on textured surfaces. The rougher the floor texture, the more noticeable the mess becomes, as dirt gets trapped in crevices and isn’t fully lifted away. Using clean, well-maintained pads ensures you’re lifting dirt instead of redistributing it. Over time, worn pads lose their ability to scrub properly, leaving your floors looking dull and streaked. Regularly changing your pads and maintaining a proper cleaning routine can help keep your floors looking fresh and spotless. Additionally, understanding effective cleaning techniques can enhance your results and minimize the buildup of dirt. Proper maintenance of your pads is essential for effective cleaning and a clean-looking floor. Ensuring your pads are in good condition can also help prevent residue buildup, which contributes to streaks and dullness on your floors.
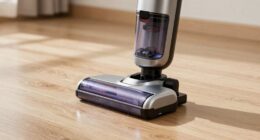
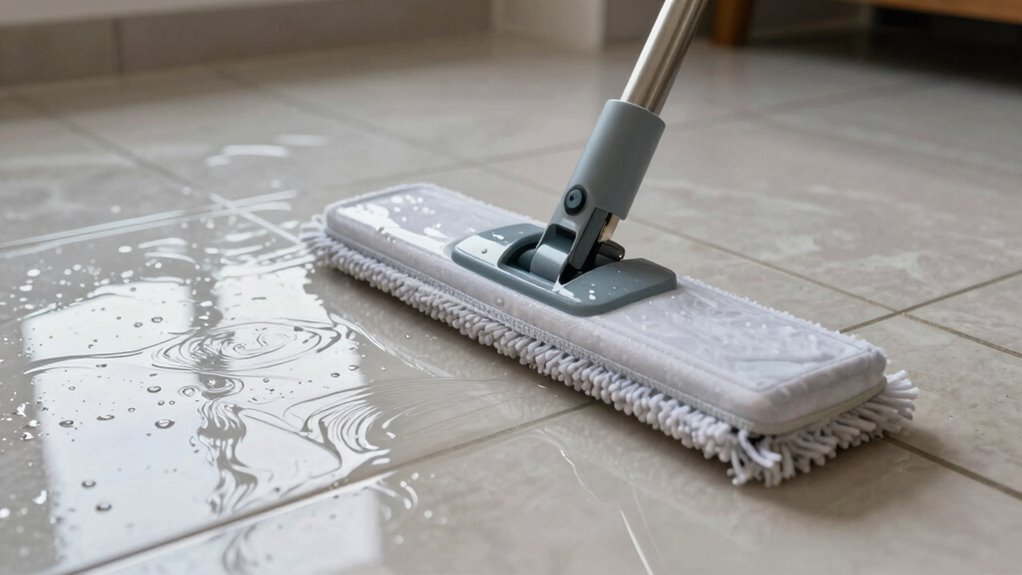
How to Use Your Mop‑Vac Properly to Prevent Streaks?
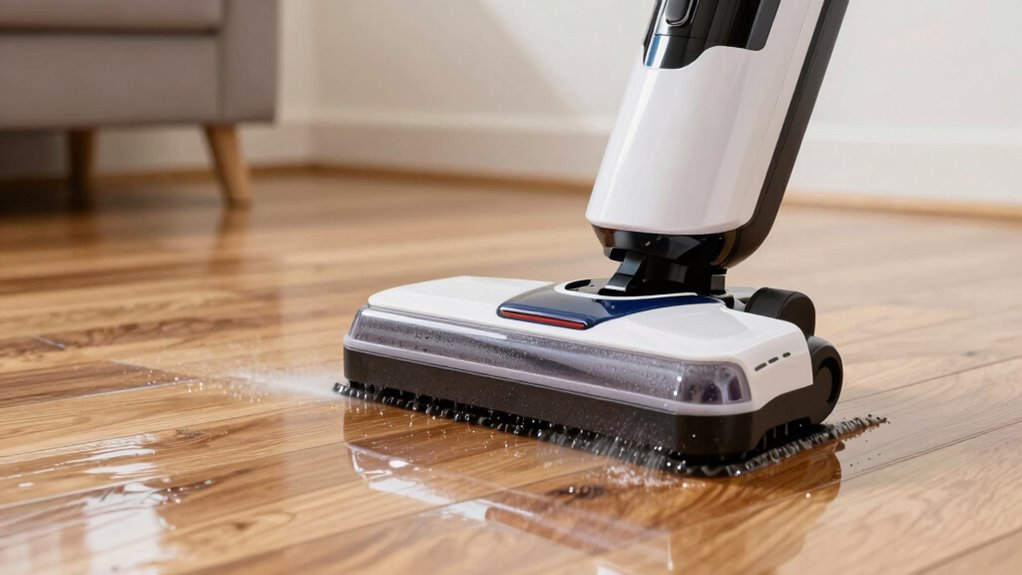
To prevent streaks when using your Mop‑Vac, it’s important to follow proper techniques and maintain your equipment. Your mop technique should involve working in small sections, overlapping slightly with each pass to ensure even coverage. Avoid pressing too hard, which can push excess water and cause streaks, especially on textured or uneven floor surfaces. Pay attention to your floor texture; smoother floors require less water and gentle mopping, while textured floors may need a slightly different approach to avoid streaks. Always keep your mop pad clean and change it when it becomes dirty or saturated. Proper technique combined with understanding your floor’s texture helps ensure a streak-free, professional-looking finish every time. Additionally, proper equipment maintenance is essential for optimal cleaning performance and to prevent streaking issues. Regularly inspecting and replacing worn mop heads or pads can also improve cleaning results. Maintaining the right cleaning tools ensures consistent performance and prevents residue buildup that can cause streaks.
Easy Maintenance Tips to Keep Floors Streak-Free

To keep your floors streak-free, make sure you’re using the right cleaning solutions that are gentle yet effective. Regularly rinse your mop head to prevent dirt buildup that can cause streaks, and avoid over-wetting the floor, which can leave unwanted marks. These simple maintenance tips will help you achieve a spotless, streak-free shine every time. Additionally, adopting a Victorian Steampunk-inspired approach to cleaning can add a touch of elegance and charm to your routine. Incorporating safe techniques for at-home tools ensures your cleaning practices remain both effective and gentle on your surfaces. Remember to check your air purifier filters regularly, as clean filters contribute to better airflow and overall cleanliness, which can indirectly support a cleaner environment. Proper workspace organization can also streamline your cleaning process and prevent dirt from spreading. In addition, using budget-friendly cleaning supplies can help you maintain your floors without overspending during inflationary times.
Use Proper Cleaning Solutions
Choosing the right cleaning solutions is essential for preventing streaks when using your mop-vac. Select cleaning agents formulated for your floor type, ensuring they have a balanced pH. Using solutions that are too acidic or alkaline can leave residue and cause streaks. Always check the label to confirm the pH balance suits your flooring. For added sophistication, consider this table:
| Cleaning Agent Type | Ideal pH Range |
|---|---|
| Neutral cleaner | 6.5–7.5 |
| Slightly alkaline | 8.0–9.0 |
| Slightly acidic | 5.0–6.0 |
| Highly alkaline | 10.0+ |
| Highly acidic | 4.0 or below |
Additionally, understanding floor type can help you select the most appropriate cleaning solution. Using the correct pH-balanced cleaner tailored to your floor surface can significantly reduce streak formation and maintain a polished appearance. Choosing the appropriate solution helps keep your floors streak-free and looking pristine.
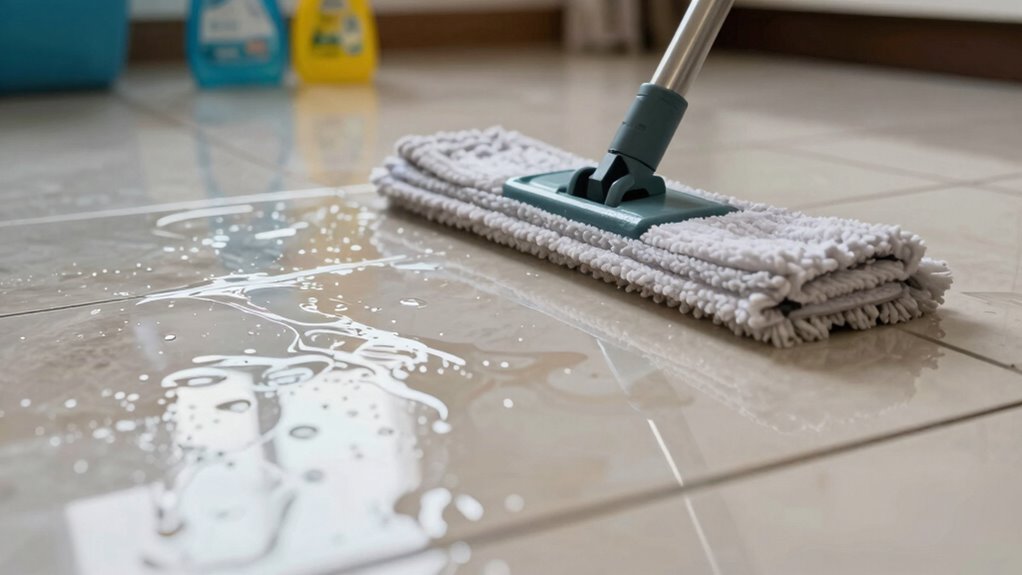
Regularly Rinse Mop Head
Regularly rinsing your mop head prevents dirt and cleaning solution buildup that can leave streaks on your floors. A dirty mop head can transfer grime and residues back onto your surfaces, making streaks more likely. Incorporate rinsing into your cleaning schedule to keep your mop fresh and effective. After each use, thoroughly rinse the mop head with clean water to remove dirt and soap. If you use a microfiber or sponge mop, squeeze out excess water and rinse until the water runs clear. For best results, let the mop head air dry completely before storing it. Making this a routine step guarantees your mop remains clean, reducing streaks and helping your floors look spotless after every clean.
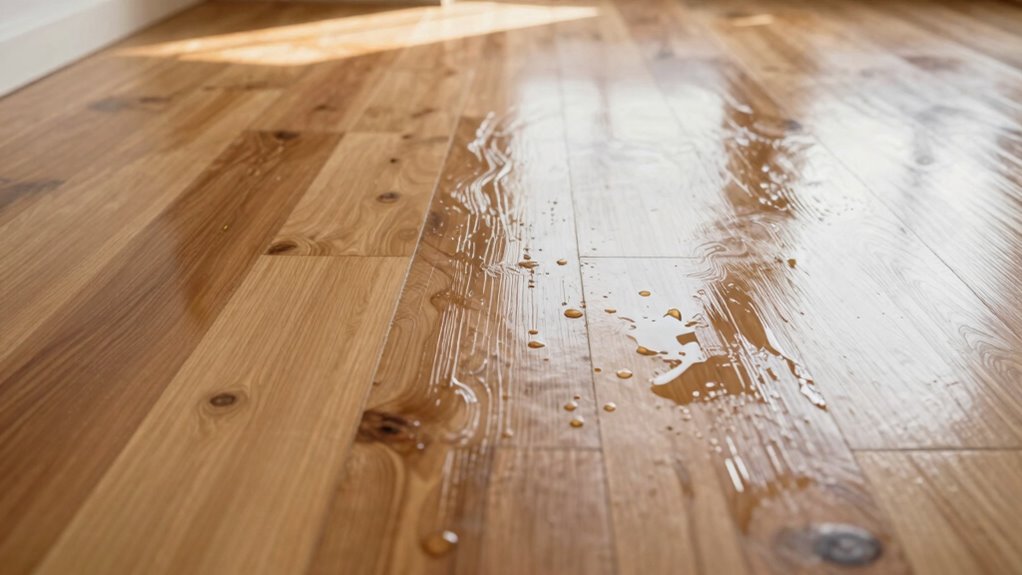
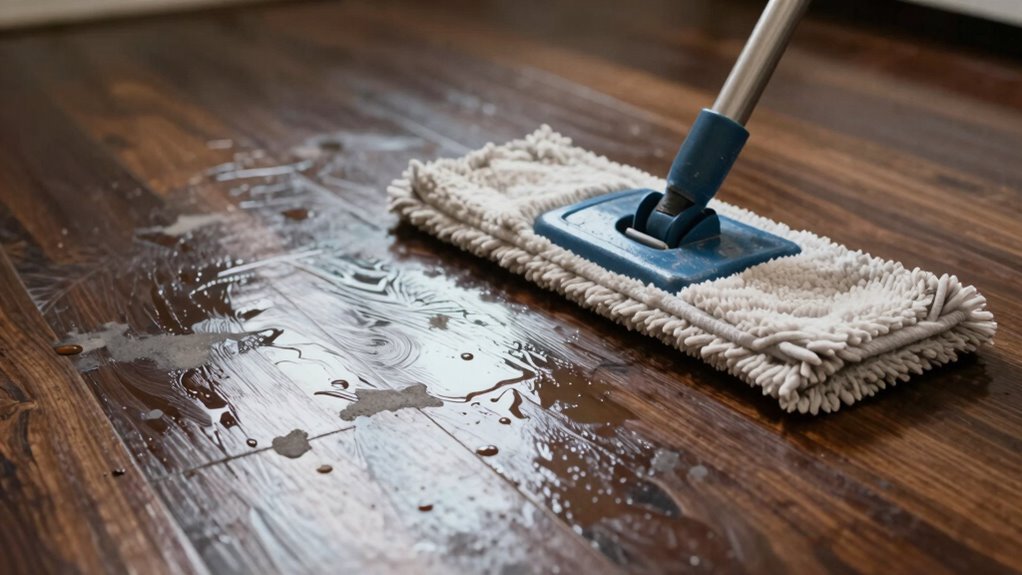
Avoid Over-Wetting Floors
Over-wetting your floors can cause streaks and damage, so it’s important to use just enough water during cleaning. When floors absorb excess moisture, it slows drying and leaves streaks behind. To prevent this, control the amount of water you use based on your floor type and absorption rate. Remember, frequent cleaning helps maintain a healthy surface without over-saturating it—less water means less risk of streaks. Always wring out your mop thoroughly before cleaning, especially on porous flooring like hardwood or tile. If you notice puddles or excessive dampness, stop and dry the area with a clean cloth. By avoiding over-wetting, you reduce the chance of streaks and extend your floors’ lifespan, keeping them looking pristine with less effort.
Common Mopping Mistakes That Cause Streaks: And How to Fix Them?
One common mistake is using too much water on your mop, which can leave streaks behind. Not rinsing your mop properly also causes dirt to spread instead of lifting it away. Fix these issues by wringing out excess moisture and thoroughly rinsing your mop before each use.
Using Excess Water
Using too much water when mopping is a common mistake that can lead to streaks on your floors. Excess water seeps into grout lines, wood, or laminate surfaces, causing damage and leaving behind residue. To avoid this, adjust your cleaning schedule and consider your floor type. For example, tile and vinyl floors handle water well, but hardwood and laminate can swell or warp if overly wet.
| Floor Type | Water Tolerance | Cleaning Tip |
|---|---|---|
| Tile/Vinyl | High | Use a damp mop, not soaking wet |
| Hardwood | Low | Wring out mop thoroughly |
| Laminate | Moderate | Use minimal water, quick drying |
Knowing your floor type and sticking to appropriate cleaning schedules helps prevent streaks caused by excess water.
Not Rinsing Properly
Have you ever noticed streaks after mopping? One common mistake is not rinsing your mop properly. When you skip or rush this step, dirt and grime stay trapped in the mop fibers, causing streaks instead of a clean finish. Your mop technique matters—make sure to rinse thoroughly after each pass to remove loosened debris. Also, sticking to a consistent cleaning schedule helps prevent buildup that can lead to streaks. If you neglect proper rinsing, residues will spread across the floor, dulling its appearance. Take the time to rinse your mop well, wringing out excess water before each pass. This simple step ensures dirt doesn’t re-deposit and that your floors stay spotless and streak-free. Proper rinsing is key to effective, streak-free mopping.
Quick Fixes and Long-Term Tips for Streak-Free Floors
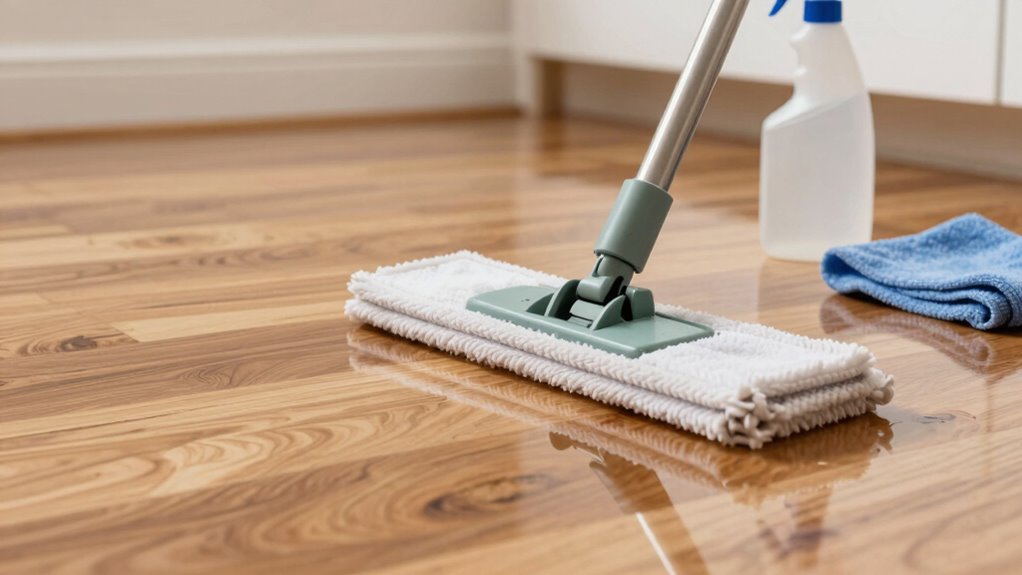
To achieve streak-free floors, start with a quick fix by ensuring your mop and cleaning solution are properly prepared. Use correct mop techniques tailored to your floor type—light pressure on delicate surfaces and firm, even strokes on harder floors. For tile or laminate, avoid excessive water, which can cause streaks. For hardwood, use a damp mop, not soaked, to prevent damage and streaking. Regularly rinse and wring out your mop to prevent dirt from spreading. Long-term, invest in a microfiber mop head, which traps dirt better and reduces streaks. Always test cleaning solutions on a small area first. Maintaining consistent, gentle cleaning techniques and choosing the right products for your floor type will keep your floors streak-free over time.
Frequently Asked Questions
Can Type of Flooring Influence Streaking Issues?
Yes, the flooring material can influence streaking issues. For example, smooth surfaces like tile or laminate are more prone to streaks if you use the wrong mop type or too much cleaner. Choosing a microfiber mop and a suitable cleaner for your flooring material helps prevent streaks. Always test a small area first and adjust your cleaning method to match your floor type for the best results.
Are Certain Cleaning Solutions Better for Streak-Free Floors?
Yes, certain cleaning solutions work better for streak-free floors. You should choose chemical solutions that are specifically formulated for your flooring type and avoid harsh chemicals that can leave residue. Pair these solutions with the right cleaning tools—like microfiber mops or soft cloths—to guarantee an even, streak-free finish. Always follow the manufacturer’s instructions for the best results and to prevent streaking caused by improper cleaning methods.
How Often Should I Replace My Mop‑Vac Pads?
You should replace your Mop‑Vac pads every 3 to 6 months, depending on pad longevity and how often you clean. Investigating pad durability shows that regular replacement maintains effective cleaning and prevents streaks. Proper mop maintenance includes monitoring pad wear and replacing them when they become worn or less effective. This simple step guarantees your floors stay streak-free and your cleaning remains efficient.
Does the Room’s Humidity Affect Mopping Results?
Humidity levels can definitely affect your mopping results. High humidity causes your floors to stay damp longer, making streaks more likely and potentially reducing cleaning effectiveness. To get the best results, adjust your cleaning frequency accordingly—more frequent mopping in humid environments helps prevent buildup and streaks. Keep in mind that proper ventilation and using the right cleaning solutions also help maintain ideal humidity levels and cleaner floors.
Are There Specific Drying Techniques to Prevent Streaks?
To prevent streaks, use proper drying techniques like buffing the floor with a microfiber cloth after mopping. Imagine a busy café owner who switched to microfiber magic and found their floors drying quickly without streaks. You can do the same by ensuring your mop isn’t overly wet and drying the surface thoroughly. This simple step, combined with microfiber magic, guarantees a streak-free shine every time.
Conclusion
To keep your floors spotless, stay vigilant, stay consistent, and stay mindful. Regularly clean your pads, use clean water, and avoid common mopping mistakes. Embrace proper techniques, perform routine maintenance, and be patient with the process. When you prioritize these simple habits, you’ll enjoy streak-free floors, a brighter home, and peace of mind. Because a clean floor isn’t just about looks—it’s about creating a space where you feel truly comfortable and proud.