You should replace your side brushes when they show visible signs of wear, cracks, or bent bristles that can’t clean effectively. Keep an eye out for reduced performance along walls and corners or missed spots that indicate worn brushes. If your brushes are still clean and intact, cleaning them might be enough. For tips on how to inspect and maintain your brushes to keep them lasting longer, keep exploring.

Get cleaning gear delivered free with Prime
- Fast, free delivery on millions of items
- Prime Video, Amazon Music and more included
- Member-only deals all year
Key Takeaways
- Replace side brushes when bristles are frayed, cracked, missing, or unevenly worn to maintain cleaning performance.
- Inspect brushes regularly; replace if they no longer spin freely or contact surfaces effectively.
- Cleaning intact brushes can extend their lifespan; replace only if damage or wear is beyond cleaning’s effectiveness.
- Generally, replace side brushes every 6-12 months, depending on usage and visible signs of wear.
- Do not delay replacing damaged or worn brushes to prevent reduced cleaning efficiency and potential damage to the vacuum.
Products Worth Considering

iRobot Roomba Plus 405 Combo Robot Vacuum and Mop with AutoWash Dock

Shark Pet Cordless Stick Vacuum with 40-Minute Runtime, Grey, IX141

Dyson V15 Detect Cordless Vacuum
As an affiliate, we earn on qualifying purchases.
How Do I Know When My Side Brushes Need Replacing?
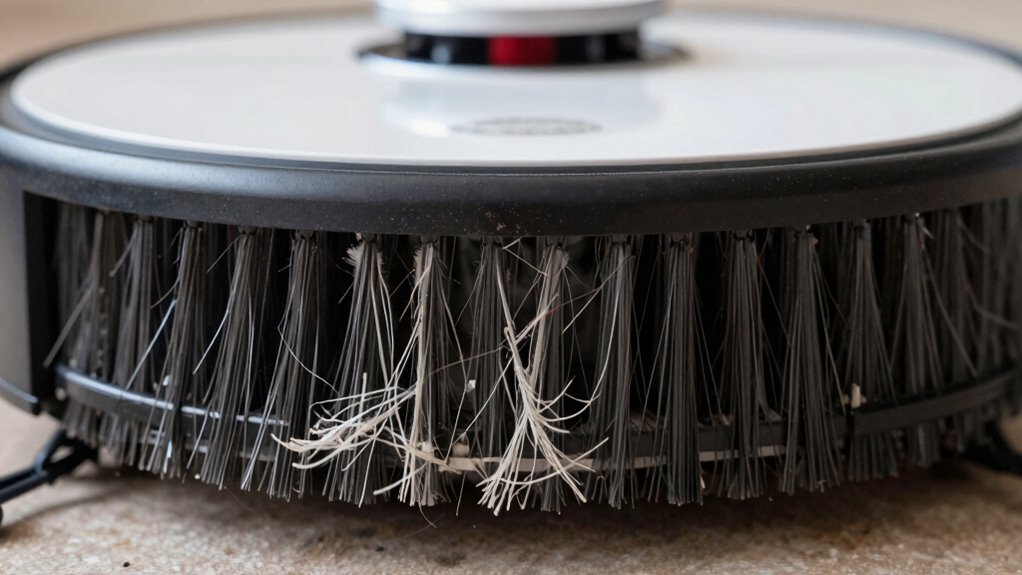
You’ll know it’s time to replace your side brushes when you start noticing decreased cleaning performance along walls and corners. Regular brush maintenance helps keep your vacuum working efficiently, but over time, brushes wear down and become less effective. The replacement frequency depends on usage, but generally, you should inspect your side brushes every one to three months. If you notice they’re cracked, bent, or missing bristles, it’s a clear sign they need substituting. Worn brushes won’t sweep debris properly, leading to missed spots and reduced cleaning quality. Keeping an eye on their condition ensures peak performance. Replacing your side brushes when necessary maintains cleaning efficiency and prevents damage to other parts of your vacuum. Regular inspection and timely replacement are key to prolonging your vacuum’s lifespan. Additionally, understanding brush wear patterns can help you better determine when replacement is truly needed. Being aware of signs of wear helps you avoid unnecessary replacements and ensures your vacuum operates at optimal efficiency. Monitoring bristle condition regularly can also help you catch early signs of wear before performance declines significantly, especially since material deterioration can occur from exposure to dust and cleaning agents over time. Moreover, tracking usage frequency can assist in predicting the optimal replacement schedule for your specific cleaning routine.
Signs Your Side Brushes Are Worn Out or Damaged
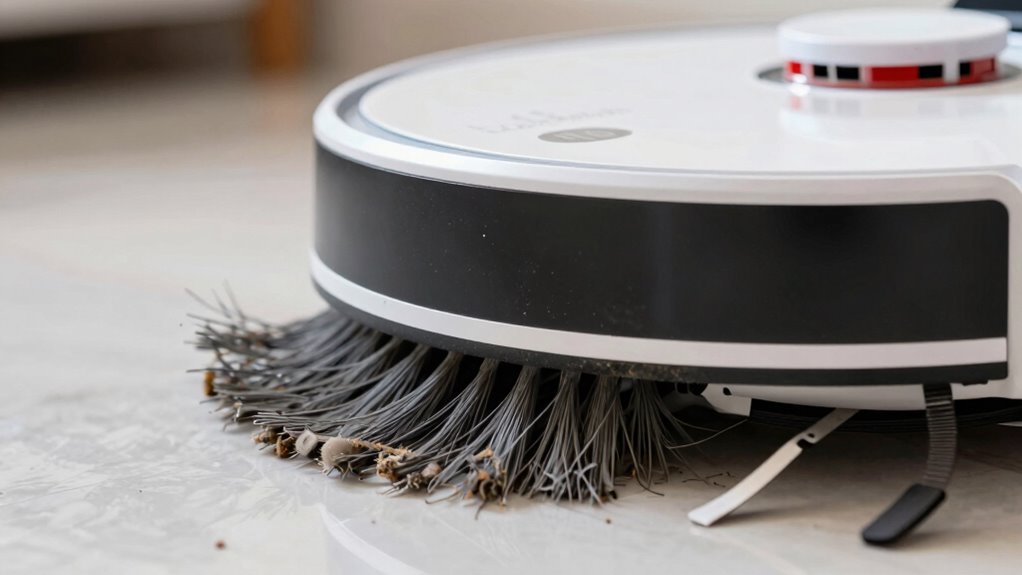
You’ll notice your side brushes showing visible signs of wear, like bent or missing bristles. When they’re damaged, your vacuum won’t clean as effectively, leaving dirt behind. Keep an eye out for these signs to make sure your machine works at its best. Regularly inspecting your vacuum’s components can help prevent performance issues before they become more serious. Proper maintenance practices can extend the lifespan of your vacuum parts and ensure optimal cleaning performance. Mastering Guided Access and Accessibility Tips for Kids can also help you set up your device for easier maintenance and troubleshooting. Additionally, understanding cosmic influences on personal traits can offer insights into potential variations in personal care routines. Being aware of glycolic acid benefits for skin may also help inform your skincare routine to complement your cleaning regimen.
Visible Wear and Tear
Visible signs of wear and tear are the clearest indicators that your side brushes need attention. If you notice frayed bristles, chipped edges, or uneven wear, it’s a sign of durability concerns. Cosmetic damage, like cracks or broken parts, also suggests the brushes aren’t functioning properly. Over time, the plastic or bristles can become brittle or warped, reducing their effectiveness. These visible issues can lead to poor cleaning performance and may even cause further damage to your vacuum. Regularly inspecting your side brushes for these signs helps you catch problems early before they impact your cleaning routine. If you see significant wear or damage, it’s time to replace your side brushes to guarantee your device continues to operate efficiently. To maintain optimal performance, consider proper cleaning and maintenance of your brushes regularly. Additionally, material quality plays a role in the durability of your brushes, so choosing high-quality replacements can extend their lifespan. Being aware of wear patterns can also help you anticipate when replacements are needed before issues arise, and understanding the natural pools can inspire durable, long-lasting furniture choices for your home.
Decreased Cleaning Effectiveness
When side brushes become worn or damaged, their ability to clean effectively diminishes. Over time, the brush material can become frayed or brittle, reducing contact with dirt and debris. If you notice your vacuum isn’t picking up as much dust or debris as before, it’s a clear sign the brushes are losing their efficiency. Regularly sticking to your cleaning schedule helps you spot these issues early, preventing further damage. Worn brushes may leave dirt behind or cause streaks on your floors. Inspect the brushes frequently and replace them when you see signs of wear, such as bent bristles or uneven rotation. Additionally, using proper maintenance materials can prevent irritation and prolong the lifespan of your replacement brushes. Proper maintenance of the brushes can also help ensure your vacuum maintains optimal cleaning performance** and prevents unnecessary strain on its motor. Monitoring filter indicators** and maintaining your vacuum’s components contribute to overall efficiency and longevity.
How to Inspect Your Side Brushes for Wear or Damage

To effectively inspect your side brushes for wear or damage, start by removing them from your robotic vacuum according to the manufacturer’s instructions. Examine the brush material—whether it’s nylon, rubber, or a hybrid—as each wears differently over time. Look for fraying, cracks, or bent bristles, which can reduce cleaning efficiency. Check if the brushes spin freely without wobbling or resistance. Also, consider the replacement frequency; if you notice significant wear or damage, it’s time for a replacement. Even if they seem intact, worn brushes may not clean effectively. Regular inspection guarantees your vacuum performs at its best and prevents further damage to internal components. Understanding wear patterns of different brush types can help you determine the optimal replacement schedule. Additionally, keeping an eye on common damage signs can alert you to issues before they affect your cleaning performance. Monitoring bristle alignment can also help ensure the brushes are functioning properly and cleaning effectively. Conducting periodic visual inspections can help identify early signs of deterioration and maintain optimal cleaning performance. Incorporating knowledge of wear behavior can further extend the lifespan of your brushes and optimize your cleaning routine.
Why Worn Side Brushes Hurt Your Cleaning Power
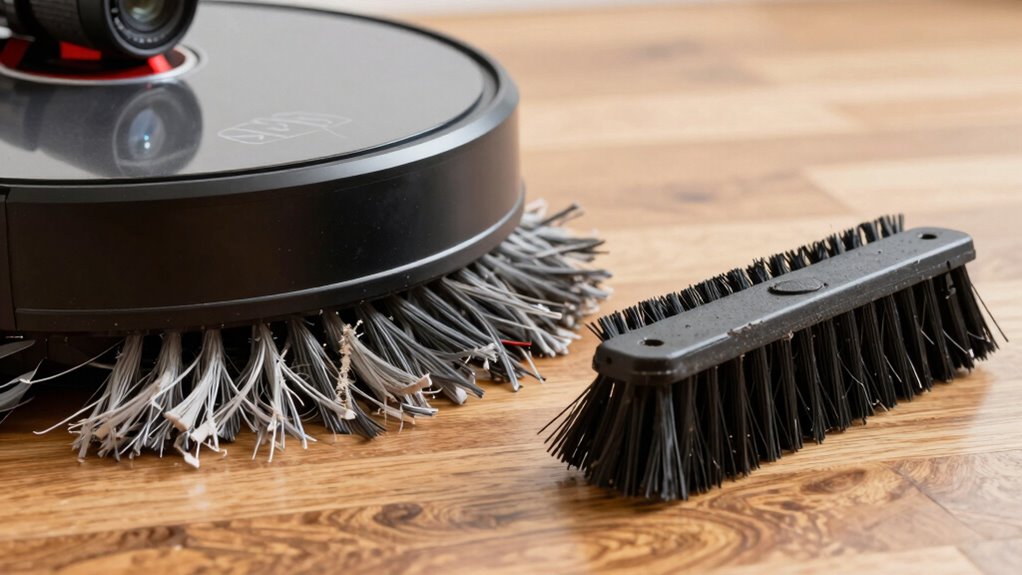
Worn side brushes no longer spin effectively, which means they can’t sweep debris into the vacuum’s suction path. Over time, the brush material wears down, becoming less flexible and less capable of catching dirt. Additionally, the side brush design may become misshapen or lose its bristles, reducing contact with surfaces. This diminishes your vacuum’s ability to clean edges and corners thoroughly. Proper maintenance practices can help extend the lifespan of your brushes and ensure consistent cleaning performance. Regularly inspecting brush wear can help identify when replacement is necessary before performance declines significantly. When brushes become misshapen, they may no longer contact surfaces properly, further reducing cleaning effectiveness.
When to Clean and When to Replace Your Side Brushes
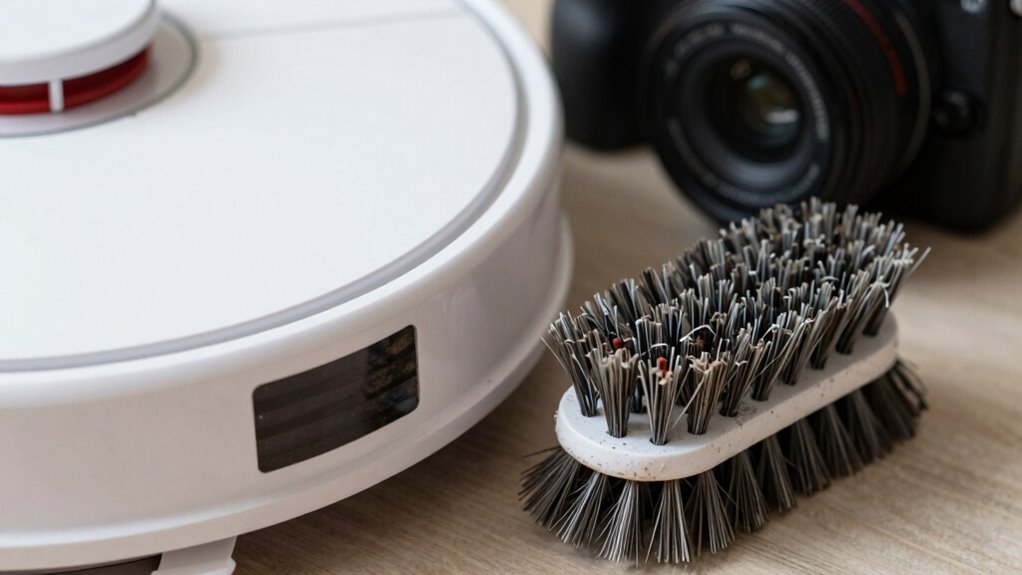
Regularly inspecting your side brushes helps you determine whether they need cleaning or replacement. If the bristles are coated with dirt or debris, a thorough cleaning can restore their effectiveness. Use a damp cloth or rinse with water, depending on the brush material—silicone brushes may need gentle cleaning, while nylon ones can often be rinsed thoroughly. Pay attention to the replacement frequency; most brushes should be replaced every 6 to 12 months, but this varies based on usage and brush material. Worn or frayed bristles indicate it’s time for a replacement to maintain excellent cleaning performance. If cleaning doesn’t improve the brush’s condition or if they’re damaged, replacing them ensures your vacuum continues to operate efficiently.
Tips to Make Your Side Brushes Last Longer
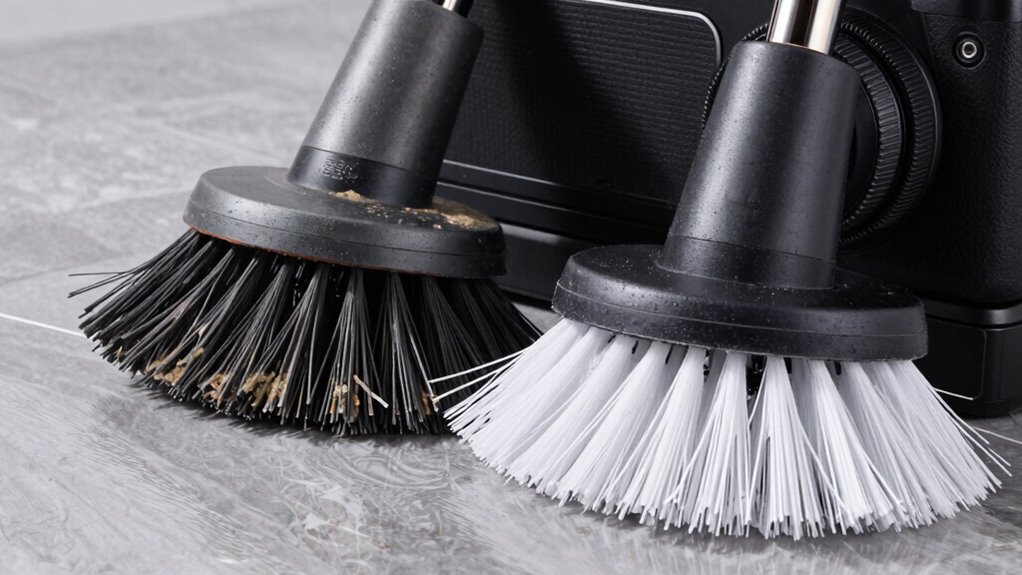
Taking simple steps to protect your side brushes can considerably extend their lifespan. Regular maintenance tips, like cleaning debris and checking brush compatibility, keep your brushes functioning *effectively*. Ensuring the brushes are compatible with your vacuum model prevents unnecessary wear. Here are some effective tips:
Protect your side brushes with regular cleaning and compatible parts to maximize their lifespan.
- Regularly inspect for dirt buildup and clean as needed
- Use brushes compatible with your vacuum to avoid unnecessary strain
- Avoid forcing brushes into incompatible slots
- Rotate or flip brushes periodically to promote even wear
Quick Guide: Replacing Your Side Brushes Step-by-Step
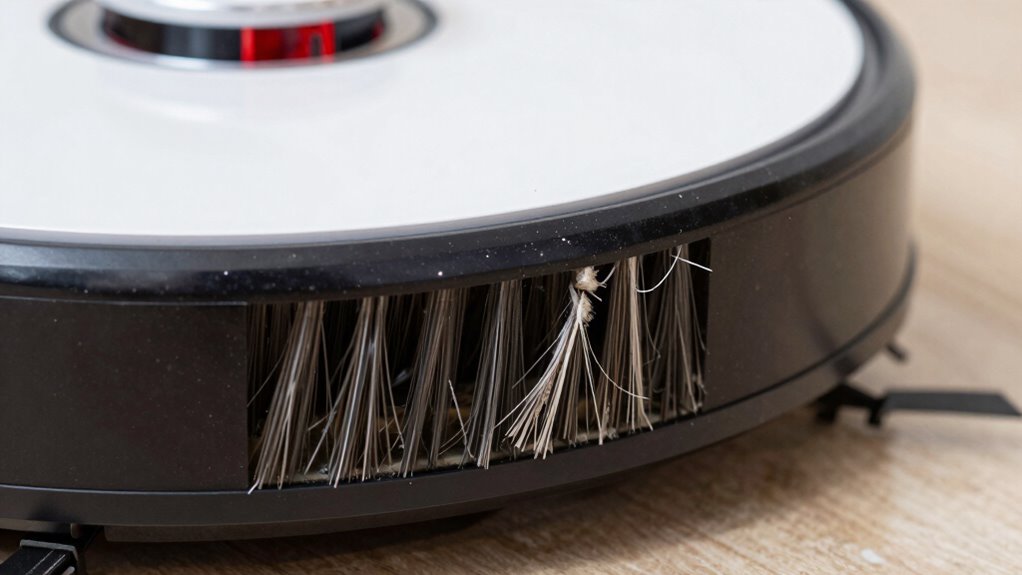
To replace your side brushes, start by gathering the necessary tools to make the process smooth. Carefully remove the old brushes, ensuring you don’t damage the surrounding parts. Then, attach the new brushes securely so they function properly and last longer.
Gather Necessary Tools
Before you start replacing your side brushes, gather the necessary tools to guarantee a smooth process. Having a well-prepared tool checklist ensures you won’t waste time or risk damaging your vacuum. Check your maintenance schedule to identify when replacements are due. Essential tools include a small Phillips screwdriver, tweezers or pliers, a soft cloth, and replacement side brushes. These tools allow you to remove old brushes carefully and install new ones securely. Keeping these items nearby streamlines the process, prevents frustration, and helps maintain your vacuum’s best performance. Regularly reviewing your maintenance schedule reminds you when to replace brushes, ensuring your device stays in top shape. Being prepared minimizes downtime and prolongs the lifespan of your cleaner.
Remove Old Brushes Carefully
When removing old side brushes, start by turning off and unplugging your vacuum to guarantee safety. Proper brush maintenance is essential for peak performance, so carefully detach the brushes without forcing them. Use a small tool if needed to loosen any clips or screws holding the brush in place. Pay attention to the replacement timing—if the brushes are worn down, cracked, or no longer spin freely, it’s time to remove them. Avoid rushing this step to prevent damaging the brush housing or surrounding parts. Take your time, ensuring you remove the entire brush assembly cleanly. Keeping old brushes in good condition can prevent debris buildup and ensure your vacuum continues cleaning effectively. Proper removal sets the stage for successful installation of new, properly maintained brushes.
Attach New Brushes Properly
Once you have removed the old side brushes, it’s important to attach the new ones correctly to guarantee ideal cleaning performance. Make certain you select brushes with the appropriate brush material for your floor type, whether nylon for hard surfaces or softer materials for delicate floors. When attaching, follow the specific attachment methods recommended by your vacuum manufacturer to ensure a secure fit. Here are some tips to get it right:
- Align the brush’s connector with the attachment point precisely.
- Push firmly until you hear a click or feel it lock in place.
- Check that the brush spins freely without obstruction.
- Confirm the brush is securely attached before turning on the device.
Proper attachment prevents brush slippage and maximizes cleaning efficiency.
Frequently Asked Questions
Can I Use My Robot Vacuum Without Side Brushes?
You can use your robot vacuum without side brushes, but it might not clean as effectively. Alternative cleaning methods, like increased suction or different brush configurations, can help compensate. Regular robot vacuum maintenance is essential to keep it working well, especially if you remove side brushes. Keep in mind that without them, some areas might be missed, so monitor your cleaning results and consider replacing the brushes when they show wear to maintain peak performance.
Are There Different Types of Side Brushes for Various Models?
Yes, there are different types of side brushes for various models. You need to check brush compatibility and use model-specific brushes to guarantee proper fit and cleaning performance. Each vacuum brand and model often has unique brush designs, so using the wrong type can affect efficiency. Always consult your vacuum’s manual or manufacturer’s website to find the correct model-specific brushes, ensuring ideal operation and easy replacement.
How Often Should I Check My Side Brushes?
You should check your side brushes weekly as part of your regular brush maintenance and cleaning schedule. Regular inspections help you spot wear and tear early, ensuring peak cleaning performance. Look for bent or damaged bristles, and clean off any hair or debris wrapped around them. By keeping up with these checks, you prolong their lifespan and avoid unnecessary replacements, maintaining your vacuum’s efficiency and cleaning effectiveness.
Do Side Brushes Affect the Vacuum’s Battery Life?
Imagine your vacuum’s side brushes as the wings guiding it smoothly across your floors. When they’re worn or damaged, they increase the motor’s workload, impacting the battery life and reducing overall efficiency. Properly functioning brushes help extend your vacuum’s battery impact and brush lifespan. If brushes are old or misshapen, they strain the motor, draining the battery faster. Replacing them guarantees peak performance and longer battery life.
Can I Replace Side Brushes Myself or Need Professional Help?
You can replace side brushes yourself with DIY maintenance if you’re comfortable with basic tools. Just turn off your vacuum first, then remove the old brushes and snap in the new ones. However, if you’re unsure or encounter issues, it’s best to seek professional repair to avoid damaging your device. Regularly replacing brushes guarantees peak performance, so don’t hesitate to do it yourself if you’re confident or consult an expert when needed.
Conclusion
Regularly inspecting and replacing your side brushes can boost your robot vacuum’s performance, saving you time and effort. Did you know that worn brushes can reduce cleaning efficiency by up to 50%? Staying proactive ensures your floors stay spotless and your device lasts longer. So, don’t wait for visible damage—listen to these signs and keep your cleaning game strong! Proper maintenance truly makes all the difference in getting the most out of your robot.