
To keep your robot vacuum working smoothly, regularly clean its sensors with a soft, lint-free cloth to remove dust and debris, and use gentle brushes or compressed air for tight spots. Check that the wheels rotate freely and are free of hair or dirt, reattaching them securely if needed. Calibrating the sensors as per the manufacturer’s instructions also helps maintain accurate navigation. If you want detailed steps, keep going for expert tips.
Key Takeaways
- Regularly wipe sensors with a soft, lint-free cloth to prevent dust buildup and ensure clear obstacle detection.
- Use gentle brushes or compressed air to clean sensor crevices and hard-to-reach areas.
- Follow the manufacturer’s calibration instructions on a flat surface to maintain accurate navigation.
- Inspect wheels for debris, clean axles, and ensure they spin smoothly for proper alignment.
- Perform routine maintenance checks, including sensor calibration and wheel inspection, to extend the vacuum’s lifespan and performance.
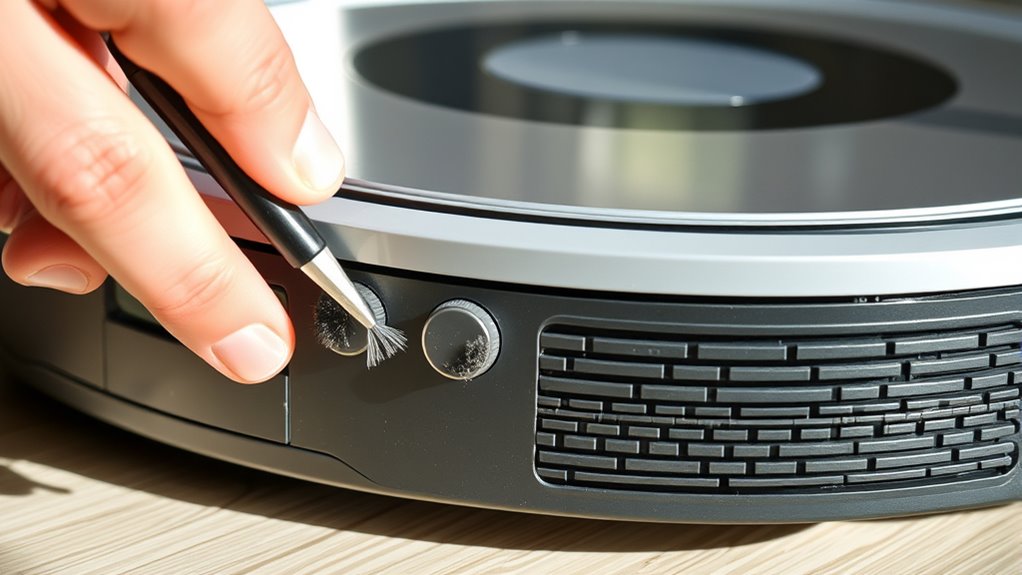
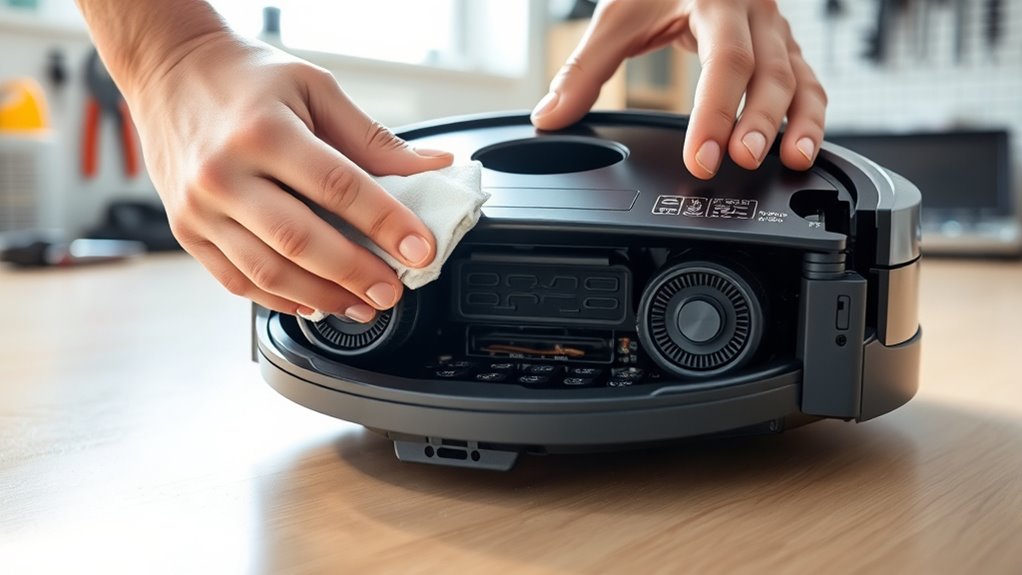
Keeping your robot vacuum in top shape is essential for maintaining its cleaning performance and extending its lifespan. One of the key aspects of DIY maintenance involves ensuring the sensors are accurately calibrated and the wheels are properly aligned. Sensors act as the eyes of your robot, guiding it around furniture, walls, and obstacles. Over time, dust, dirt, or debris can interfere with their function, causing the vacuum to misjudge distances or get stuck. To keep sensors working at their best, regularly wipe them with a soft, lint-free cloth. For a more thorough cleaning, use a gentle brush or compressed air to remove dust from sensor crevices. If your vacuum features adjustable sensors, perform sensor calibration by following the manufacturer’s instructions—this often involves placing the robot on a flat surface and running a calibration routine to recalibrate the sensors. Proper sensor calibration ensures your vacuum accurately detects obstacles and navigates efficiently, preventing unnecessary collisions or missed spots. Additionally, inspecting and replacing worn sensors can help maintain optimal performance.
Wheel alignment is equally important since misaligned wheels can lead to uneven cleaning, increased wear, or even the robot getting stuck. To check wheel alignment, first power off the device and gently lift it to inspect the wheels. Ensure they rotate freely without wobbling or resistance. If you notice any wobbling or the wheels aren’t spinning smoothly, remove them carefully following your model’s instructions. Clean any debris or tangled hair from the axles and wheels, as these can cause misalignment. Once cleaned, reattach the wheels and spin them to confirm they’re aligned properly and move smoothly without wobbling. Some models have adjustable wheels; in these cases, tweak their position until they run straight and true. Properly aligned wheels help your vacuum maintain consistent contact with the floor, improving both navigation and suction efficiency. Misaligned wheels can cause the vacuum to veer off course or skip areas, reducing overall cleaning effectiveness.
Performing regular sensor calibration and wheel alignment checks as part of your DIY maintenance routine keeps your robot vacuum running smoothly. These simple steps can prevent more significant issues down the line, saving you time and potential repair costs. Remember, always follow your device’s user manual for specific instructions related to sensor calibration and wheel adjustments, as procedures can vary among brands and models. Additionally, dust and debris buildup on sensors can significantly impair their function, so maintaining a clean sensor environment is vital. By staying proactive, you ensure your vacuum’s sensors stay sharp, and the wheels remain properly aligned, helping your device perform at its best every time you press start. Maintaining these components regularly guarantees your robot vacuum continues to navigate confidently around your home, delivering thorough cleaning and extending its operational life.
Frequently Asked Questions
How Often Should I Replace the Robot Vacuum’s Sensors?
You should replace your robot vacuum’s sensors when you notice persistent issues like poor navigation or inconsistent cleaning. Generally, follow a replacement schedule based on sensor alignment and wear, often every 1-2 years, but it depends on usage. Regular cleaning extends sensor life. If sensors become damaged or malfunction despite cleaning, it’s time for replacement to guarantee peak performance and avoid future navigation problems.
Can I Use Household Cleaners on the Wheels?
Imagine your robot vacuum’s wheels as tiny chariots, racing across your floors. For wheel maintenance, avoid household cleaners—they can leave residues or damage the rubber. Instead, use a damp cloth or mild soap and water to clean the wheels gently. This keeps them spinning smoothly, ensuring your robot navigates effortlessly. Proper cleaning with appropriate materials helps your vacuum perform at its best, just like a well-maintained chariot ready for battle.
What Are Signs My Sensors Need Calibration?
You’ll notice your robot vacuum struggles with navigation, misses spots, or bumps into objects, which are signs your sensors need calibration. Cleaning indicators may also alert you that sensor calibration is necessary. To fix this, regularly check and clean the sensors, ensuring they’re free of dust and debris. Proper sensor calibration improves your vacuum’s performance, so keep an eye on these signs and maintain your device for peak operation.
How Do I Prevent Wheels From Getting Stuck?
To prevent your robot vacuum’s wheels from getting stuck, regularly check and clear any debris or hair that may hinder wheel traction. Guarantee the wheels are free to spin smoothly and aren’t obstructed by obstacles. Proper obstacle detection relies on clean sensors, which help the vacuum navigate effectively. By maintaining clean sensors and wheels, you enhance wheel traction and prevent your device from getting stuck during cleaning sessions.
Is It Safe to Disassemble the Robot Vacuum for Maintenance?
Think of your robot vacuum like a trusted sidekick—disassembly safety is key. If you’re careful and follow the manufacturer’s instructions, you can safely disassemble it for maintenance. However, keep in mind that opening it might affect your warranty, so weigh the risks. Always unplug your device first, use proper tools, and avoid forcing parts. This way, you protect your investment and keep your vacuum running smoothly.
Conclusion
By regularly tending to your robot vacuum’s sensors and wheels, you gently guarantee it glides smoothly through your home, much like a well-tuned instrument. With a little careful attention, you create a harmonious dance between device and floor, preventing small hiccups from turning into bigger troubles. Think of it as giving your trusty helper a gentle refresh, allowing it to perform at its best. A little care today keeps your cleaning companion happily humming tomorrow.