To stop rattles and vibrations, start by inspecting your fan for loose or damaged parts like blades or screws. Clean dust buildup and check for misaligned or bent blades, then balance them if needed by adding small weights. Tighten all mounting hardware and lubricate the motor if noise increases. Regular maintenance, such as cleaning and checking for worn parts, keeps your fan quiet and efficient—continue here to learn more tips for smooth operation.
Key Takeaways
- Regularly inspect and tighten loose screws, mounts, and blades to prevent rattling and reduce vibrations.
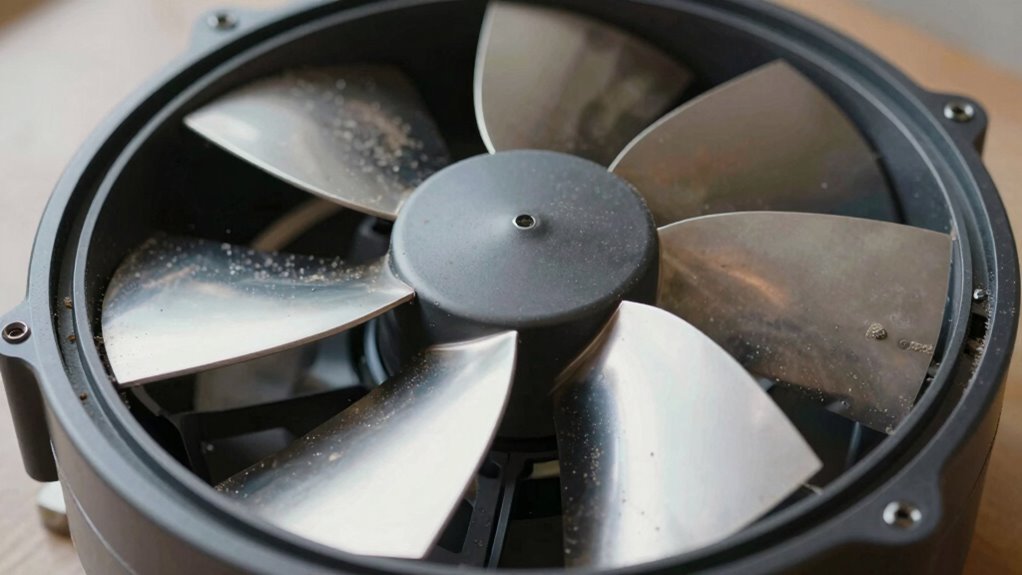
- Clean fan blades and motor area to eliminate dust buildup that causes imbalance and noise.
- Balance fan blades by adjusting or adding weights for smoother, quieter operation.
- Lubricate motor bearings periodically to minimize friction and noise.
- Identify and replace damaged or bent blades and worn hardware immediately to maintain quiet performance.

KALIONE Ceiling Fan Blade Balancing Kit Including Fan Balancing Clips and 12pcs Metal Self-Adhesive 3G Weight Practical Fan Balance Kit for Ceiling Fan Weight Balancing 4pcs
Package Content: You will receive 4 sets of fan balancing kit, enough quantity meets all your needs.
As an affiliate, we earn on qualifying purchases.
As an affiliate, we earn on qualifying purchases.
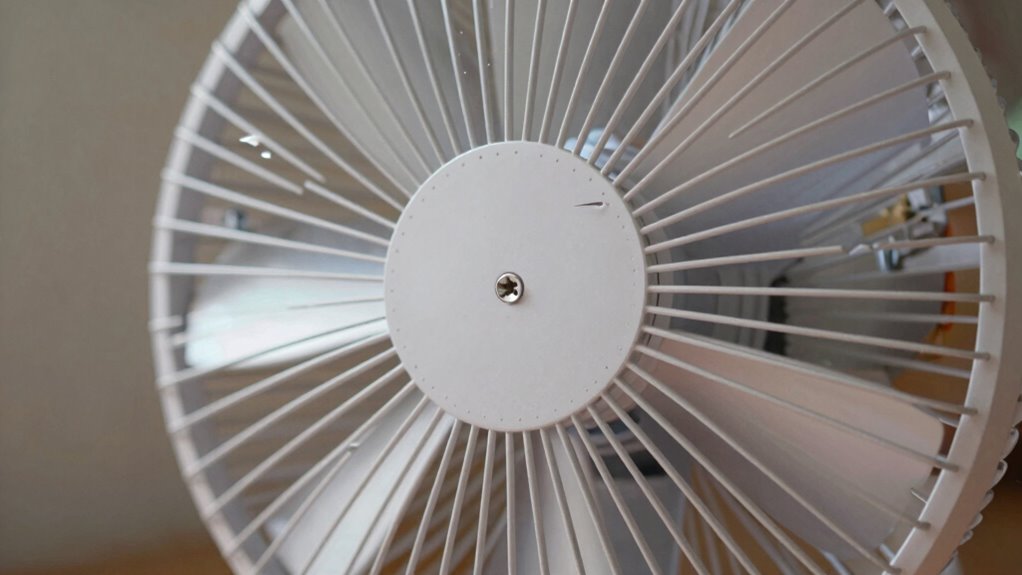
What Causes Fan Rattling and Vibrations?
What Causes Fan Rattling and Vibrations?
Fan rattling and vibrations often stem from loose or damaged components within the unit. This can cause increased fan noise and irregular vibration frequency, making your fan louder and less efficient. When parts like fan blades, mounts, or the motor become loose or worn, they create movement that results in rattling sounds. You might also notice a constant or fluctuating vibration as the fan spins unevenly. Additionally, just as a well-designed eco-friendly natural pool harmonizes with its surroundings, ensuring your fan is properly balanced will enhance its performance. Over time, dust buildup or bent blades can worsen these issues, amplifying noise and imbalance. Addressing these problems quickly helps restore quiet operation. Tightening loose screws, replacing damaged parts, or cleaning the blades can reduce the rattling and vibrations. Furthermore, using a high-quality mattress topper can improve your overall sleep environment, contributing to a more restful experience. Additionally, proper cleaning techniques can aid in maintaining the fan’s efficiency and longevity. Regularly checking for top car protection can also help ensure your environment remains conducive for optimal fan operation. Understanding these common causes enables you to maintain your fan better and keep it running smoothly and quietly. Regular maintenance, including dust buildup removal, is essential for optimal performance.

DRQ Ceiling Fan Cleaner Duster, Reusable Microfiber Duster with Extension Pole, 13 to 48 Inch Fan Blade Cleaner, Removable Dusters for Cleaning Walls Bookshelves Door Window Top (Blue)
[Easy to Store] The ceiling fan cleaning tools has a hanging hole at the back that is easy…
As an affiliate, we earn on qualifying purchases.
As an affiliate, we earn on qualifying purchases.
How to Diagnose Fan Noises and Rattles

To diagnose fan noises and rattles, start by paying close attention to any unusual sounds during operation. Next, locate the source of the rattle by inspecting the fan and surrounding components carefully. Additionally, consider that maintaining a clean indoor environment can also help reduce noise by minimizing dust buildup on fan blades. Regular maintenance, such as checking for loose components, can also enhance the overall performance of your fan. Furthermore, understanding risk management strategies can help you address potential issues before they escalate. Finally, assess whether vibrations are caused by loose parts or misalignment, and take steps to correct them. Understanding leave no trace principles can also aid in preserving the surrounding area while you work on your fan. Regular inspections can help identify potential health and wellness considerations that may affect the fan’s operation.
Identifying Unusual Noises
Unusual noises coming from your fan can be a clear sign that something isn’t working properly. Pay attention to the type of fan noise—high-pitched squeals, grinding sounds, or rattles—that may indicate different issues. Rattling noises often suggest loose components or debris, while grinding sounds can point to worn bearings or motor problems. Sound insulation can help detect subtle noises that are otherwise muffled, making it easier to identify where the sound originates. Keep track of when the noise occurs—during startup, operation, or shutdown—as this can help narrow down the cause. By listening carefully and noting the specific characteristics of the sound, you’ll be better equipped to diagnose and address the problem before it worsens. Additionally, understanding regional flavors in coffee and tea can enhance your overall sensory experience while working on maintenance tasks. Engaging in self-awareness practices can also help caregivers manage stress and stay focused, preventing distractions that can complicate your work. Proper piercing care is essential to prevent complications that can distract you during your work.
Locating Rattle Sources
Ever wonder where that rattling sound is coming from? To locate the source of the fan noise, start by observing when the noise occurs—during startup, operation, or shutdown. Use vibration analysis to identify if the rattle is due to loose or misaligned parts. Carefully listen near the fan while it’s running, and gently tap different components like blades, mounts, and housing to see if the noise changes. Check for any visible signs of wear or damage, such as bent blades or loose fasteners. Isolate the rattling by stopping the fan briefly, then restarting it to see if the noise reappears. Pinpointing the exact source allows you to target your fixes effectively, ensuring quieter operation and reducing unnecessary vibration. Additionally, consider proper storage techniques to maintain your fan’s performance and longevity, as environmental factors can also contribute to noise issues.
Assessing Vibration Causes
When diagnosing fan noises and rattles, paying close attention to vibration patterns can reveal much about their causes. First, observe how vibrations change with different fan speeds—if rattling intensifies at higher speeds, it may indicate loose blades or mounting issues. Additionally, essential oils can provide calming effects that help reduce any anxiety you may feel while diagnosing the problem. Understanding sound healing can also enhance your approach to maintenance. Next, examine airflow patterns; uneven airflow can cause turbulence, leading to vibrations and noise. Feel for unusual movement or wobbling, which often points to misaligned or unbalanced blades. Check if vibrations are localized or spread across the entire fan, helping identify whether the problem stems from mounting, blade damage, or motor issues. Additionally, understanding how drone bees contribute to hive stability can provide insights into the importance of balanced systems. Regular maintenance and proper disposal methods for worn-out fans can also prevent future issues. By systematically evaluating how vibrations correlate with fan speed and airflow, you can pinpoint the root cause and decide on effective, targeted fixes.

GENNEL 2grams Tube High Performance Spindle Lubricating Oil, Bearing Grease, Low/High Temperature Bicycle Grease for PC Bearing Fan Electric Motor Gear Keyboard Switch
High Performance Polyurea based lubricant grease. Excellent mechanical shear stability and oxidation stability. Low power loss, Compatible with…
As an affiliate, we earn on qualifying purchases.
As an affiliate, we earn on qualifying purchases.
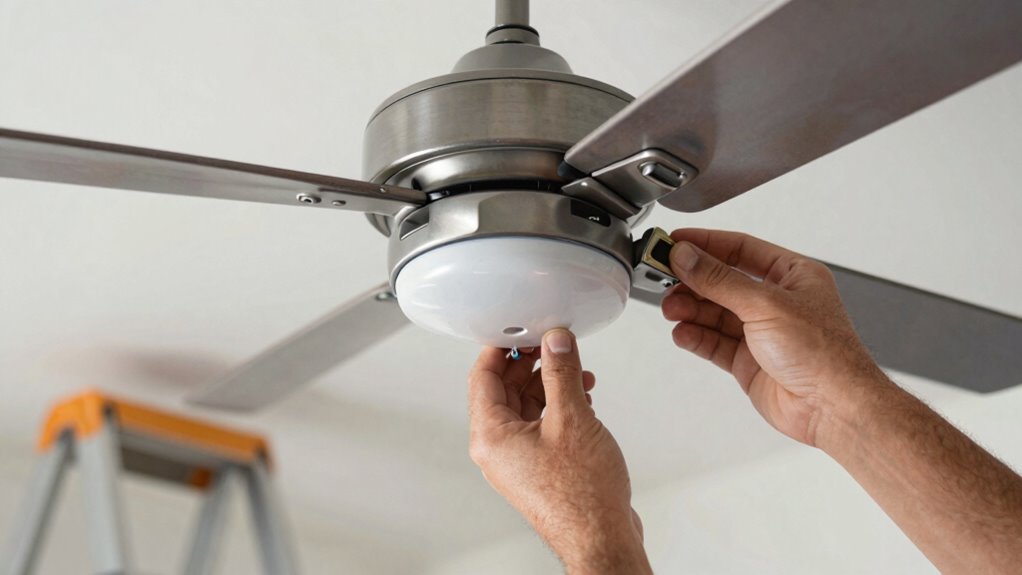
How to Check for Loose or Damaged Fan Parts
Sure! Here’s your revised content with the requested adjustments:
—
Start by carefully inspecting the fan blades for cracks, chips, or warping that could cause noise or imbalance. Additionally, ensure that the door swings are not obstructing the fan’s movement, as this can lead to unnecessary strain. Regularly checking essential DIY tools for maintenance can also help prevent issues down the line. It’s important to understand that ethical consumerism encourages responsible choices in maintaining household appliances. Next, check the mounting hardware to confirm all screws and brackets are tight and secure. Many cybersecurity professionals emphasize that addressing issues proactively can prevent larger problems later on. Address any loose or damaged parts immediately to keep your fan running quietly and smoothly. Regular maintenance can also help identify Frühwarnzeichen für Probleme that may arise over time.
—
Let me know if you need any further adjustments!
Inspect Fan Blades Carefully
How can you guarantee your fan is operating smoothly? Start with a thorough fan blade inspection. Carefully examine each blade for signs of damage, such as cracks, chips, or warping. Pay attention to the blade material analysis—whether it’s plastic, metal, or composite—since different materials can show wear differently. For plastic blades, look for brittleness or discoloration; for metal blades, check for corrosion or bending. Confirm all blades are securely attached and evenly aligned. Loose or damaged blades can cause rattles and vibrations, reducing efficiency and increasing noise. Additionally, using tools like pH meters can help ensure your fan’s environment is free from corrosive elements that may affect performance. Take your time to inspect each blade closely, and address any irregularities immediately to keep your fan running quietly and smoothly.
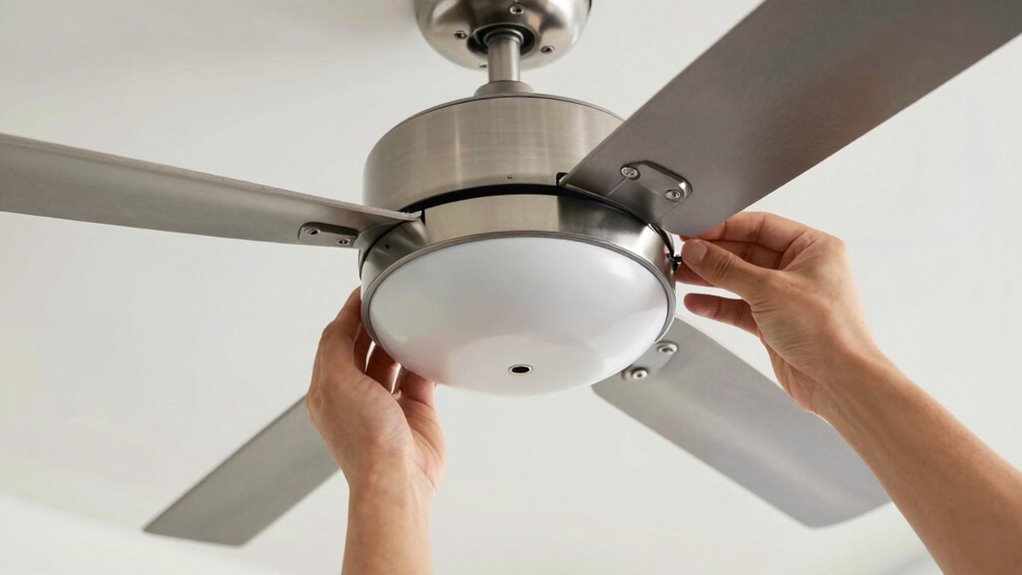
Examine Mounting Hardware
After inspecting the fan blades, it’s important to check the mounting hardware that holds everything in place. Loose or damaged hardware can cause unwanted vibration and noise. Tighten any loose screws or bolts securing the fan to its mount, ensuring they’re snug but not over-tightened. Look for signs of rust, corrosion, or warping that could compromise stability. If your fan uses vibration dampening mounts or pads, inspect these components closely. Damaged or worn dampers won’t absorb vibrations effectively, leading to rattling sounds. Replace any worn or broken hardware immediately to restore proper support. Properly secured mounting hardware not only reduces noise but also prolongs the fan’s lifespan, keeping your setup quiet and smooth.
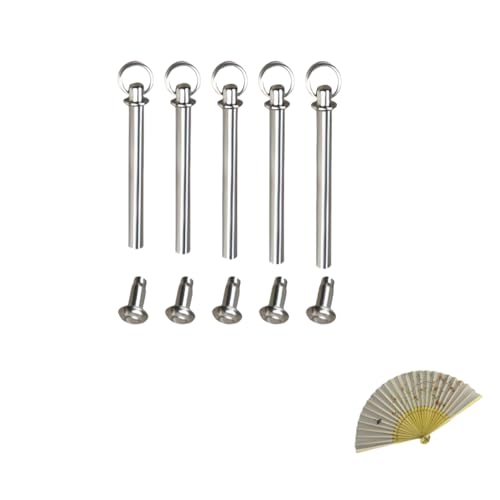
5 pcs Fan Repair Accessories (17mm,19mm,21mm,23mm,25mm),Repair Your Favorite Folding Fan,Complete Kit with Shaft Rivets Easy to Use Nail Kit
There are 5 different sizes of fan-shaped nails with a diameter of 3 mm/0.12 in, lengths:17 mm/0.67in, 19…
As an affiliate, we earn on qualifying purchases.
As an affiliate, we earn on qualifying purchases.
How to Balance Fan Blades for Quieter Operation
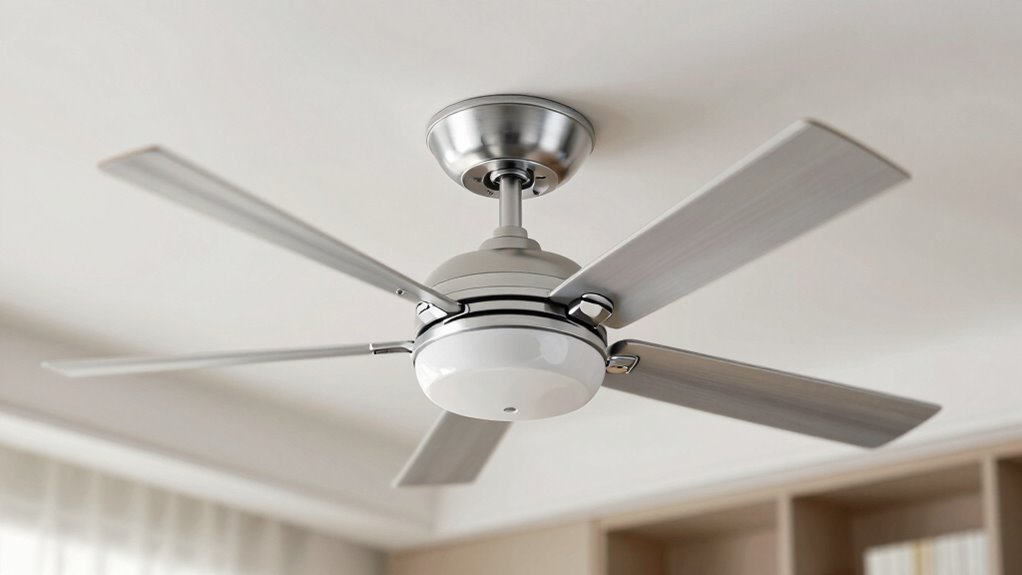
Balancing fan blades is essential for reducing noise and ensuring smooth operation. Proper blade alignment prevents wobbling and uneven vibrations that cause rattles. To balance your fan, start by inspecting the blades for any bends or misalignment, adjusting them so they are evenly spaced. Adding small weights or adhesive putty to the lighter blades can help achieve better noise dampening by evening out the weight distribution. Make sure the blades are securely attached and parallel to each other. Regularly check for wobbling or vibration, as these are signs that balancing is needed. When blades are properly aligned and balanced, you’ll notice a quieter fan with less vibration, creating a more peaceful environment.
How to Clean and Maintain Your Fan Components
Regular cleaning and maintenance of your fan components are essential for guaranteeing efficient and quiet operation. Start by inspecting the fan blades for dust, dirt, or debris buildup. Fan blade cleaning is vital, as accumulated grime can cause imbalance and noise. Use a soft cloth or brush to gently remove dirt from each blade, avoiding harsh chemicals that could damage the surface. Next, check the motor area for dust or dirt that might insulate heat, leading to increased motor temperature. Keeping the motor clean helps prevent overheating, which can cause noise and reduce lifespan. Make sure all parts are free of obstructions and dust. Regular maintenance like this keeps your fan running smoothly, reduces rattles, and prolongs its lifespan.
When and How to Lubricate Your Fan Motor

Keeping your fan components clean helps prevent overheating and noise, but proper lubrication of the motor is equally important for smooth operation. You should lubricate your fan motor if you notice increased fan noise or if it’s been a year since the last lubrication. To do this, first unplug the fan for safety. Remove the motor cover or access panel to locate the oil ports or bearings. Apply a few drops of lightweight machine oil or specific fan motor lubricant—avoid thick oils or WD-40. Spin the blades gently to distribute the oil. If your fan has sealed bearings, lubrication isn’t necessary. Regular motor lubrication reduces friction, minimizes noise, and prolongs the life of your fan. Always follow the manufacturer’s instructions for best results.
How to Replace Worn or Broken Fan Parts
When you notice unusual noises, wobbling, or decreased performance from your fan, it’s a clear sign that some parts may be worn or broken. To substitute these parts, first unplug the fan for safety. Inspect the fan blade materials—if they’re bent, cracked, or chipped, replace the blades with compatible ones to restore balance and reduce noise. Check the remote control issues; if the remote isn’t responding properly, replace the batteries or re-sync it with your fan. For broken or worn components like the motor mount or fan blades, remove the damaged parts carefully using the appropriate tools, then install new parts securely. Always refer to your fan’s manual for specific replacement instructions to ensure proper fit and performance.
Tips to Prevent Fan Rattles and Vibrations
To prevent fan rattles and vibrations, start by ensuring the fan is properly installed and securely mounted. Tighten all screws and brackets to eliminate loose parts that contribute to noise. Use vibration damping pads or mounts to absorb shocks and reduce vibrations transmitted to the surrounding structure. Proper alignment of the fan blades is essential for fan noise reduction; misaligned blades can cause imbalance and rattling. Regularly inspect the fan for signs of wear or damage that might cause wobbling. Balance the fan blades if needed, as unbalanced blades are a common source of vibration. Applying anti-vibration tape or foam around mounting points can further dampen noise. These simple steps help maintain quieter operation and extend your fan’s lifespan.
Troubleshooting Persistent Fan Noise Problems

Persistent fan noise can be frustrating, especially when basic adjustments haven’t resolved the issue. When troubleshooting, start by identifying vibration sources; these often cause persistent noise. Check if the fan blades are bent or unbalanced, as this can lead to excessive noise. Confirm the fan is securely mounted and that screws or brackets aren’t loose. Sometimes, debris or dust buildup can cause imbalance, so clean the blades thoroughly. If the noise persists, listen closely to determine if it’s a bearing issue—squealing or grinding sounds indicate worn bearings needing replacement. Also, examine the motor for signs of overheating or damage. By systematically inspecting these components, you can pinpoint the cause of the fan noise and address vibration sources effectively.
Frequently Asked Questions
Can Environmental Factors Cause Fan Vibrations?
Yes, environmental impacts can cause fan vibrations. External factors like uneven surfaces, drafts, or nearby machinery create vibrations’ origins that transfer to the fan. Temperature fluctuations can also affect fan components, leading to increased vibrations. You should check the fan’s mounting and surroundings regularly. Ensuring the fan is on a stable surface and away from environmental disturbances helps minimize vibrations and keeps your fan operating quietly and smoothly.
Are There Specific Tools Needed for Fan Maintenance?
Tools? Yes, you’ll need a tools checklist to tackle fan maintenance procedures successfully. Grab a screwdriver set to tighten loose screws, pliers for gripping, and a soft brush for cleaning blades. A voltage tester helps guarantee safety, while lubricant can quell squeaks. With the right tools, you’ll confidently conduct maintenance procedures, minimizing noise and vibrations. Proper tools make the task easier, safer, and more effective, leading to a quieter, smoother fan performance.
How Often Should I Inspect My Fan for Issues?
You should inspect your fan at least once a month to catch issues early. During inspections, focus on fan cleaning to remove dust and debris that can cause noise, and check blade alignment to prevent vibrations. Look for loose screws or wobbling blades, and guarantee the fan operates smoothly. Regular inspections help maintain quiet operation, extend fan lifespan, and prevent rattles or vibrations from developing into bigger problems.
Can Fan Vibrations Damage Other Appliances?
Fan vibrations can indeed damage other appliances, especially if the noise and shaking intensify over time. Imagine the tiny tremors traveling through your device like ripples in water—these vibration sources can loosen connections, strain mounts, or crack delicate parts. If left unchecked, that persistent fan noise and vibrations could cause misalignments or damage in nearby electronics, making regular inspections essential to prevent costly repairs down the line.
What Safety Precautions Are Necessary During Fan Repair?
When repairing your fan, prioritize safety by wearing personal protective gear like gloves and safety glasses to prevent injuries. Guarantee electrical safety by unplugging the fan before starting, and avoid working on it with wet hands or in damp environments. Check for damaged cords or exposed wires, and handle components carefully. These precautions protect you from electrical shocks and other hazards, making your repair safer and more effective.
Conclusion
By mastering minor maintenance maneuvers, you can quiet the quarrelsome quiver of your fan. Regular checks, careful cleaning, and prompt part replacements prevent persistent problems, promoting peaceful, pristine performance. With a little patience and practice, you’ll preserve the peaceful hum of your fan, transforming troublesome rattles into tranquil tunes. Keep a keen eye on your fan’s functions, and enjoy a silent, serene space where every breeze breathes calm.