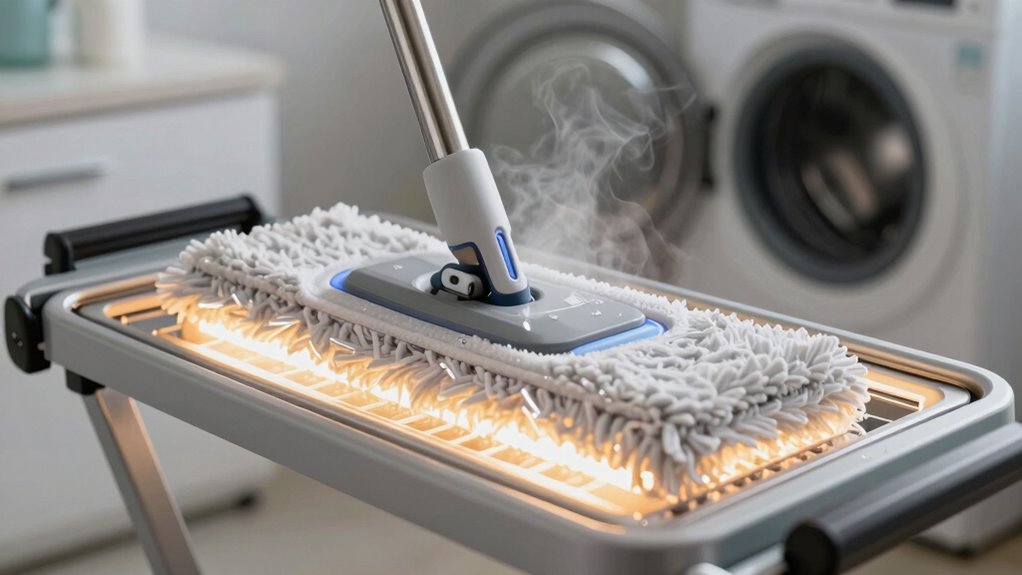
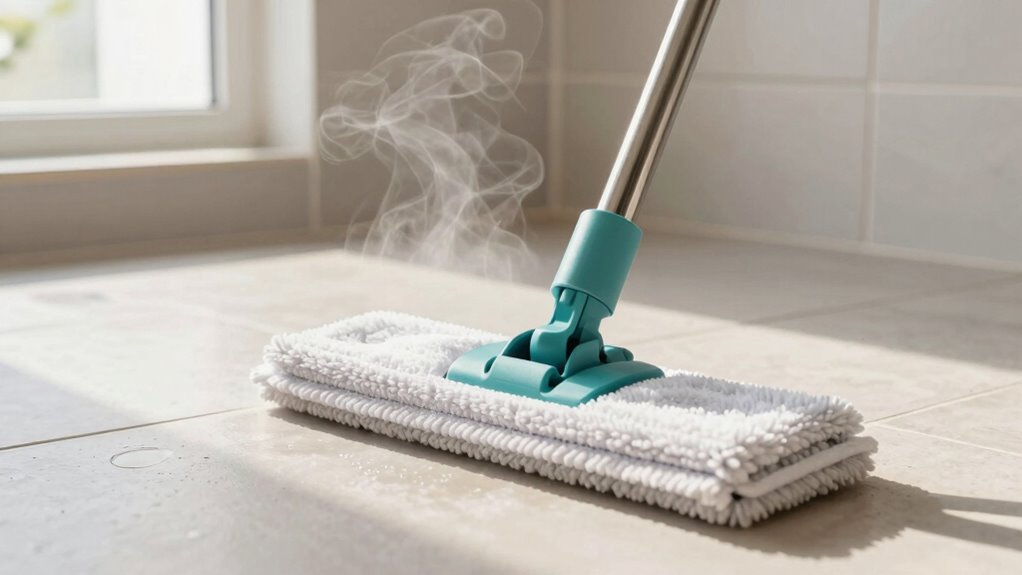
Heated mop drying is a simple yet often overlooked trick to prevent mold. By thoroughly drying your mop with heat after each use, you remove excess moisture that mold spores need to grow. Using proper tools like microfiber fabrics and ensuring good airflow speeds up drying, reducing the risk of mold and bacteria buildup. If you want to keep your cleaning tools mold-free, there’s more to discover about effective techniques and best practices.
Key Takeaways
- Properly heating and thoroughly drying mops prevents residual moisture that fosters mold growth.
- Using heat destroys mold spores and bacteria, reducing the risk of mold re-establishment on cleaning tools.
- Ensuring good air circulation and dehumidification during drying accelerates moisture removal and inhibits mold.
- Regular heat-drying after each use is more effective than air drying alone in preventing mold formation.
- Storing completely dry mops in well-ventilated, low-humidity areas minimizes mold development over time.
Why Mold Grows on Mops and How Heating Prevents It
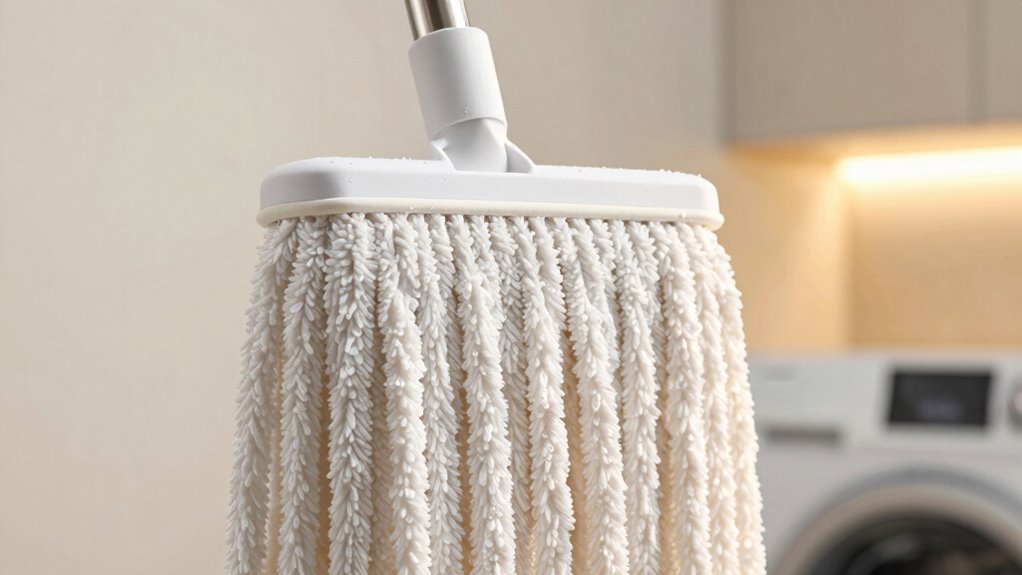
Molds thrive on mops because they provide the perfect environment—damp, warm, and often dark—for growth. The materials of your mop, such as microfiber or sponge, can trap moisture and create ideal conditions for mold spores to settle and multiply. When you finish cleaning, if you leave the mop damp or store it improperly, mold spores can quickly develop into visible mold colonies. This not only leads to unpleasant odors but also poses health risks. Heating your mop helps prevent this by drying out the materials thoroughly, making it harder for mold spores to survive and grow. Proper heat application ensures your mop remains dry and inhospitable to mold, keeping your cleaning tools safe and hygienic. Additionally, proper drying techniques are essential to inhibit mold development and maintain a healthy cleaning environment. Incorporating moisture control strategies can further reduce the risk of mold growth on your cleaning tools, especially when combined with safe storage practices. Using effective ventilation in storage areas can also help reduce moisture levels and prevent mold formation.
How Heat Kills Mold and Bacteria on Your Mop
Heating your mop effectively eliminates mold and bacteria by destroying their cellular structures. When you apply heat, it penetrates mold spores and bacteria, breaking down their cell walls and rendering them inactive. This process guarantees thorough bacteria elimination, preventing odors and health risks associated with microbial growth. To maximize effectiveness, ensure your mop reaches a high enough temperature for sustained periods.
Heating your mop destroys mold and bacteria by breaking down their cell walls, ensuring thorough sanitation and preventing microbial growth.
- Kills mold spores on contact, preventing future growth
- Disrupts bacterial cell integrity for complete bacteria elimination
- Destroys microbes before they can reproduce
- Reduces the risk of mold re-growth and cross-contamination
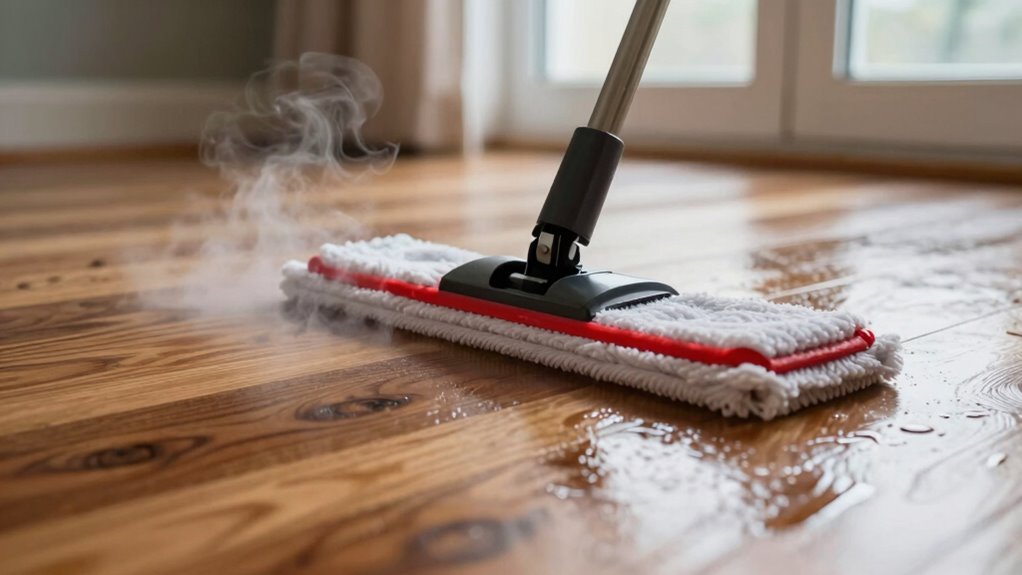
A Simple Step-by-Step Guide to Properly Heat-Drying Your Mop
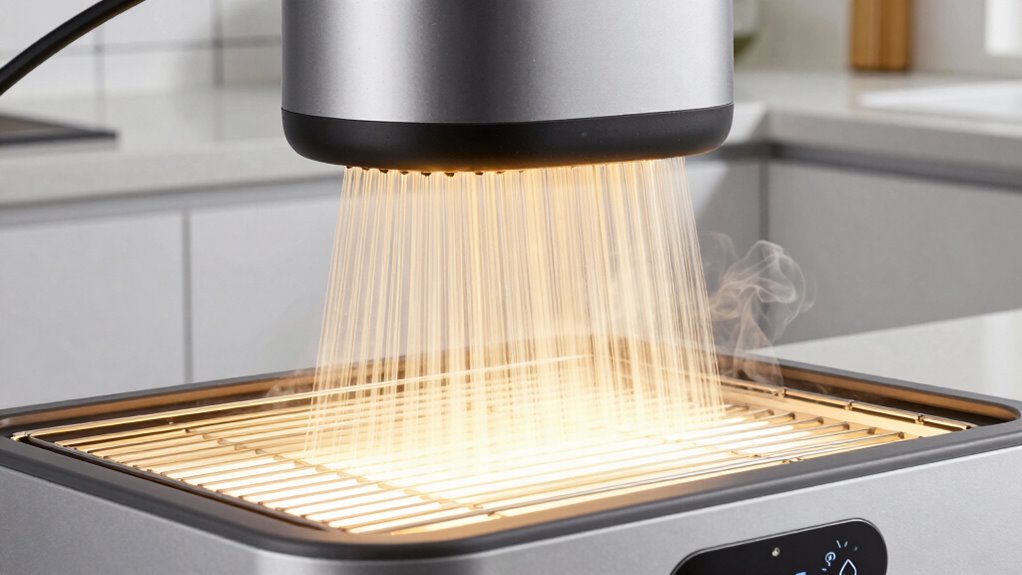
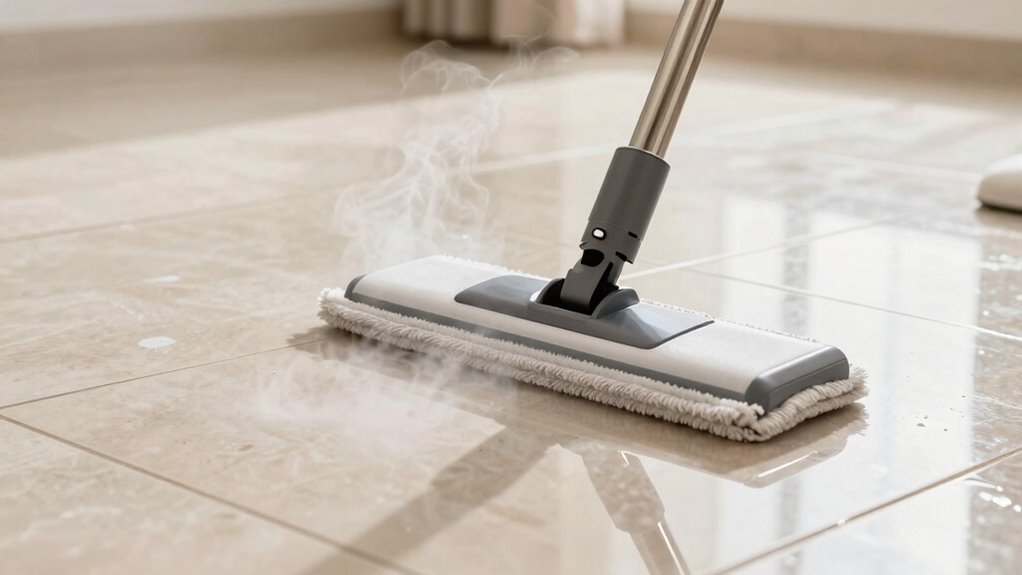
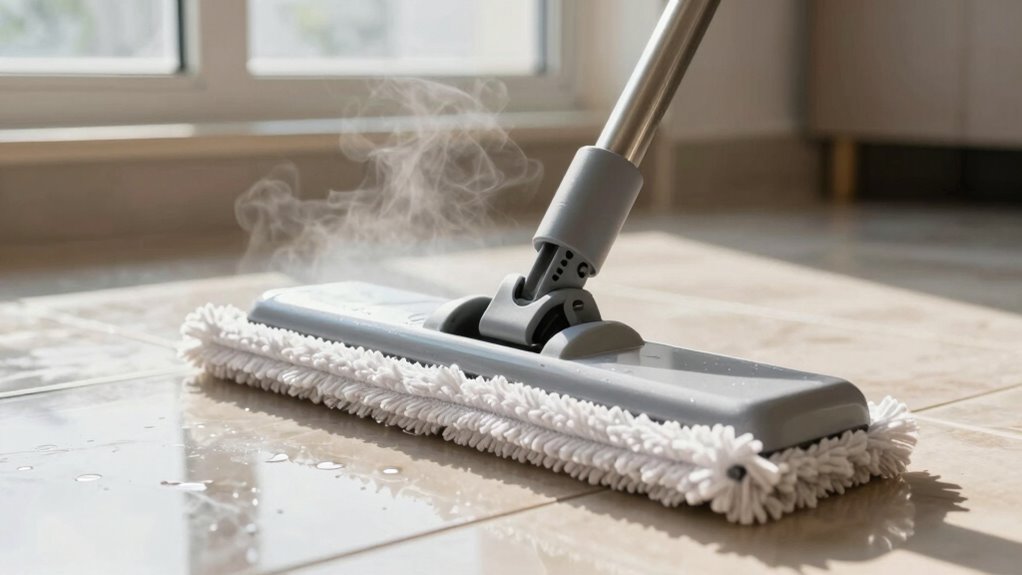
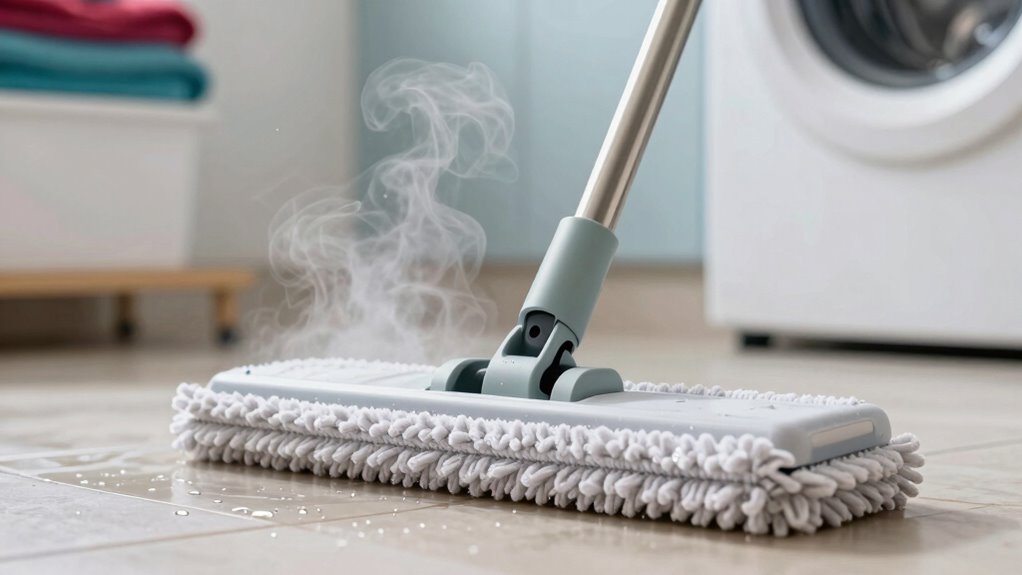
To effectively heat-dry your mop, start by thoroughly rinsing it to remove any dirt or residues that could interfere with the drying process. Knowing your mop material is vital since microfiber, cotton, and synthetic fibers each respond differently to heat. Once rinsed, wring out excess water to speed up drying and prevent mold growth. Place the mop in an area with good air circulation or use a heat source like a radiator or sunlight, ensuring the drying temperature isn’t too high to avoid damaging delicate fibers. Proper heat-drying techniques can significantly reduce mold development and maintain your mop’s effectiveness. Aim for a warm, consistent temperature that promotes thorough dehydration. Additionally, selecting appropriate mold prevention methods can further help keep your cleaning tools safe and in good condition. Regularly checking the humidity levels in the drying area can also help ensure optimal drying conditions. Check the mop regularly, turning it if necessary, until it’s completely dry. Proper heat-drying reduces mold risk and extends your mop’s lifespan.
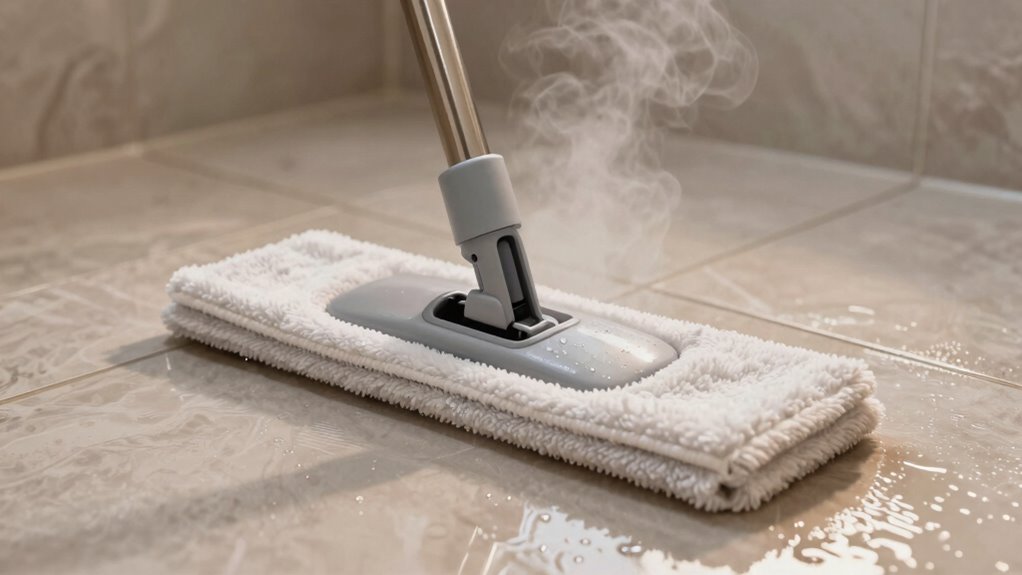
The Best Tools and Techniques for Effective Heated Mop Drying
Using the right tools can make heated mop drying more efficient and effective. Start with high-quality heating equipment designed for mops, ensuring consistent heat without damage. Choose mop materials that dry quickly and resist mold, such as microfiber or synthetic fibers. Proper tools also include a heat-resistant mop bucket or wringer to prevent moisture buildup. To optimize drying, consider a portable heater or drying rack to circulate warm air around your mop. Incorporating proper ventilation can further reduce humidity and prevent mold growth during the drying process. Additionally, understanding the mold‑prevention principles can help you develop better drying routines and avoid future mold issues. Ensuring proper airflow during drying is essential for comprehensive mold prevention. Regularly inspecting your drying area for moisture accumulation can help identify potential problem spots early and keep your space mold-free. Using dehumidifiers can also significantly improve drying conditions by lowering ambient humidity levels.
Common Mistakes That Undermine Your Mop’s Mold Prevention
Even with the right tools in place, certain mistakes can still compromise your mop’s ability to prevent mold. One common error is improper mop storage; leaving your mop damp or in a humid area encourages mold growth. Make sure to thoroughly dry your mop and store it in a well-ventilated space. Using the wrong cleaning solutions can also undermine mold prevention—harsh chemicals or residual soap can trap moisture, fostering mold. Avoid leaving your mop wet or unwashed for extended periods. Additionally, neglecting to rinse out cleaning solutions thoroughly can leave residues that trap moisture. These mistakes create an environment conducive to mold development, defeating the benefits of heated mop drying. Proper storage and careful use of cleaning solutions are essential to keep your mop mold-free. Proper storage techniques play a crucial role in maintaining a mold-free environment for your cleaning tools. Ensuring your mop dries completely and is stored in a ventilated area helps prevent mold spores from thriving. Incorporating adequate air circulation into your storage routine further reduces the risk of mold growth. Regularly inspecting your cleaning tools for signs of mold and maintaining personal hygiene also help prevent the spread of mold spores, ensuring a healthier environment.
How Often Should You Heat-Dry Your Mop to Keep It Mold-Free?
Regularly heat-drying your mop is essential to prevent mold growth, especially after each use. The ideal drying frequency depends on your mop material—synthetic fibers dry faster than cotton or microfiber. To keep mold at bay, aim to heat-dry your mop thoroughly after every cleaning session. For frequent use, this might mean every day or every other day, depending on humidity levels. If your mop material is prone to holding moisture, consider drying more often. Incorporating proper drying techniques can further enhance mold prevention. Proper airflow and moisture evaporation are crucial components of effective drying routines. Additionally, ensuring adequate ventilation in storage areas helps reduce humidity and inhibits mold growth. Using a dehumidifier in enclosed spaces can also significantly lower moisture levels and prevent mold development. Remember, neglecting this step can lead to a musty smell and health risks. Adjust your drying routine based on environmental conditions and mop material to maintain a clean, mold-free mop.
Additional Tips for Maintaining a Clean, Mold-Free Home
To keep your home clean and mold-free, focus on regular ventilation to reduce humidity. Using moisture-absorbing materials can help control dampness in problem areas. Additionally, establishing routine cleaning schedules prevents mold buildup and maintains a healthy environment. Incorporating air quality improvements such as air purifiers can further reduce mold spores and airborne contaminants.
Regular Ventilation Practices
Proper ventilation is essential for keeping your home clean and free from mold. Good air circulation helps prevent moisture buildup, which is key to mold prevention. To maintain effective ventilation, establish regular cleaning schedules that include opening windows and using exhaust fans. This helps remove excess humidity and stale air. Consider these tips:
- Keep interior doors open to promote airflow between rooms
- Use exhaust fans in kitchens and bathrooms consistently
- Regularly clean vents and air filters to guarantee proper circulation
- Open windows daily, even briefly, to refresh indoor air
Moisture-Absorbing Materials
Using moisture-absorbing materials is an effective way to keep humidity levels in check and prevent mold growth. Placing desiccant packs or silica gel in areas prone to moisture can help, but simple household items work too. For example, fabric softeners contain ingredients that absorb moisture, so keep a small amount in your closet or storage areas. When storing mops, ensure they are thoroughly dry and consider placing moisture absorbers inside the mop bucket or storage closet. Proper mop storage prevents residual dampness, which encourages mold. Additionally, airing out fabrics and softeners regularly reduces moisture buildup. These small steps make a big difference in maintaining a dry, mold-free environment, especially in high-humidity spaces or poorly ventilated rooms.
Routine Cleaning Schedules
Establishing a routine cleaning schedule is essential for maintaining a home free of mold and bacteria. Consistently cleaning surfaces helps prevent mold buildup, especially in high-humidity areas. Pay attention to mop storage—ensure your mop dries completely before storing it away to avoid mold growth. Managing household humidity is crucial; use dehumidifiers or vents to keep moisture levels low. Regularly check and clean bathroom tiles, kitchen counters, and other damp spots. Incorporate these habits:
- Store mops in a dry, well-ventilated area
- Wipe down bathroom and kitchen surfaces daily
- Use exhaust fans to reduce household humidity
- Schedule deep cleaning of mold-prone areas weekly
A disciplined routine keeps your home mold-free and promotes healthier living.
Is Heated Mop Drying Better Than Other Mold-Prevention Methods?
Heated mop drying often proves more effective than traditional mold-prevention methods because it actively eliminates moisture, which is the primary fuel for mold growth. When you use a heated mop, the material and heat work together to speed up the drying time, reducing the chances of mold developing. Unlike air drying or chemical treatments, heated mops quickly remove water from surfaces, especially in hard-to-reach areas. The mop material also plays a role—microfiber or absorbent fabrics trap moisture better and dry faster when heat is applied. This combination ensures surfaces are thoroughly dry in less time, lowering mold risk more reliably than passive methods. Overall, heated mop drying offers a faster, more efficient way to prevent mold compared to other approaches.
What to Do When Heated Drying Isn’t Enough to Stop Mold
While heated mop drying considerably reduces mold risks by quickly removing moisture, there are situations where this method alone isn’t enough to eliminate existing mold. If you notice persistent mold, you’ll need to enhance your cleaning routines and take additional steps. First, thoroughly clean affected surfaces with mold-killing solutions like diluted bleach or commercial fungicides. Second, improve ventilation to reduce humidity levels, making mold prevention easier. Third, consider using HEPA filters or air purifiers to remove spores from the air. Lastly, inspect and repair leaks or water damage that sustain mold growth. Combining these measures with heated drying helps break the mold cycle, ensuring your space stays mold-free. This all-encompassing approach is key when heated drying alone doesn’t stop mold growth.
Frequently Asked Questions
Can Heated Mop Drying Damage Certain Flooring Types?
Heated mop drying can cause flooring damage if you’re not mindful of material compatibility. Some surfaces, like certain hardwoods or vinyl, might warp or discolor when exposed to high heat. Always check your flooring type and its heat tolerance before using a heated mop. If you’re unsure, test on a small area first or opt for a lower heat setting to prevent potential damage.
How Long Should I Heat-Dry My Mop for Effective Mold Prevention?
Oh, the noble quest for the perfect drying duration! You should heat-dry your mop for about 10-15 minutes, depending on the mop material. Microfiber dries faster than cotton, so adjust accordingly. This duration guarantees thorough moisture removal, thwarting mold’s sneaky plans. Too short, and mold sneaks in; too long, and you risk damage. Find that sweet spot, and your mop stays mold-free and happy.
Is Microwave Heating Safe for All Mop Materials?
Microwave heating isn’t safe for all mop materials. You should check your mop’s safety concerns and material compatibility before microwaving. Some materials, like certain plastics or those with metal parts, can melt or catch fire, posing safety risks. Always read the manufacturer’s instructions, and avoid microwaving mops with metal components. When in doubt, opt for air drying or use a heated drying method designed specifically for your mop type.
Does Heated Drying Eliminate All Types of Mold and Bacteria?
Heated drying acts like a fierce fire, but it doesn’t banish all mold and bacteria. While it boosts mold resistance and helps eliminate many bacteria, some stubborn spores can survive, lurking in tiny crevices. To truly safeguard your home, combine heated drying with regular cleaning and proper ventilation. Think of it as armor—powerful, but not invincible—so ongoing vigilance is your best defense.
Can Regular Soap and Water Cleaning Replace Heated Drying?
Regular soap and water cleaning can remove surface dirt and some bacteria, but it doesn’t fully replace heated drying, especially for your mop material. Heated drying reduces moisture quickly, decreasing mold and bacteria growth. Without it, your mop stays damp longer, increasing the risk of mold. To keep your mop clean and safe, combine thorough cleaning with proper drying time, ideally using heat to prevent mold and bacteria buildup effectively.
Conclusion
By consistently using heated drying techniques, you markedly reduce mold growth on your mop and maintain a healthier home. While some might think this method is time-consuming, investing just a few extra minutes ensures a mold-free environment, saving you money and effort in the long run. Don’t overlook this simple step—proper heat treatment not only preserves your cleaning tools but also safeguards your family’s health with minimal fuss.