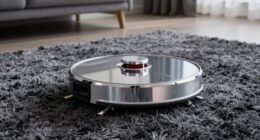
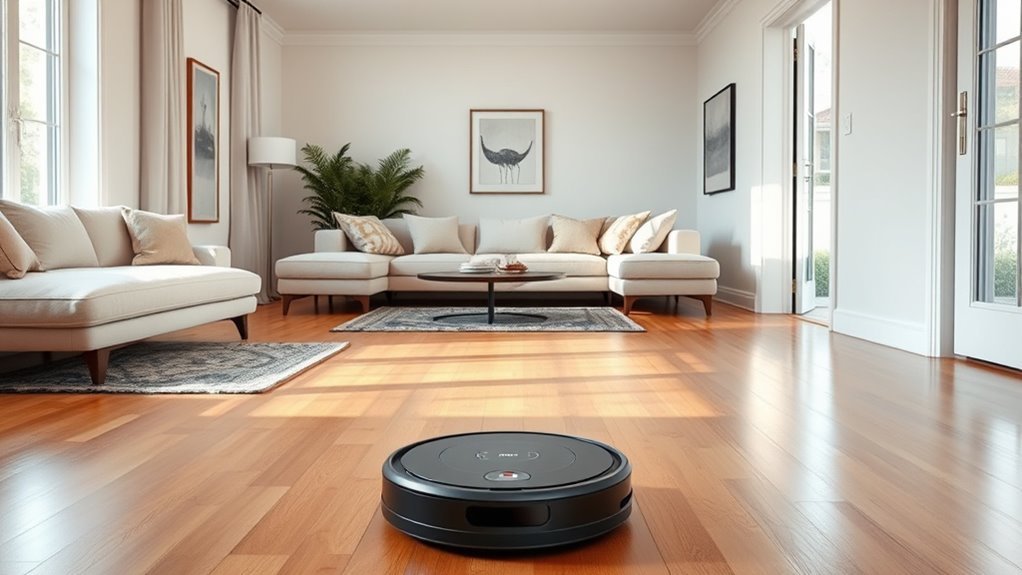
To prepare your home for a new robot vacuum, start by decluttering and removing loose items, cords, and rugs that could block sensors or cause jams. Secure or clear cords to prevent tangling. Check floor surfaces; smooth floors work best, and trim high-pile carpets if needed. Identify high-traffic zones and map out no-go areas using virtual boundaries or physical barriers. If you want to know more about optimizing your setup, keep exploring these helpful tips.
Key Takeaways
- Clear clutter, secure cords, and remove small objects to prevent jams and sensor obstructions.
- Optimize floor surfaces and map high-traffic areas for efficient cleaning.
- Remove fragile items and store breakables to avoid damage during operation.
- Set virtual and physical boundaries to restrict access to sensitive or off-limit zones.
- Regularly update boundaries and maintain a tidy environment for optimal vacuum performance.
Clear Clutter and Obstructions
Before you start your robot vacuum, it’s essential to clear any clutter and obstructions from the cleaning area. Removing loose items helps prevent jams and guarantees efficient robot vacuum maintenance. Check for small objects, cords, or rugs that could trap the vacuum or block its sensors. Clearing the space also reduces the risk of damage and prolongs the device’s lifespan. Keep in mind that a clean, obstacle-free environment improves battery charging tips, as the vacuum won’t waste power maneuvering around clutter. Regularly tidying up before each use helps your robot operate smoothly and extends its battery life. Additionally, removing obstructive objects can help the vacuum reach all areas effectively, ensuring comprehensive cleaning. Taking these simple steps ensures your robot vacuum performs at its best while maintaining its longevity and efficiency.
Secure Loose Cords and Wires

Securing loose cords and wires is a vital step to guarantee your robot vacuum can clean effectively without getting stuck or tangled. Proper cord management prevents obstacles from blocking its path and reduces the risk of damage. To improve wire hiding, use clips or cable covers to keep cords out of sight and away from vacuum movement zones. Here’s a simple guide:
| Area | Action | Tips |
|---|---|---|
| Under desks | Tuck cords neatly | Use cable ties |
| Near walls | Secure with clips | Keep wires flat |
| Open floors | Hide with cord covers | Avoid loose hanging |
Additionally, being aware of privacy policies and how your data is handled can help you make informed decisions about your smart home devices.
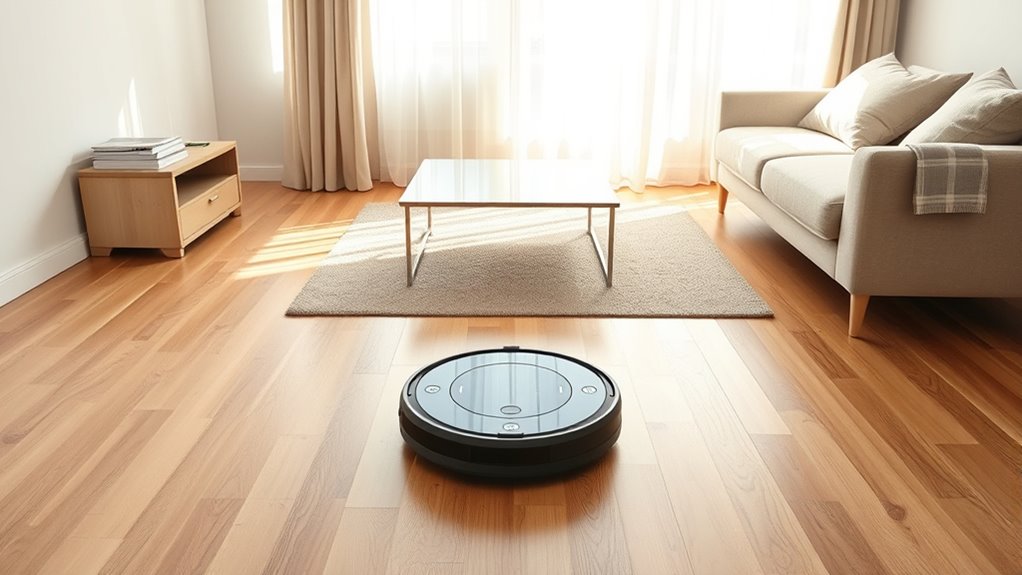
Check and Adjust Floor Surfaces
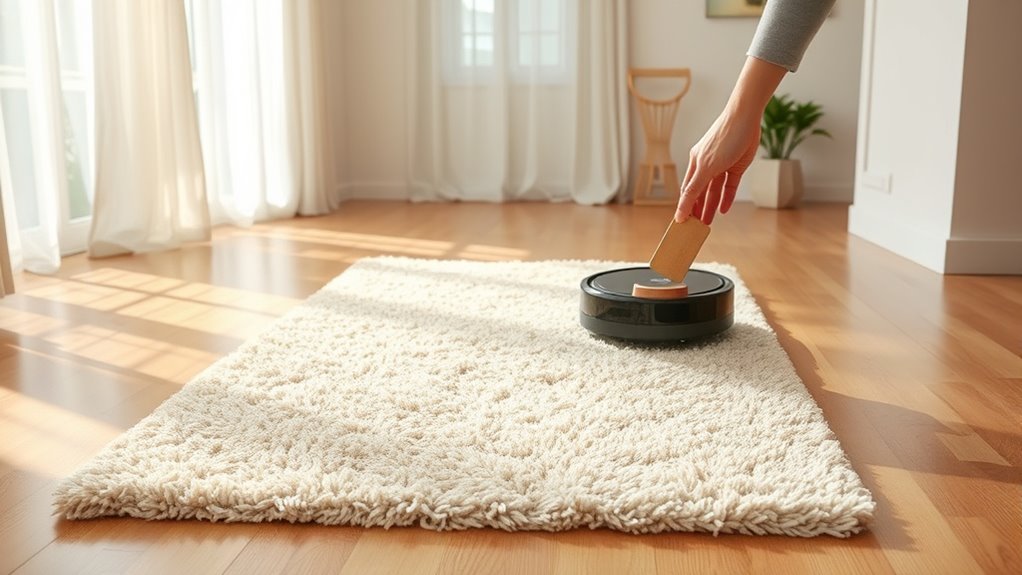
Ensuring your floor surfaces are suitable for your robot vacuum is essential for ideal cleaning performance. Start by checking the floor texture; smooth surfaces like hardwood, tile, or low-pile carpets allow your vacuum to move easily and clean thoroughly. If you have high-pile or shaggy carpets, consider adjusting the vacuum’s settings or trimming loose fibers to prevent it from getting stuck. Pay attention to the surface material, as some materials might be more sensitive to scratches or damage. For example, delicate hardwood floors may need a gentle cleaning mode, while durable tile can handle more vigorous suction. Regularly monitoring air quality can also help identify if your floors need more thorough cleaning or maintenance. Making these adjustments guarantees your robot vacuum works efficiently, avoiding unnecessary interruptions and maintaining the longevity of your floors.
Analyze and Map High-Traffic Areas
Identifying high-traffic areas in your home helps your robot vacuum clean more efficiently and effectively. By analyzing these zones, you can optimize robot sensor calibration and improve navigation. Map out spots like entryways, hallways, and kitchen paths where dirt accumulates quickly. Use your robot’s mapping feature to create a detailed layout, then schedule cleaning sessions during peak traffic times. Consider the following to enhance performance:
| Area | Frequency of Use | Cleaning Tips |
|---|---|---|
| Entryways | Daily | Focus on corners and thresholds |
| Hallways | Multiple times weekly | Remove obstacles for smooth movement |
| Kitchen | Daily | Schedule after meals |
| Living Room | Every few days | Adjust for furniture layout |
Proper analysis guarantees your robot maintains a spotless home efficiently. Regular assessment of traffic patterns can further help you adapt your cleaning schedule to suit changes in household activity.
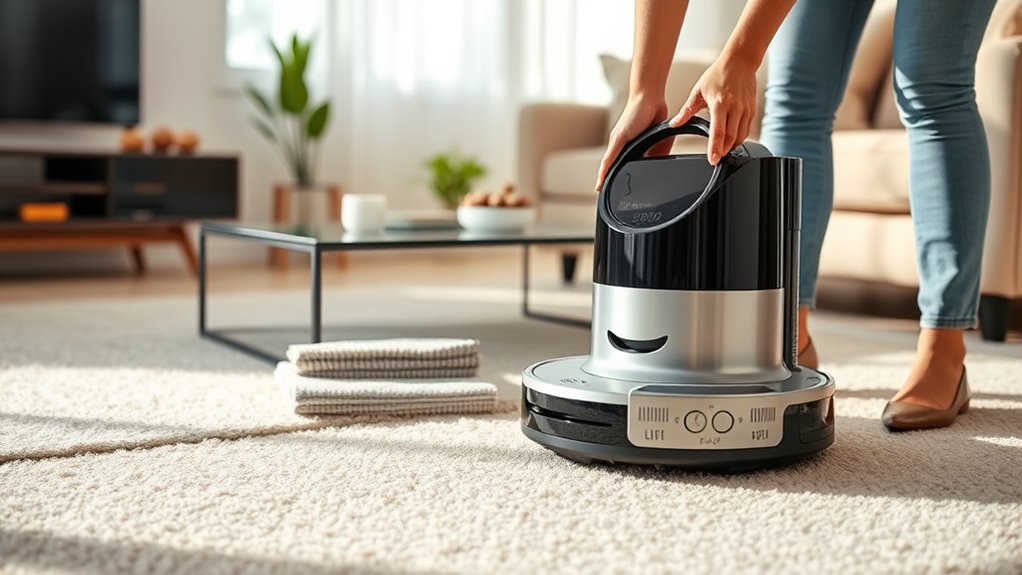
Remove Delicate or Fragile Items

Before starting your robot vacuum, make sure to identify any fragile decor and store breakables securely. Remove delicate electronics or items that could easily be damaged during cleaning. Taking these steps helps prevent accidents and keeps your belongings safe. Additionally, practicing careful planning and attention to detail can enhance your overall creative practice and ensure a smoother cleaning process.
Identify Fragile Decor
Since your robot vacuum will be maneuvering around your home, it’s important to remove delicate or fragile items that could be damaged or knocked over. Start by checking vase placement; ensure vases are secure or move them to a safe spot. If you have art hanging on walls, consider temporarily removing or securing fragile frames to prevent accidental bumps. Small sculptures, glass decorations, or any items with thin stems are also vulnerable. By identifying these fragile decor pieces beforehand, you reduce the risk of accidental damage as the vacuum navigates tight spots or uneven surfaces. Taking a few moments to clear or secure these items helps protect your belongings and keeps the cleaning process smooth and worry-free.
Store Breakables Securely
To prevent accidental breakage during your robot vacuum’s cleaning, it’s crucial to store delicate or fragile items securely. Glass protection and display safety are essential to avoid damage or injury. Carefully gather items like vases, picture frames, and decorative glassware. Place them in a secure, padded box or cabinet away from the vacuum’s path. Visualize your fragile items with this imagery:
| Vase | Picture Frame | Crystal Glass |
|---|---|---|
| Lamp | Porcelain Figurine | Decorative Plate |
| Candle Holder | Fine China | Glass Ornament |
| Antique Clock | Fragile Mirror | Delicate Sculpture |
| Jewelry Box | Glass Vase | Porcelain Tea Set |
This ensures your home stays safe and your belongings remain intact during cleaning. Proper storage maintains display safety and prevents costly accidents. Additionally, ensuring the indoor air quality is good can help prevent dust buildup on delicate items, reducing the risk of damage.
Remove Delicate Electronics
Have you ever considered how fragile electronics can be vulnerable to accidental bumps or vibrations from your robot vacuum? To guarantee electronics safety, it’s best to remove delicate devices before cleaning. Even small vibrations or unintended collisions can damage screens, hard drives, or circuit boards. Carefully relocate items like laptops, tablets, or fragile gadgets to a safe spot away from the cleaning path. Proper delicate device placement minimizes the risk of breakage and keeps your electronics in good condition. Taking a few moments to clear these items not only protects your valuables but also helps your robot vacuum operate more efficiently without obstacles. Trust issues with your partner can also cause concern during cleaning routines, so clear communication about your home environment is beneficial. Prioritizing electronics safety now prevents costly repairs and ensures your devices stay intact after every cleaning session.
Establish No-Go Zones and Boundaries

To keep your robot vacuum focused on the areas that need cleaning, you should set up no-go zones and boundaries. You can do this by mapping out restricted areas, placing physical barriers, or configuring virtual walls through the app. These steps help prevent your vacuum from entering spaces where it’s not welcome or could cause damage.
Map Out Restricted Areas
Before your robot vacuum starts cleaning, it’s essential to identify and mark restricted areas to prevent it from entering spaces where it shouldn’t go. Using a virtual boundary feature, you can set up no-go zones that act as digital barriers around delicate or off-limits areas. These virtual boundaries help you control where the robot cleans, ensuring it avoids cluttered spaces, cables, or fragile items. Mapping out restricted zones allows you to customize your cleaning plan and prevent mishaps. Most smart vacuums let you define these zones via an app, making it easy to adjust as needed. By establishing clear virtual boundaries, you keep your home organized and protect sensitive areas while your robot efficiently handles the cleaning task. Additionally, considering the use of no-go zones can help prevent the vacuum from entering areas with potential hazards or sensitive items.
Use Physical Barriers
Using physical barriers is an effective way to establish no-go zones and boundaries that your robot vacuum can’t cross. You can use magnetic strips or physical barriers to block off sensitive areas or cluttered spaces. Here are some ways to set up these barriers:
- Place magnetic strips along doorways or floor edges to create invisible boundaries your vacuum respects.
- Use lightweight physical barriers like plastic or cardboard to block entrances to certain rooms.
- Position furniture or storage bins strategically to prevent access to areas you want to keep untouched.
- Understanding boundaries helps ensure your robot vacuum operates efficiently while safeguarding delicate items.
These barriers help guide your robot, ensuring thorough cleaning while protecting fragile items. Incorporating magnetic strips and physical barriers is a simple, effective step in preparing your home for optimal robot vacuum performance.
Configure Virtual Walls
Configuring virtual walls allows you to set precise no-go zones and boundaries that your robot vacuum will respect during cleaning sessions. Proper boundary configuration guarantees your device avoids areas like pet bowls, cords, or fragile items. To do this, you typically use your app to place virtual walls or boundary markers in key locations. This setup helps optimize cleaning efficiency and protects sensitive spots.
| Virtual Wall Placement | No-Go Zone | Boundary Configuration |
|---|---|---|
| Near stairs | Fragile items | Room entrances |
| Around cords | Pet areas | Kitchen boundaries |
| Close to furniture | Breakables | Under furniture |
| At thresholds | Valuables | Carpet edges |
| In cluttered corners | Delicate items | Room perimeters |
Frequently Asked Questions
How Often Should I Clean My Robot Vacuum’S Filter?
You should clean your robot vacuum’s filter regularly to maintain ideal performance. A good filter maintenance routine involves checking the filter every one to two weeks, depending on how often you use the vacuum. Typically, you should perform a thorough cleaning of the filter once a month or more if you have pets or a lot of dust. Following a consistent cleaning schedule ensures your robot runs efficiently and prolongs its lifespan.
Can Robot Vacuums Handle Pet Hair Effectively?
Robot vacuums can handle pet hair quite well, especially models designed for carpet cleaning. They often come with strong suction and specialized brushes that pick up pet hair efficiently. Regularly empty the bin and clean the brushes to maintain peak performance. Keep in mind, for deep carpet cleaning, you might need to supplement with occasional manual vacuuming, but your robot will do a great job maintaining pet hair daily.
What Is the Best Way to Maintain Battery Life?
To maintain your robot vacuum’s battery life, focus on battery preservation by avoiding full discharges and not overcharging. Use smart charging tips like unplugging it once fully charged and storing it in a cool, dry place. Regularly clean the charging contacts and keep the battery’s firmware up to date. These steps guarantee peak performance, prolong battery lifespan, and keep your vacuum ready for effective cleaning whenever you need it.
Are There Specific Flooring Types That Work Best?
Fantastic floors foster flawless functioning. When considering flooring compatibility, you’ll find that hard surfaces like hardwood, tile, and laminate work best because they allow smooth surface considerations for your robot vacuum. Low-pile carpets are also compatible, offering less resistance. However, plush carpets and thick rugs might hinder movement or reduce efficiency. So, assess your surface types carefully, ensuring your robot vacuum can glide seamlessly across your home’s unique flooring.
How Do I Troubleshoot Common Connectivity Issues?
When troubleshooting connectivity issues, start by checking your Wi Fi signal strength and ensuring it’s strong where you plan to use the robot vacuum. Restart your router if needed, and make sure your network security settings aren’t blocking the device. Keep your firmware updated, and try reconnecting the vacuum. If problems persist, move the router closer or remove obstacles to improve the signal.
Conclusion
With a little prep, your home becomes a haven for your new robot vacuum. Clear clutter, secure cords, and set boundaries to create a clean, collision-free zone. By balancing barriers and belongings, you’ll boost efficiency and extend your robot’s lifespan. Prepare properly, and you’ll pave the way for a pristine, problem-free space. With a little effort today, tomorrow’s tidiness will take care of itself—making your home happier, healthier, and hassle-free.